Lower Windows 11 Processes for Max FPS: SvcHost Split Threshold and Free Tweak Files (2026)

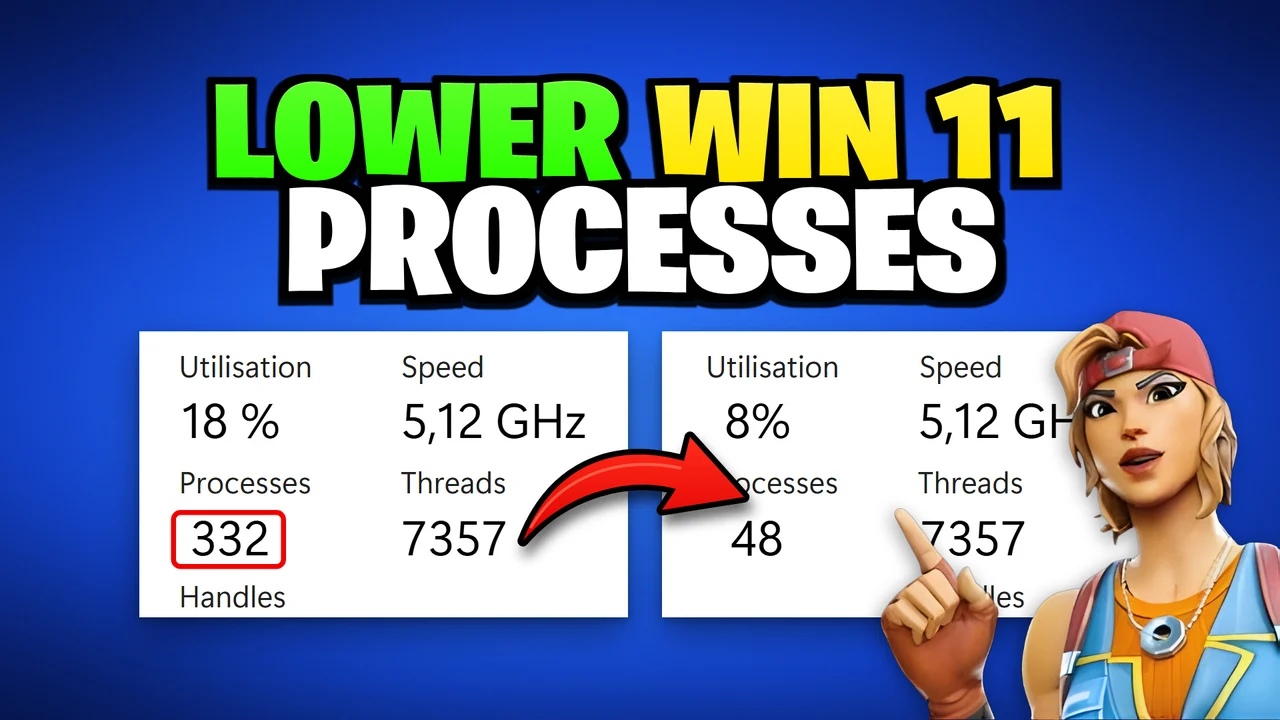
Written version of our video, every step checked against it.
Quick answer
- Open Task Manager, Performance, CPU and note the process count first: it was at least 150 on the PC in the video.
- Create a restore point, remove apps you do not use and disable every startup app that is enabled.
- Set the visual effects to Adjust for best performance, then tick back smooth font edges, window contents while dragging and thumbnails.
- In the registry, set SvcHostSplitThresholdInKB to the value that matches your RAM:
2000000for 32 GB. - Run power tweaks.bat and services.bat as administrator, restart and count again: 94 processes on the PC in the video.
This guide is for anyone whose Windows 11 PC runs a long list of background processes while gaming. It follows the video click by click: a restore point, apps and startup entries, the visual effects, the svchost split threshold in the registry and two free batch files from our Discord. If you prefer an app doing the same job, read our older guide to reducing background processes.
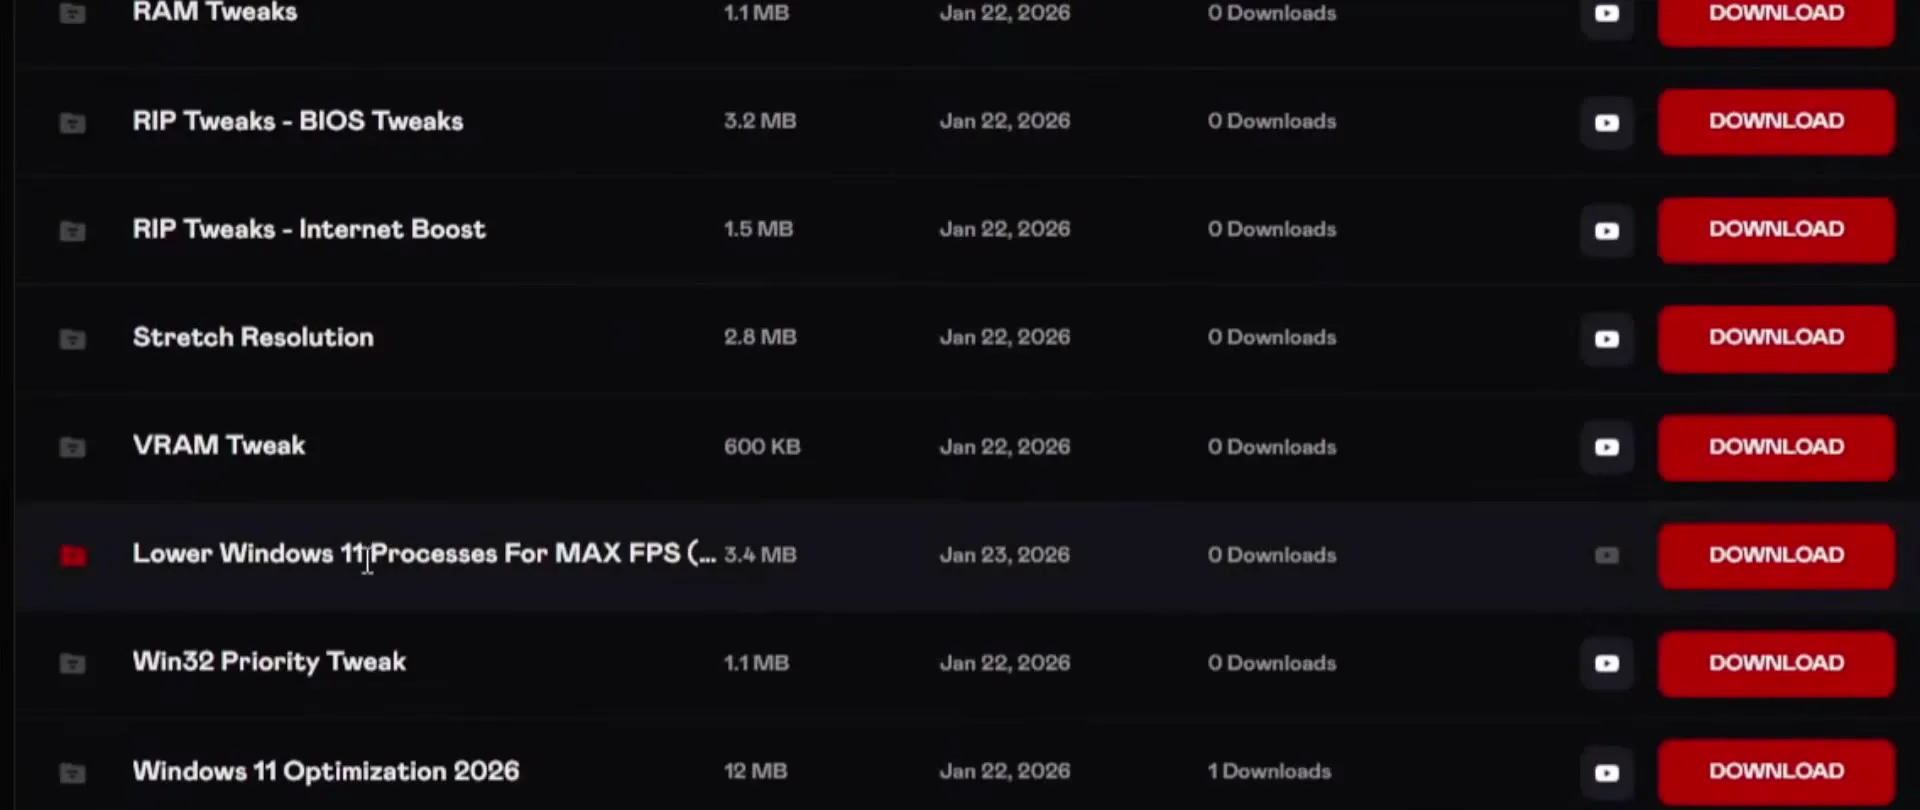
Open the RIP Tweaks Discord (discord.gg/riptweaks), go to the YouTube Tweaks channel and find Lower Windows 11 Processes For MAX FPS in the list. Click its Download button, then drag the file onto your desktop.
DiscordYouTube TweaksLower Windows 11 Processes For MAX FPSDownload
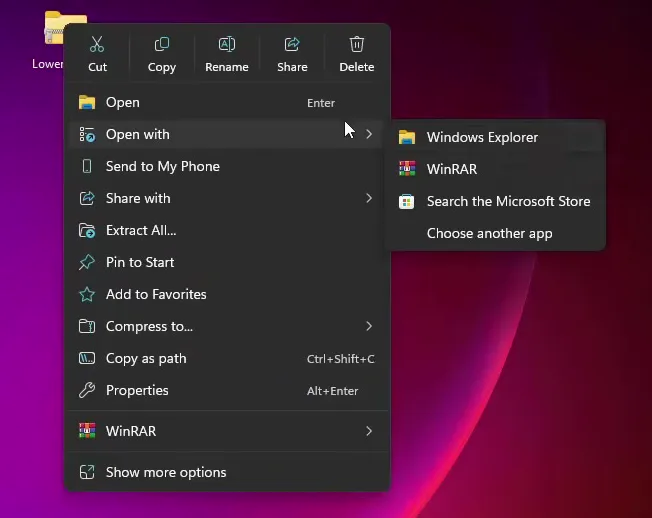
Right-click the file on your desktop, choose Open with, then Windows Explorer. The folder holds everything the next steps use: 1. Start, 2. Lower Background Processes and 3. Performance.
Good to know
Only download the file from the RIP Tweaks Discord, as in the video. The later steps change system settings, so use the original file and no copy from elsewhere.
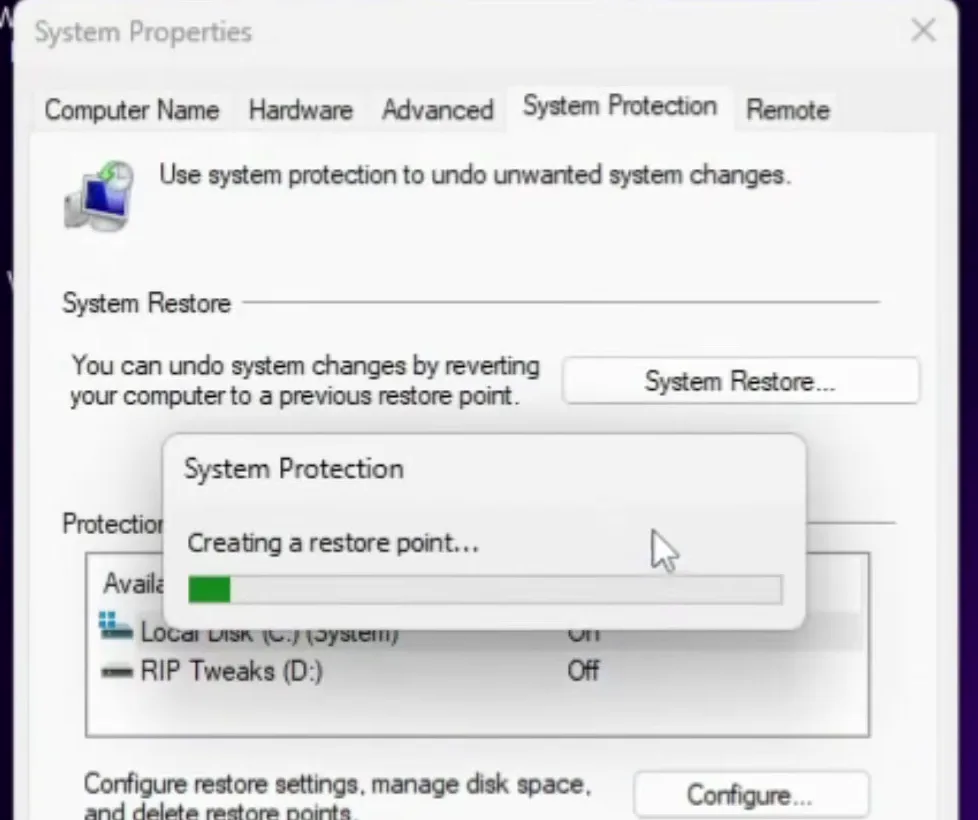
Open the 1. Start folder and double-click 1. Restore Point. This opens System Properties on the System Protection tab. Click Create, type a name (the video uses riptweaks), click Create again and wait until it finishes. The video calls this your safety net: if a later step does not suit your PC, you can go back to this point.
1. Start1. Restore PointCreateriptweaksCreate
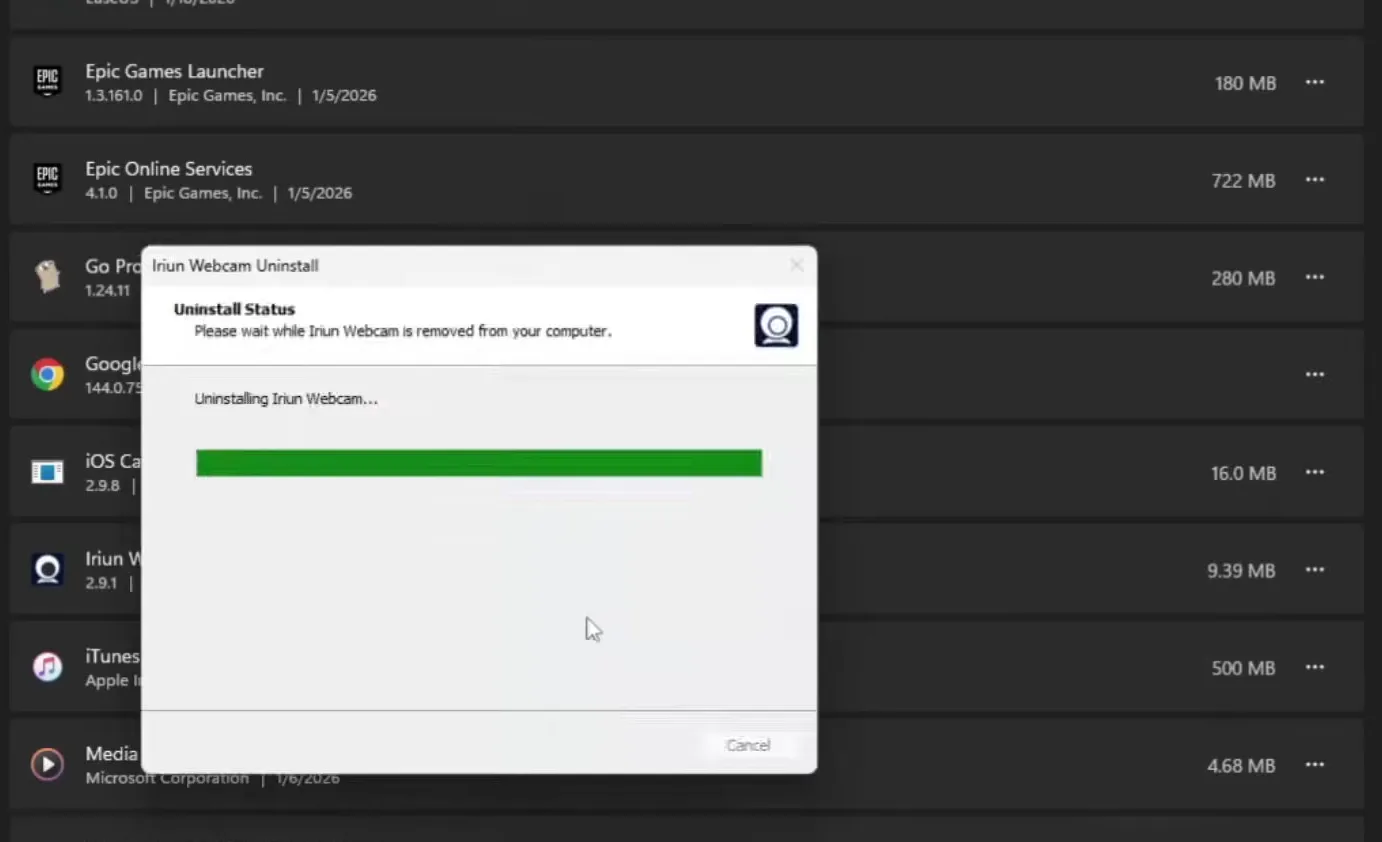
Double-click 2. Uninstall Apps You Don't Need. Windows opens its installed apps list. Remove the apps you never use or do not remember installing: the video uninstalls everything of that kind, one after the other, and each app that goes is one less thing that can sit in the background.
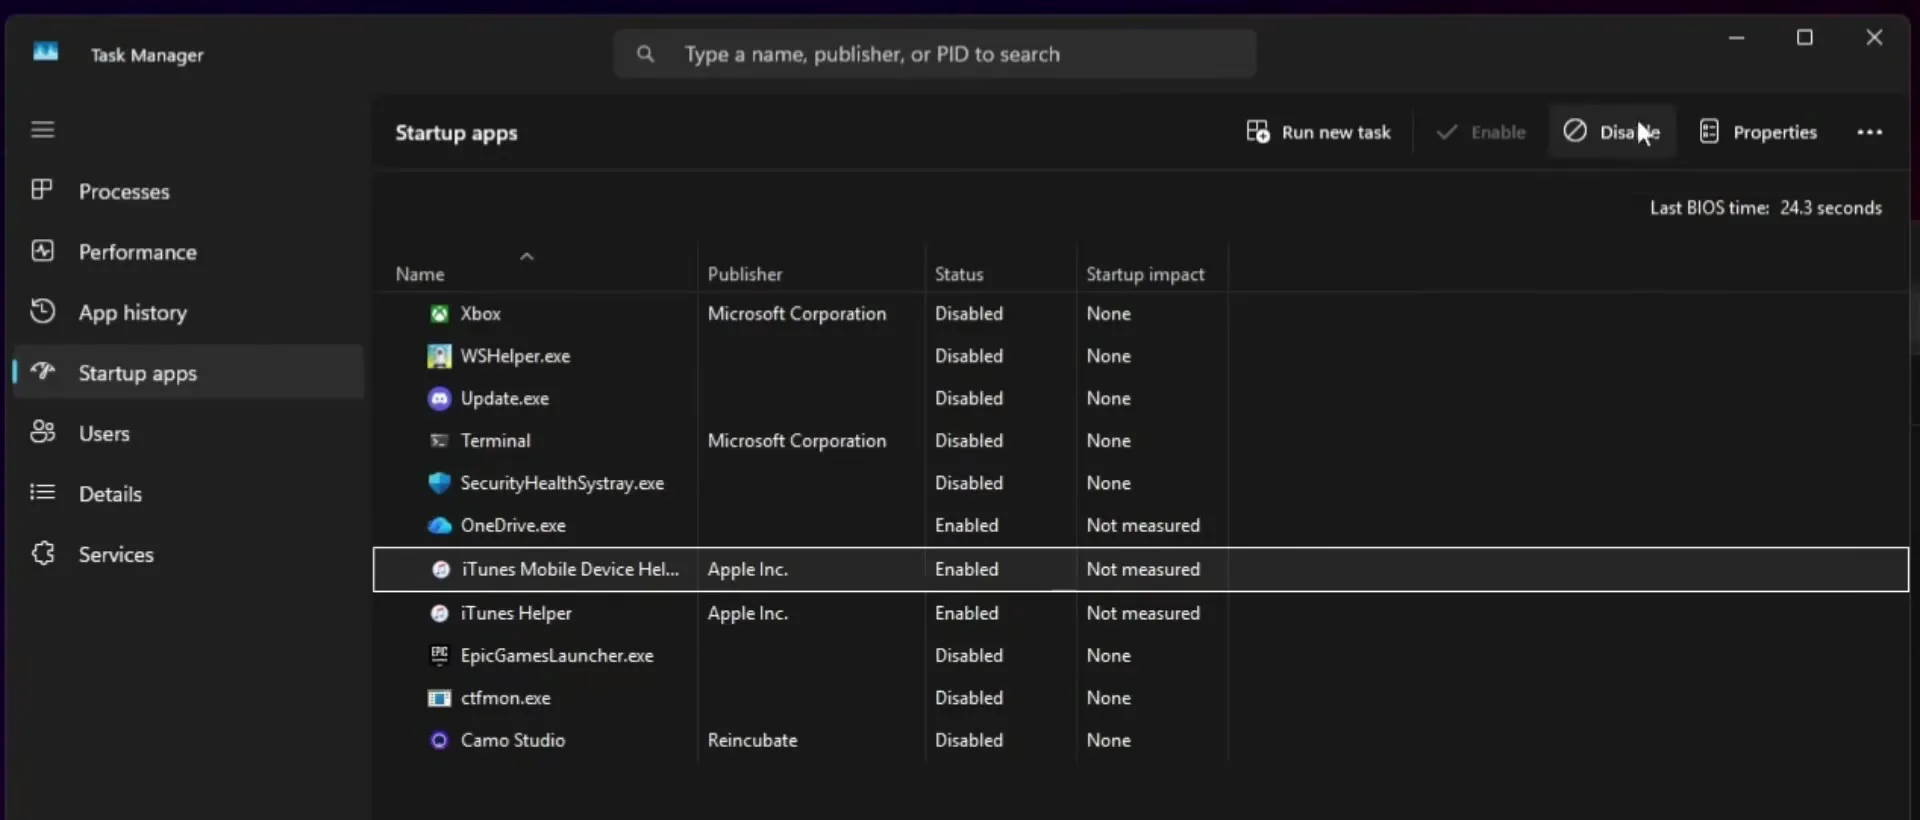
Double-click 3. Startup Apps. Task Manager opens on the Startup apps page. Click each entry whose status is Enabled and press Disable. After that no app starts with Windows. You can still open any of them yourself later, which, as the video puts it, saves a lot of performance.
Task ManagerStartup appsEnabled appDisable
Tip
Disabling is not deleting. If an app you need stops working properly later, select it on this page and press Enable.
Double-click 4. SystemPropertiesPerformance.exe. The Performance Options window opens on Visual Effects. Select Adjust for best performance: this unticks every effect. Then tick three boxes again: Smooth edges of screen fonts, Show window contents while dragging and Show thumbnails instead of icons. Click Apply, then OK.
Performance OptionsVisual EffectsAdjust for best performanceApplyOK
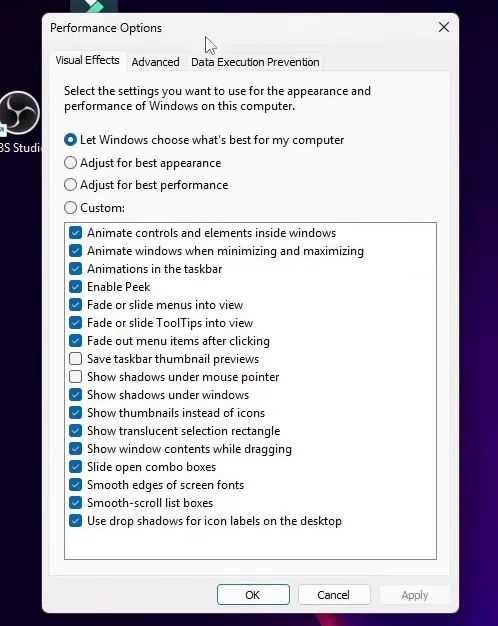
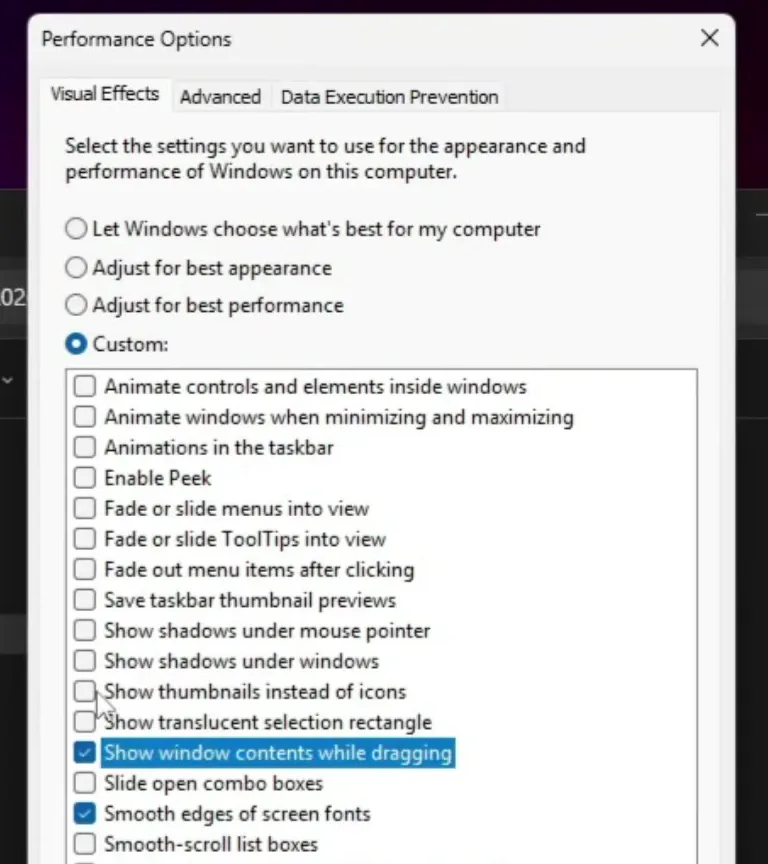
Windows keeps readable text, full windows while you drag them and picture previews, and drops the animations, fades and shadows.
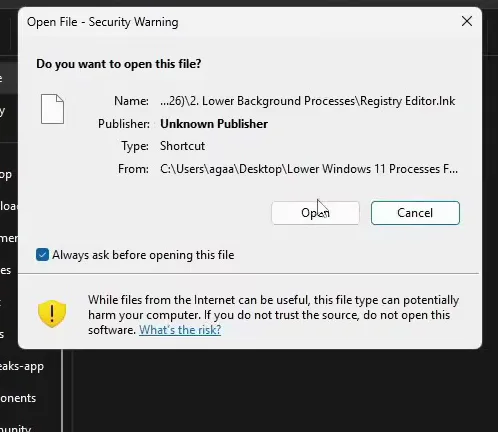
Go back to the downloaded folder and open 2. Lower Background Processes. Double-click the Registry Editor shortcut and confirm Windows' security warning with Open. In the editor, expand the tree down to the Control key.
HKEY_LOCAL_MACHINESYSTEMCurrentControlSetControl
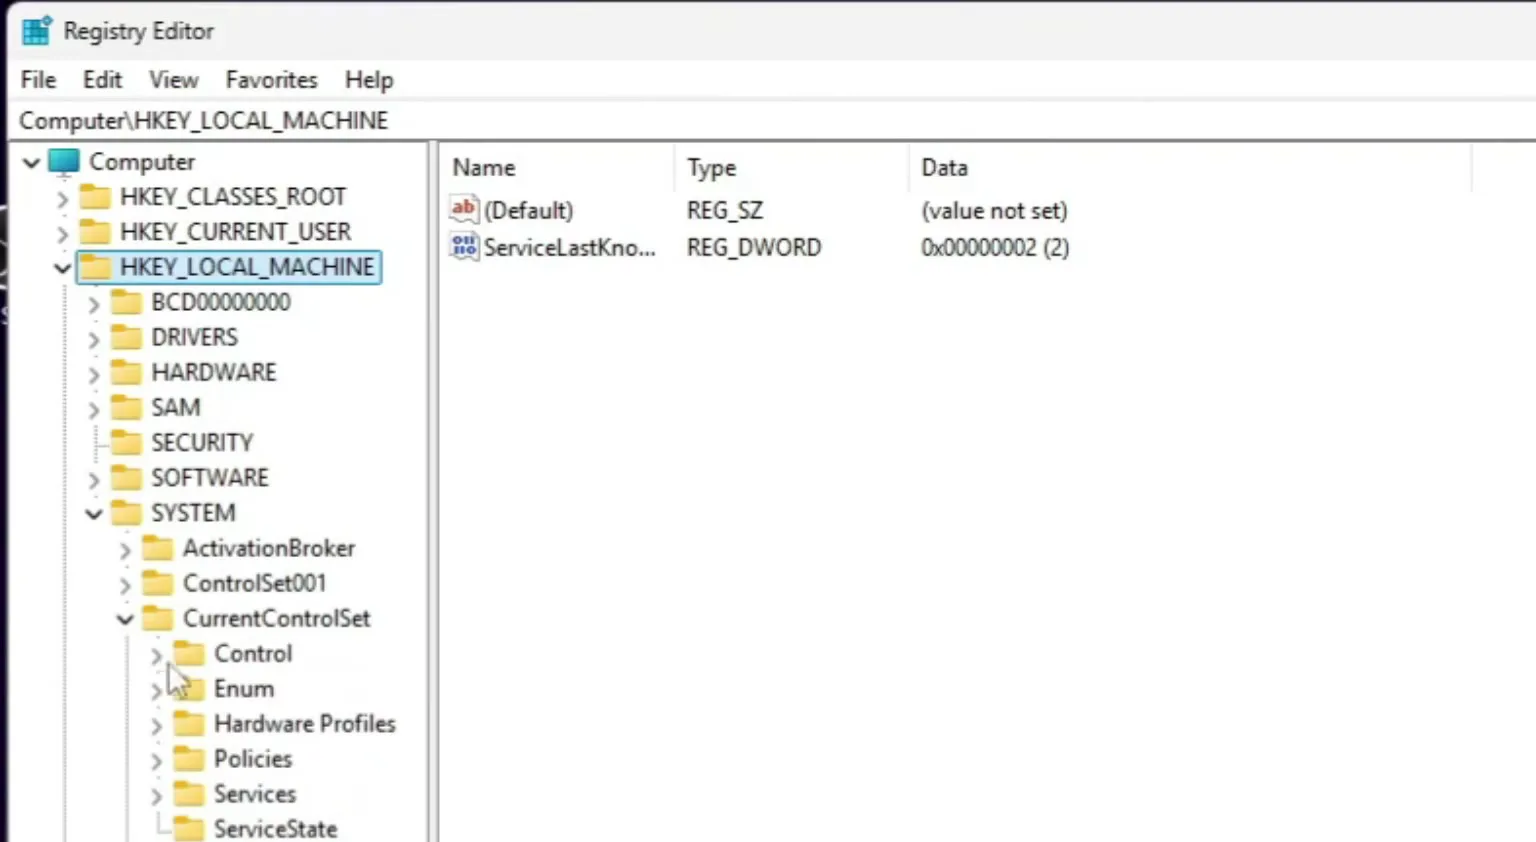
Inside Control, scroll down to SvcHostSplitThresholdInKB, right-click it and choose Modify. The video opens the Value picture from the same folder: a table with your RAM on the left and the number to type on the right. Find your RAM and type the number beside it.
ControlSvcHostSplitThresholdInKBModifyValue data
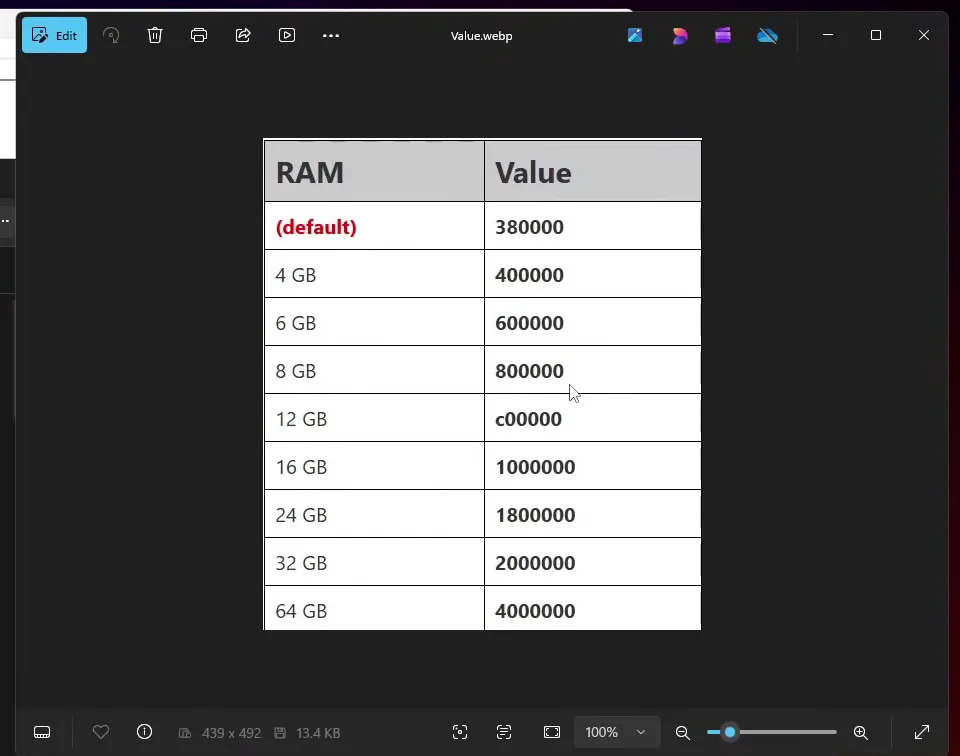
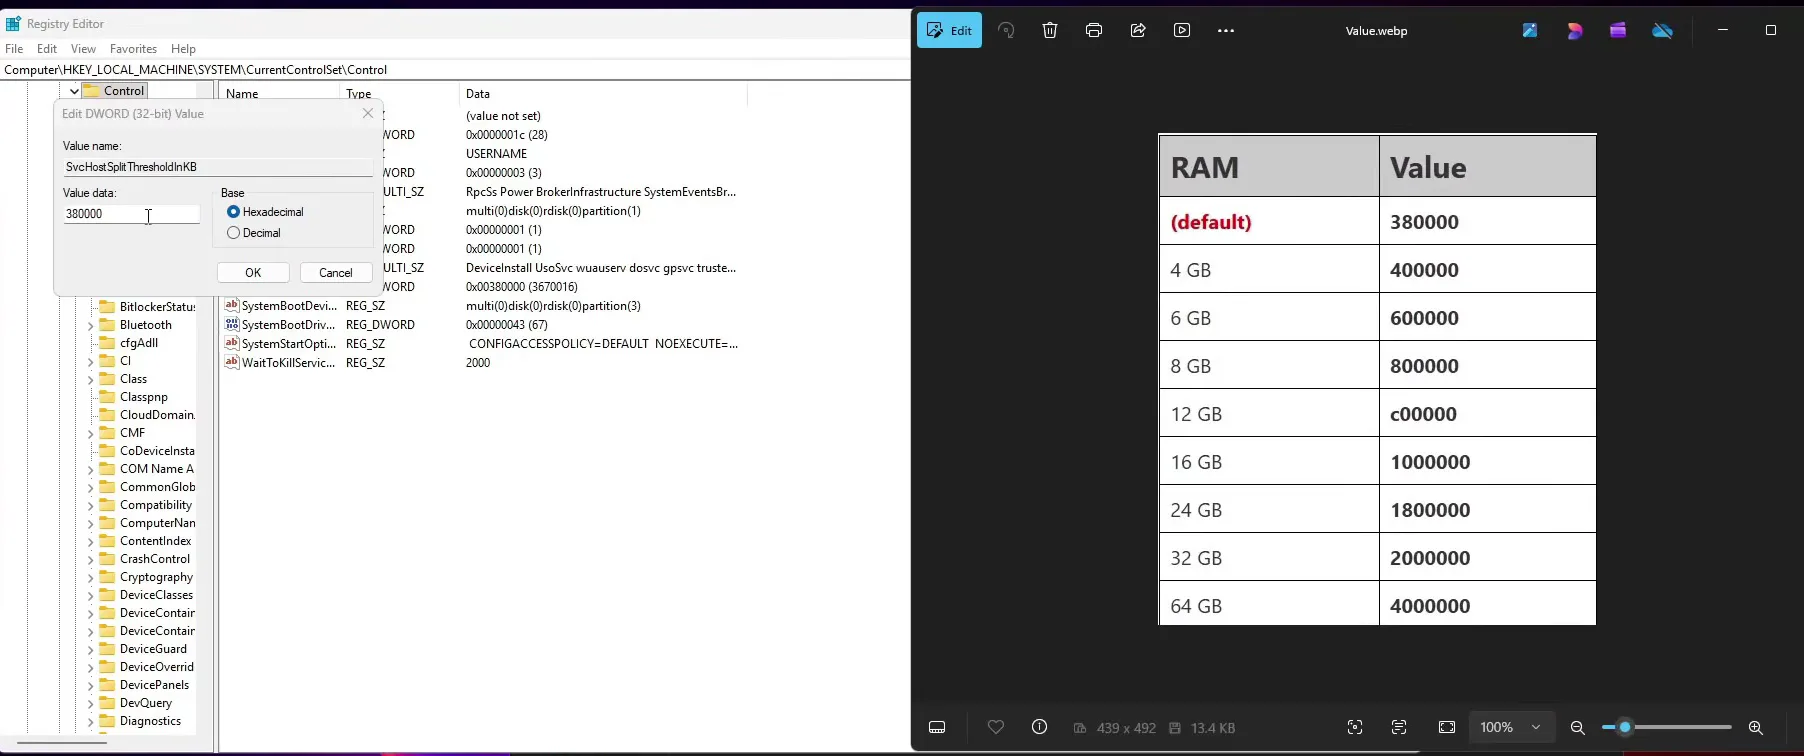
The video reads it out as 800000 for 8 GB, 1000000 for 16 GB and 2000000 for 32 GB. The PC in the video has 32 GB, so it types 2000000. Click OK and close the Registry Editor.
Good to know
Leave the Base setting as the dialog opens it, Hexadecimal. The table's values, such as c00000 for 12 GB, are written for it. Type only the number from your RAM row.
What it does: Windows normally runs many services in their own svchost process on a PC with plenty of RAM. With a higher threshold more services typically share one svchost process, so the process count in Task Manager drops.
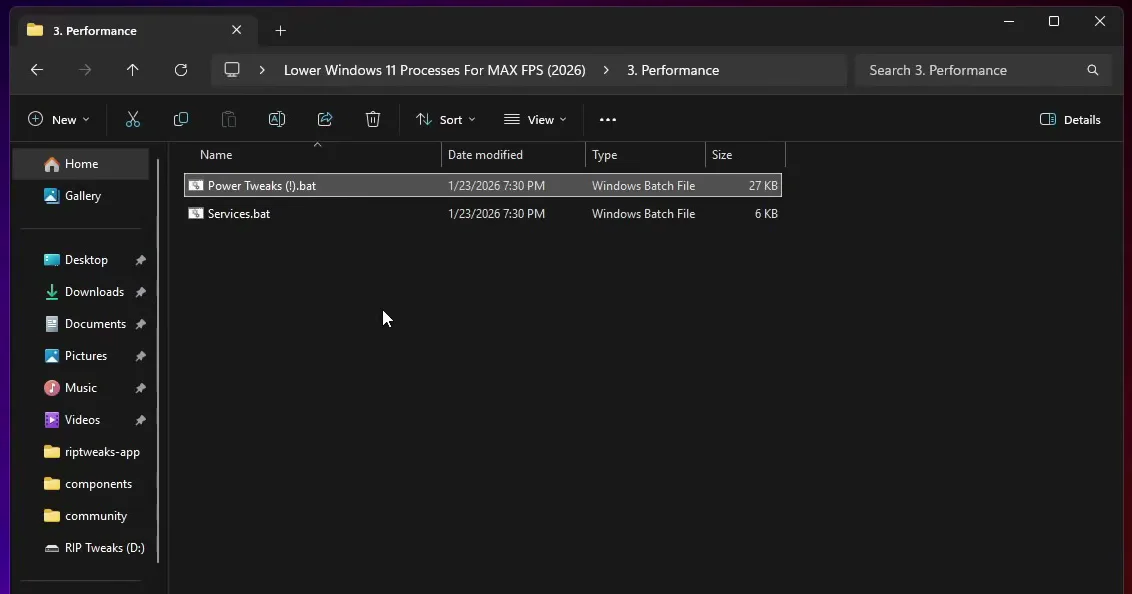
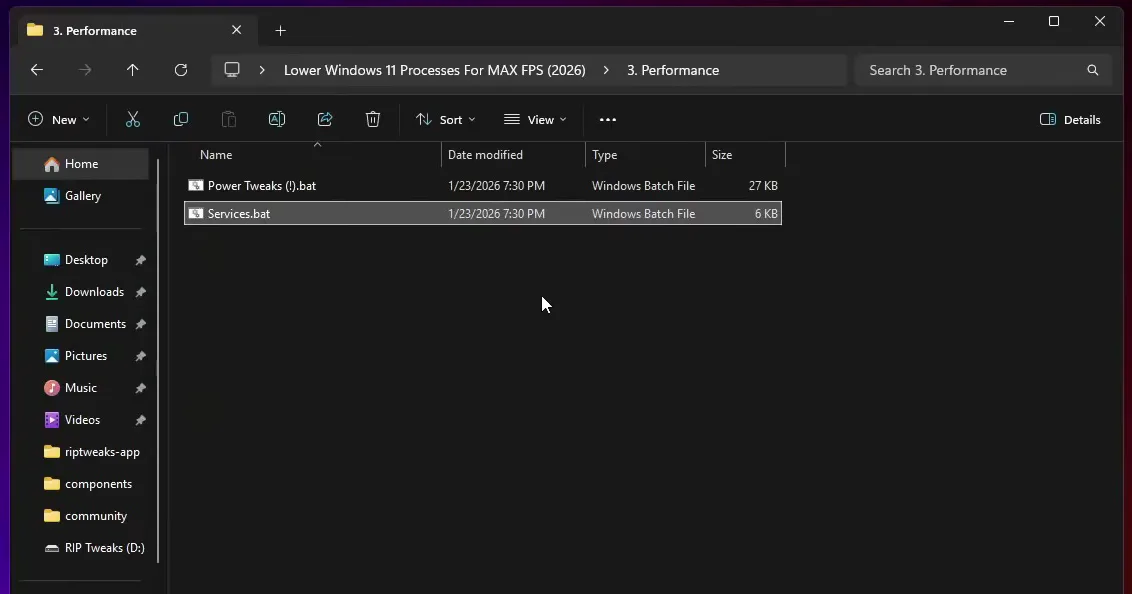
Open the 3. Performance folder. It contains two batch files. Right-click Power Tweaks (!).bat and choose Run as administrator, then wait until all its tweaks have applied. Do the same with Services.bat, which disables unnecessary background services that are already running. Restart the PC when both are done.
3. PerformancePower Tweaks (!).batRun as administrator
Careful
Both files change system settings and services. Run them only after the restore point from the second step exists, and one after the other, not at the same time.
How to check it worked
Compare the same number you read at the start, under the same conditions:
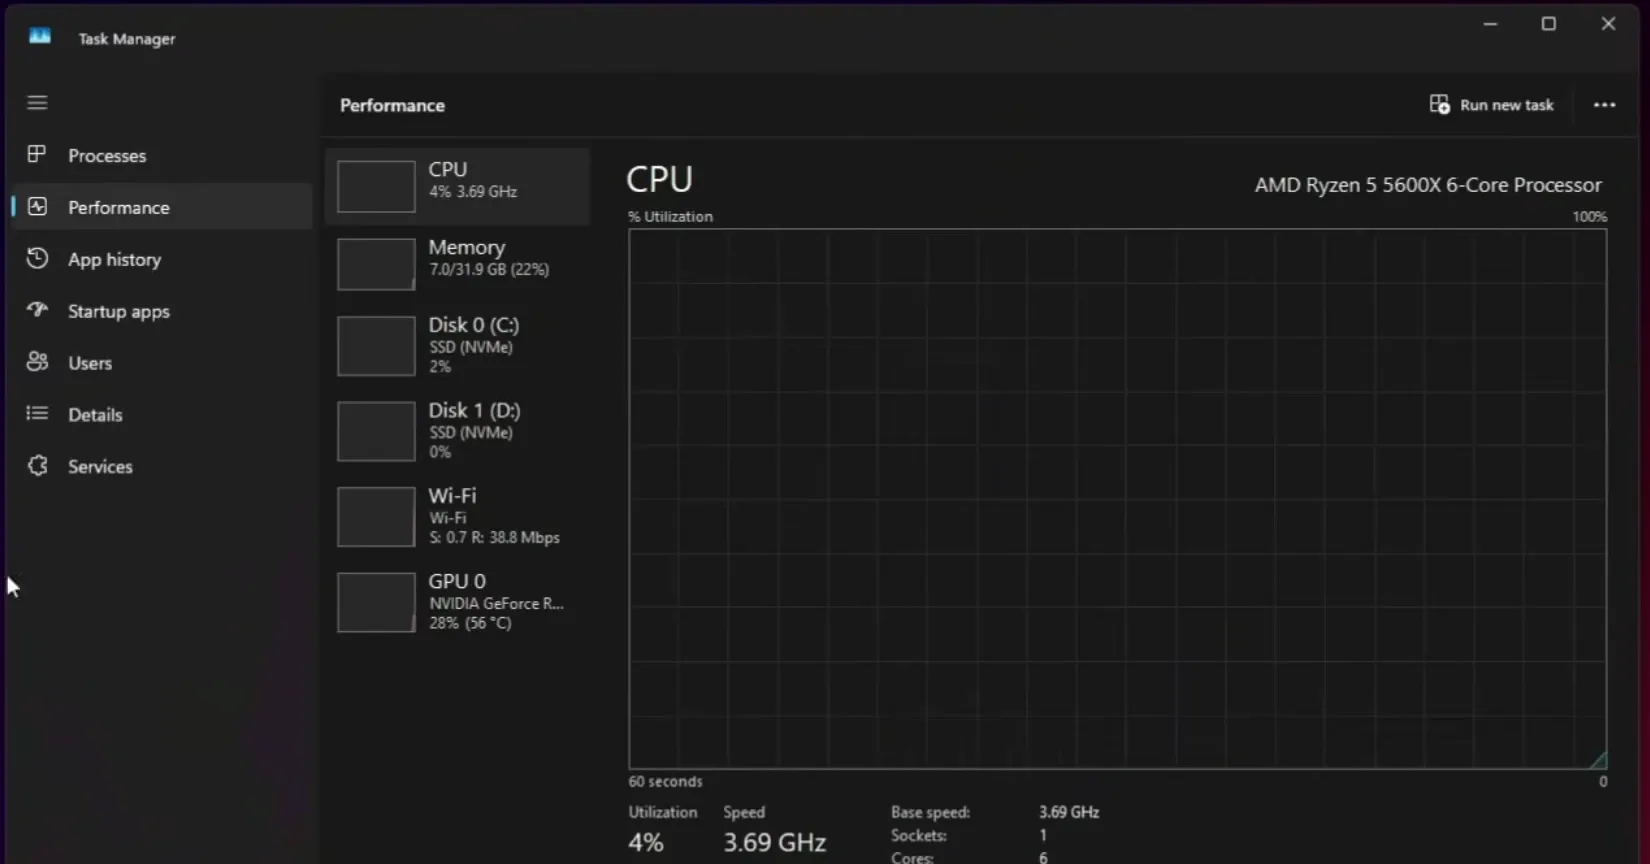
- Before you change anything, open Task Manager, then Performance, then CPU and write down the Processes count. The video shows at least 150 on its PC.
- After the restart, open the same page again with the same apps open. On the PC in the video it showed 94, almost half.
- Your own number depends on what is installed, your RAM and what the services file disables, so only compare it with your own earlier count.
How to undo it
To go back, open System Properties, System Protection, click System Restore and pick the riptweaks restore point. Startup apps can be re-enabled any time in Task Manager. To restore the registry value, type the default 380000 again.
Key settings at a glance
FAQ
What is SvcHostSplitThresholdInKB?
It is a registry value under HKEY_LOCAL_MACHINE\SYSTEM\CurrentControlSet\Control. It sets how much RAM Windows needs before it runs services in separate svchost processes. A higher value typically means more services share a process, so Task Manager shows fewer processes.
Which value should I type for my RAM?
Use the table from the video: 4 GB uses 400000, 6 GB 600000, 8 GB 800000, 12 GB c00000, 16 GB 1000000, 24 GB 1800000, 32 GB 2000000 and 64 GB 4000000. The default shown is 380000.
How many processes should Windows 11 have?
There is no fixed number. On the PC in the video the count was at least 150 before the changes and 94 after them. Compare your own count before and after, with the same apps open.
Will fewer processes give me more FPS?
Fewer background tasks means fewer moments where something else competes with your game for the processor, which typically helps frame times and input lag. How much depends on your PC. The video's numbers are from its own PC.
Is it safe to run services.bat and power tweaks.bat?
Both change system settings, which is why the video starts with a restore point. Create it first, run the files as administrator one after the other, restart, and use System Restore if something does not suit your PC.
Do I have to uninstall my apps?
Only apps you do not use or do not remember installing, as in the video. Apps you play or work with stay. For startup apps you only disable the entry, so you can still open the app yourself.
Is there an app that does this for me?
Yes, our older guide to reducing background processes covers the app-based way to cut what runs in the background.
 RIP Tweaks
Do it in a few minutes with RIP Tweaks
- Free plan for Windows 10 and 11
- A backup first, and every tweak can be switched off again
- Made for higher FPS, lower input lag and steadier ping
Free · Windows 10 and 11
