Free PC Optimizer for Fortnite FPS: Every Step From the Video (2026)

Written version of our video, every step checked against it.
Quick answer
- Measure first: Fortnite on the lowest DirectX 12 settings, same map and same spot, so you have an honest before number.
- In the optimizer, go to Optimization, then Hardware, and apply the tweaks for the CPU, GPU, RAM, BIOS, SSD, network, input lag and peripherals you actually own.
- Do the driver part: the NVIDIA debloater (clean install) and the three NVIDIA 3D settings, Power Management Mode on max performance and Low Latency Mode on.
- Run Cleanup, read each Debloat item before you add it, then press Optimize in the Power section.
- Test again in the same spot. On the PC in the video it went from about 200 FPS to 350 to 400 FPS on the same settings: one PC, not a promise.
This guide is for anyone who plays Fortnite on a Windows PC and wants more FPS and less input lag from one free app instead of ten different menus. It follows our video in order, section by section. The video is an older one and shows an earlier version of RIP Tweaks, so the screens in the pictures have changed since: use them to see the idea of each step, and find the same options in the current app.
The video starts with the benchmark: Fortnite with everything on low on DirectX 12 showed about 195 to 200 FPS on the PC in the video, before a single tweak. For the newer full walkthrough, see our Fortnite FPS, input delay and ping guide.
In this video
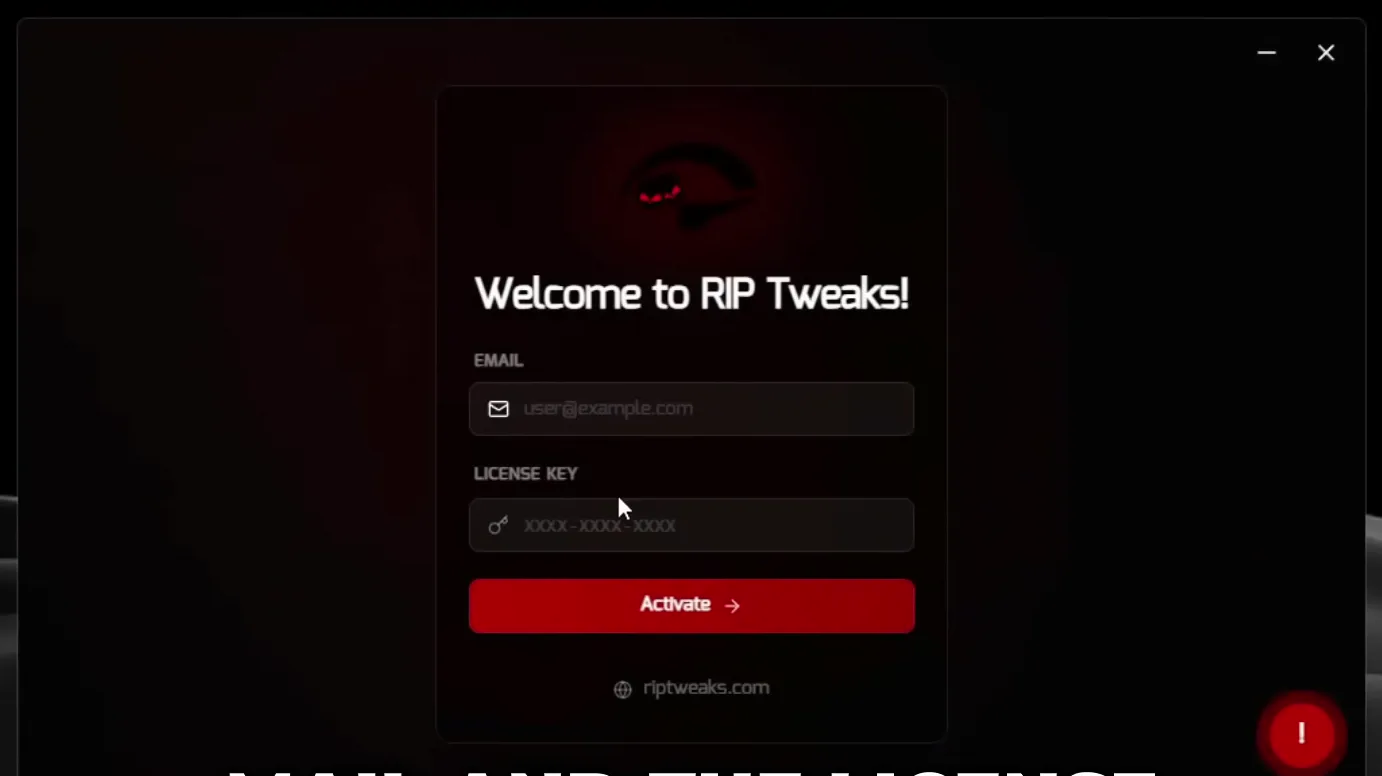
Go to riptweaks.com and download the app. There is a free download, and the paid packs add more tweaks; the video picks the top pack to show everything. After checkout the download and your license key are on your account. Run the installer, click Finish, open the app, type your email and license key and press Activate.
Good to know
Not sure which plan you need? Our free and premium comparison lists what each one includes.
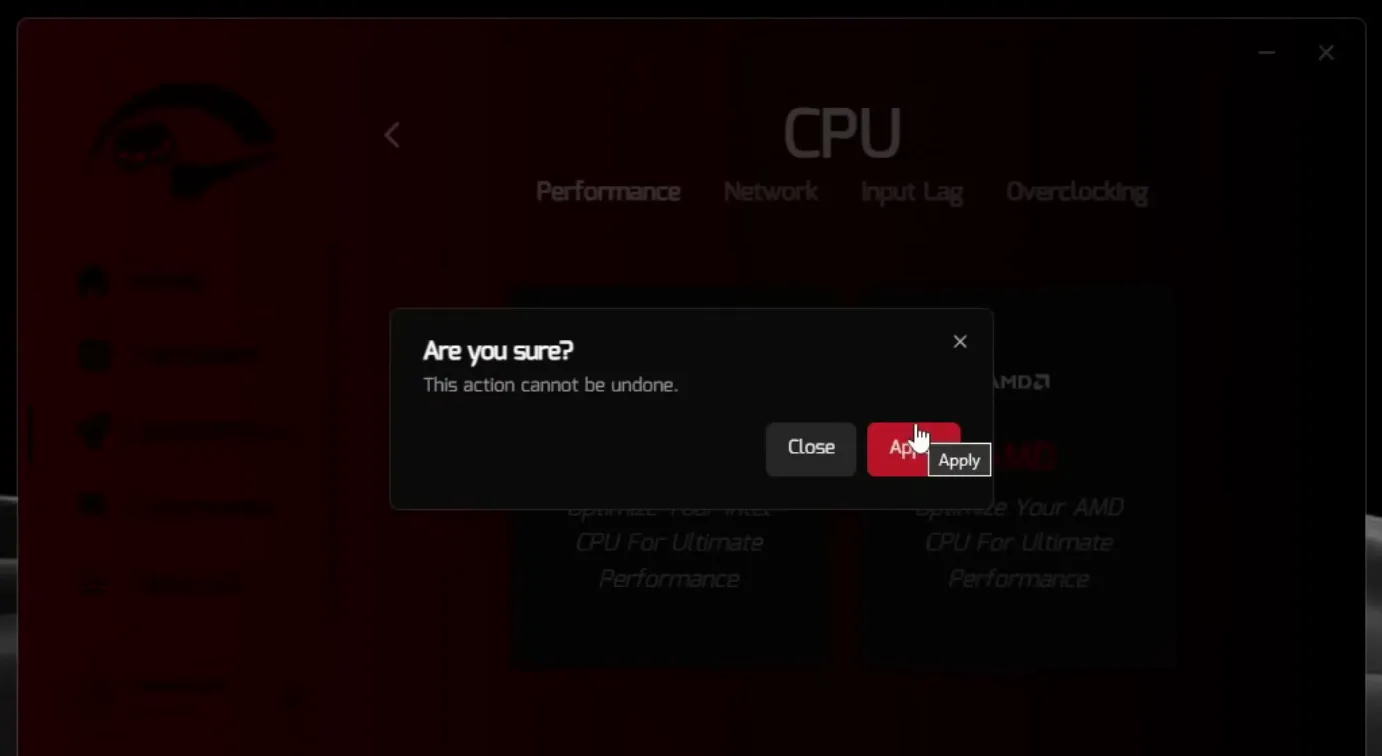
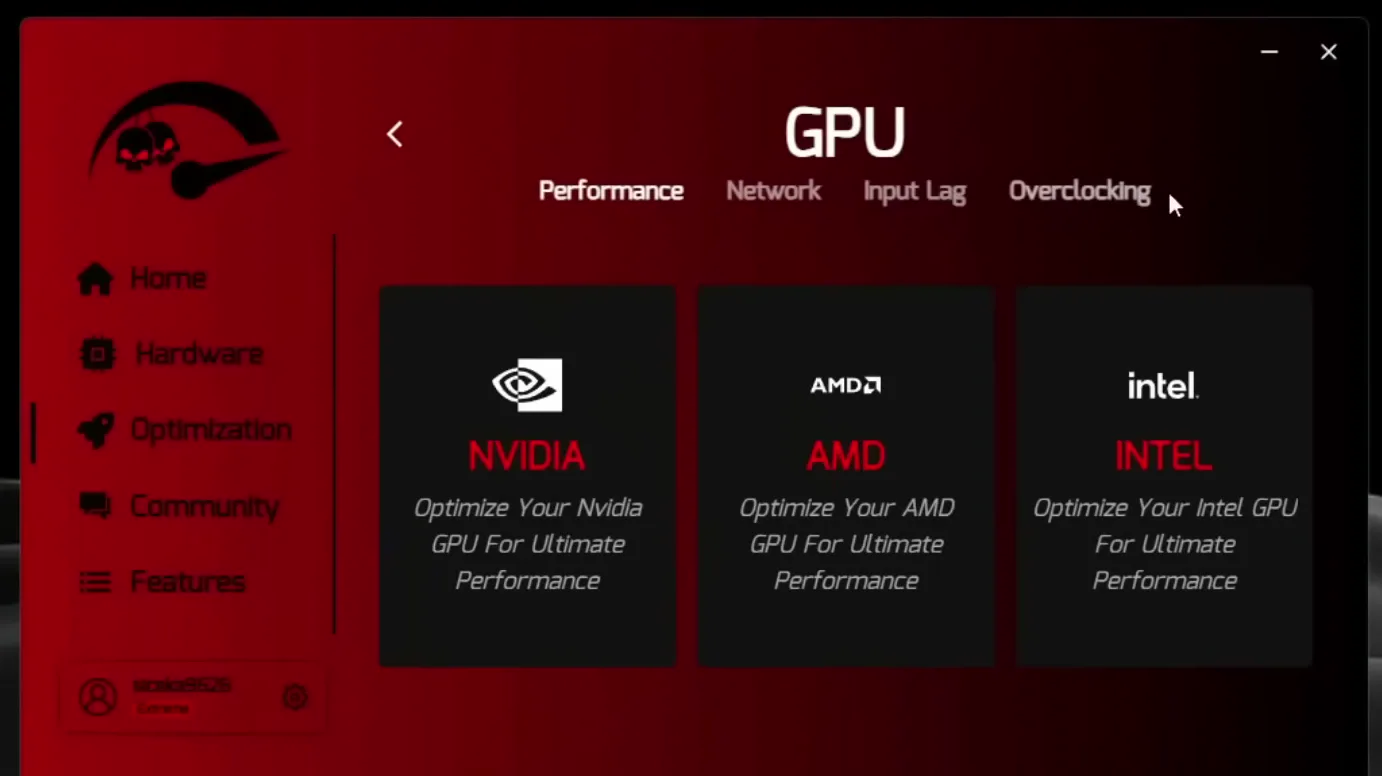
First open the optimization section and go to hardware. Click CPU, pick the brand you own (the video clicks AMD), then click Apply and Close. The GPU page works the same way: choose NVIDIA, AMD or Intel to match your graphics card, then apply.
OptimizationHardwareCPUAMDApply
Careful
Pick the brand you really have. The confirmation box in the video says This action cannot be undone, so take your time before you press Apply.
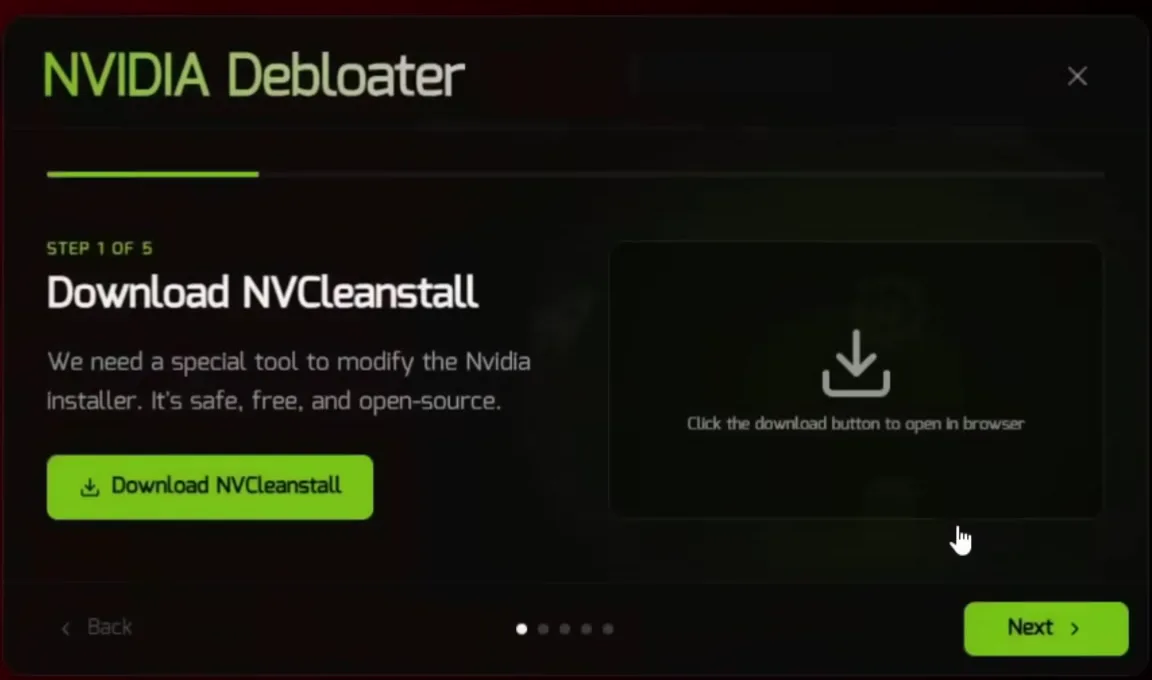
On NVIDIA, the video then opens the Debloat button on the GPU page, which starts the NVIDIA Debloater. Step 1 is Download NVCleanstall: it opens a page in your browser, you download the tool, open it and follow its instructions. Choose Install best driver for my hardware, and in the component list tick Display Driver and PhysX System Software. The video adds nothing else, but you can tick the NVIDIA app too. The screen flickers for 10 to 20 seconds during the install, which is normal.
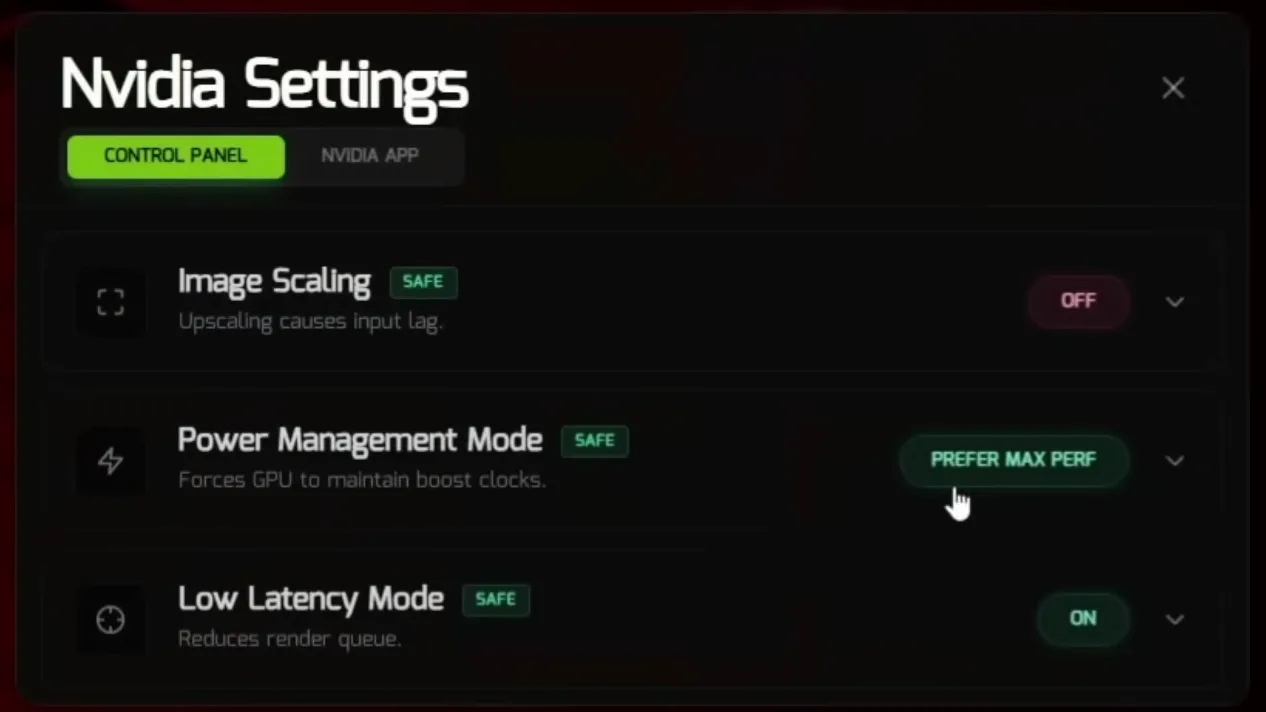
After the driver, open the NVIDIA settings in the optimizer (the video uses the settings icon and searches for NVIDIA Control Panel, then Manage 3D settings) and copy the values: Image Scaling off, Power Management Mode on Prefer Max Perf, Low Latency Mode on, then Apply. The panel's own hint says upscaling causes input lag, which is why it is off. AMD cards have a similar page with their own options.
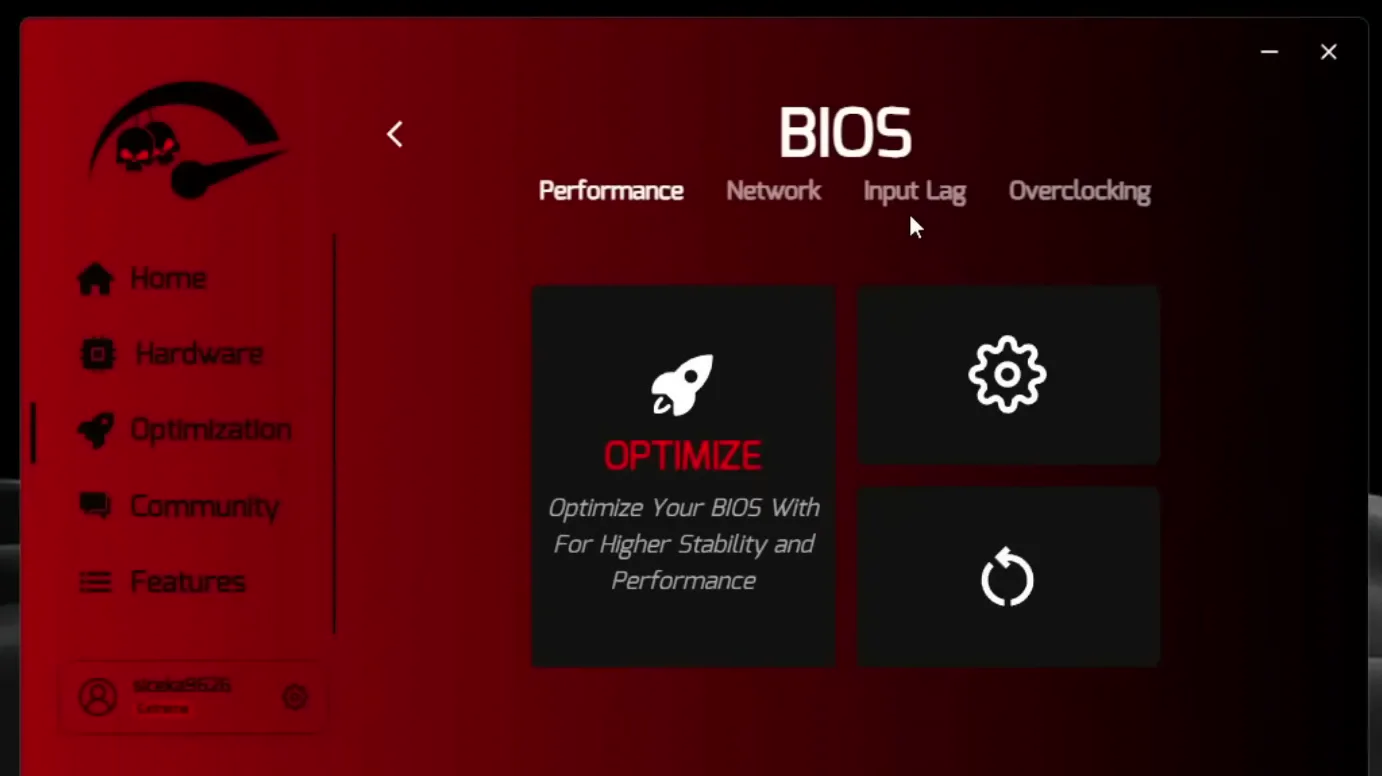
In the RAM section pick one of the three presets, or press Custom and select the size you really have, for example 24 GB, then apply. BIOS has an Optimize button, plus extra settings if you have an Intel or AMD CPU. The SSD page is just apply.
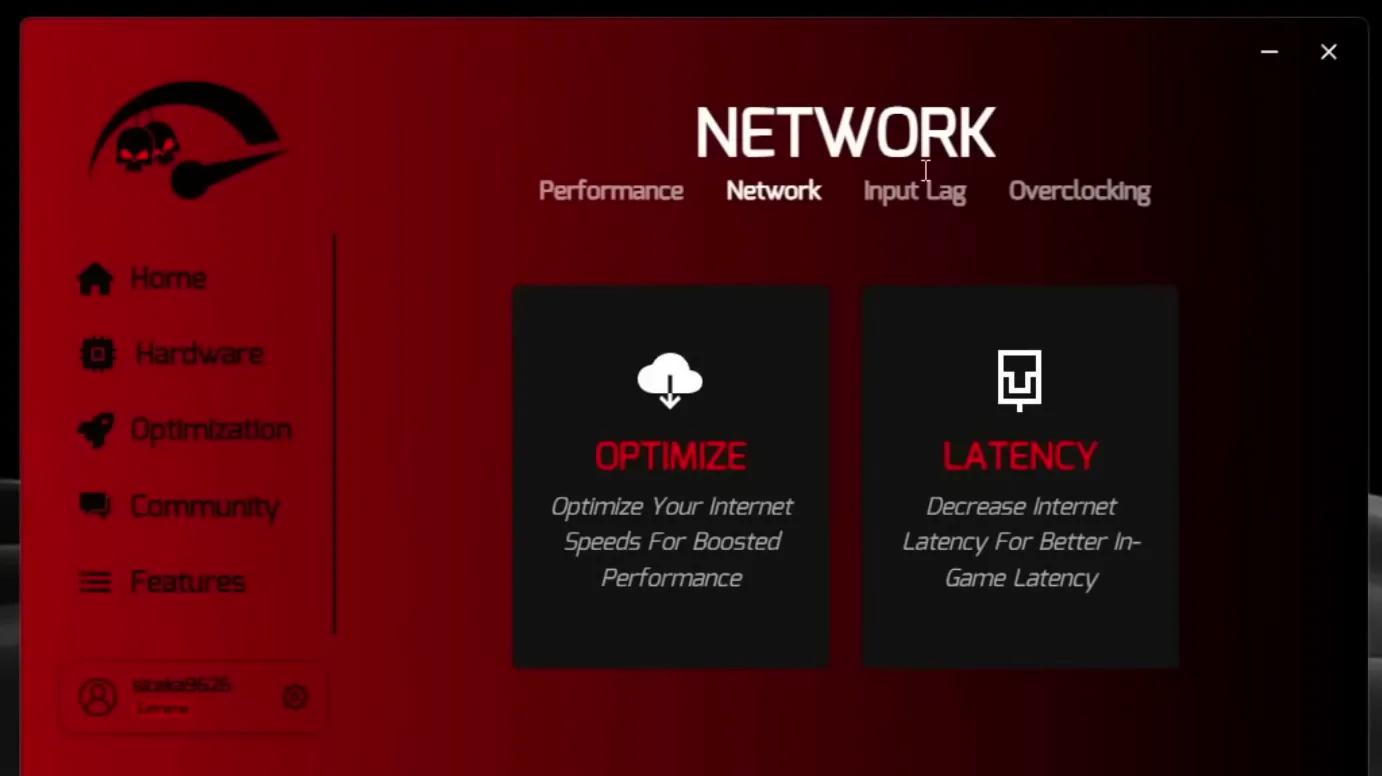
In Network the video does two things: Optimize, which improves your internet speed, and Latency, which lowers internet latency for better in-game latency. Latency restarts your connection for a moment. Then it opens Input Lag and applies all of its tweaks, and finally the Peripherals page: mouse, keyboard, devices and controller, each with an apply button.
Tip
If your ping spikes under load, the cause is often your router, not Windows. Our bufferbloat guide covers that.
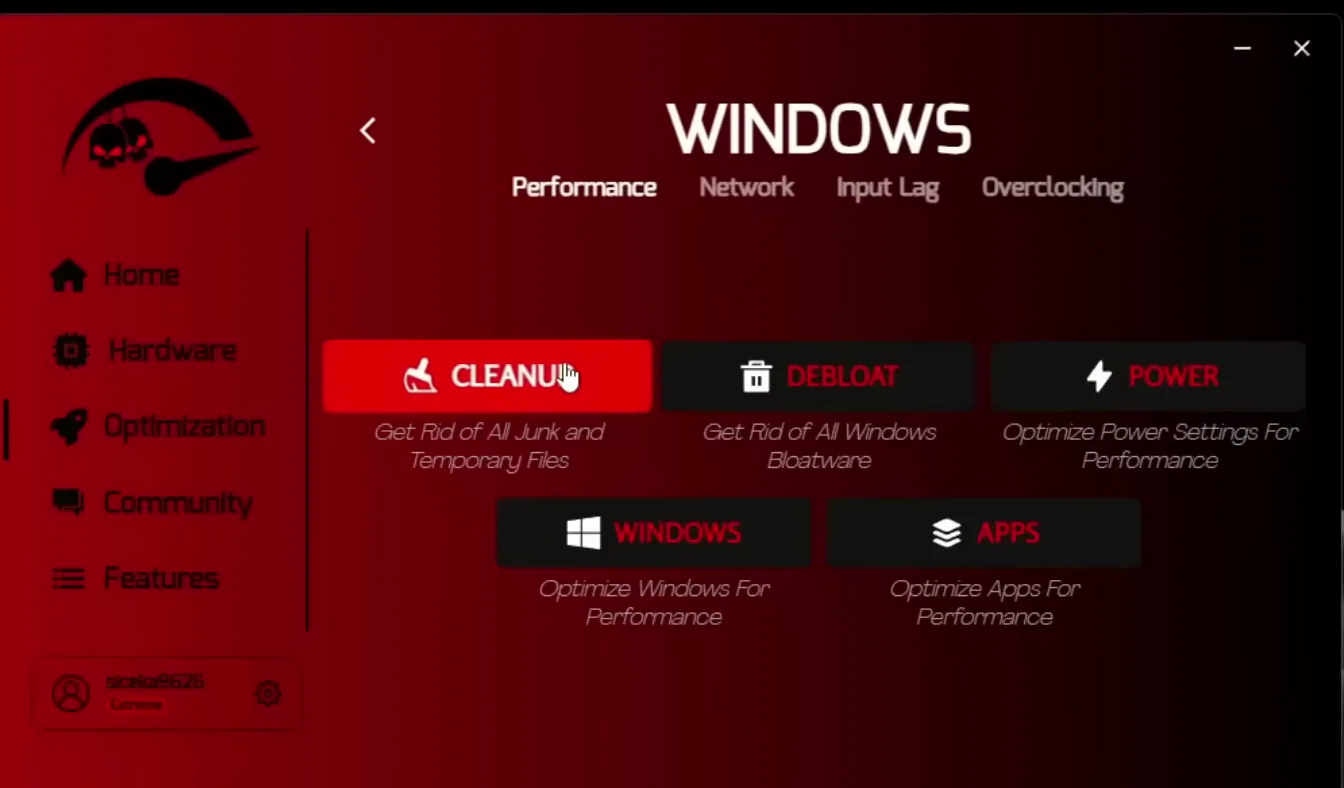
Back in the Windows section, open Cleanup and let it calculate. It finds temporary files, the DirectX shader cache, update leftovers and the recycle bin. On the PC in the video that was around 5 GB. Press Start to free it.
OptimizationWindowsCleanupStart
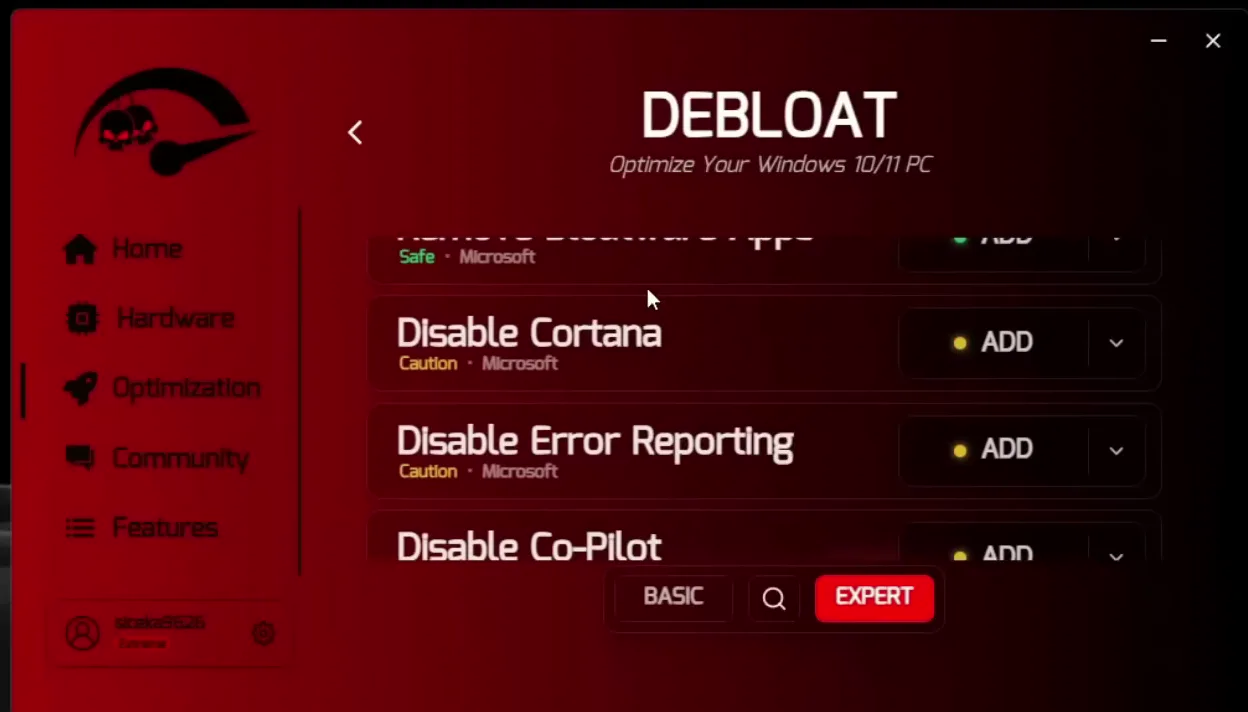
Open Debloat and go through the list yourself. Items such as telemetry can be added; if you do not know what one does, click it and the app explains it. Each row has a risk label (Safe or Caution) and an Add button, and the page switches between Basic and Expert. When you have chosen, press the debloat button and the changes are applied. A revert button on the side undoes them all.
How to undo it
Every debloat change can be reverted with the revert button in the same section, so adding a few items to test is low risk.
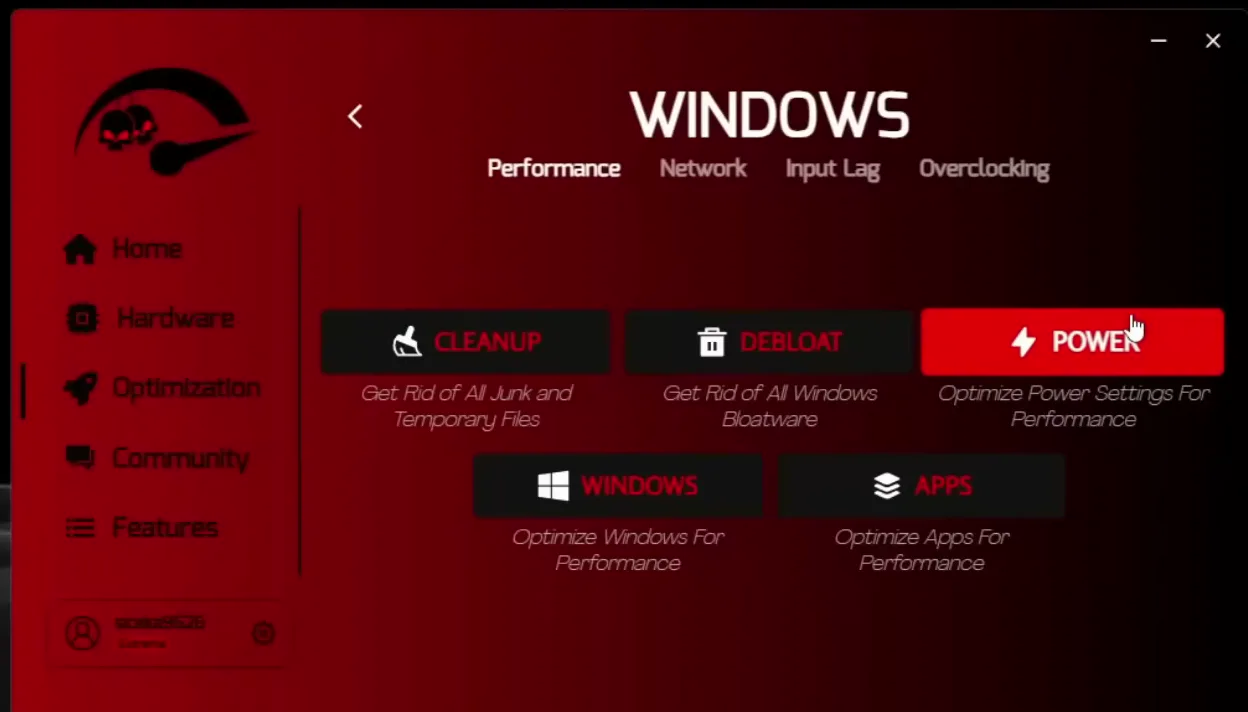
The Power section optimizes your power settings with one button: press Optimize and the tweaks apply in the background. The Windows page next to it has a power menu made of two tweaks, one for Windows 10 and one for Windows 11, applied with one click. It also lists options such as full screen optimizations and a command center that opens the system tools you need for tuning.
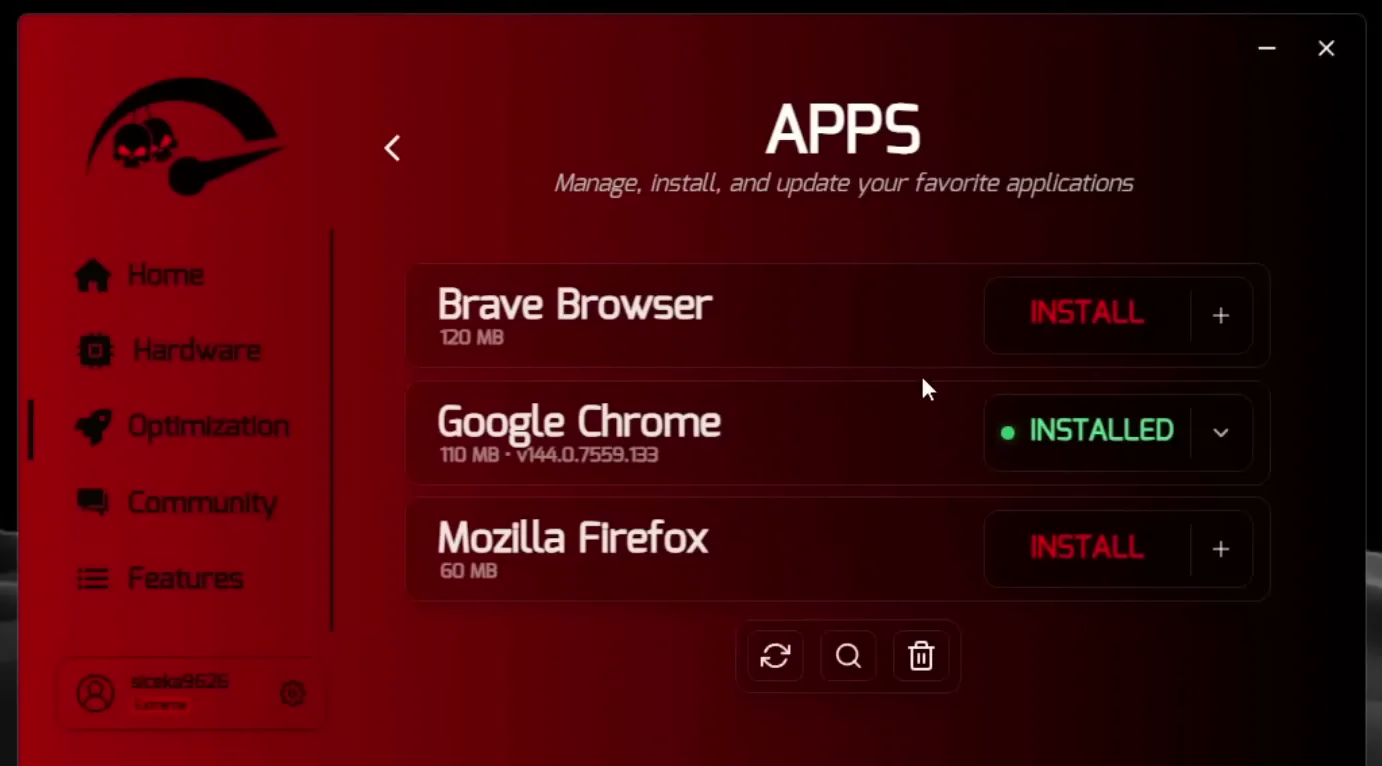
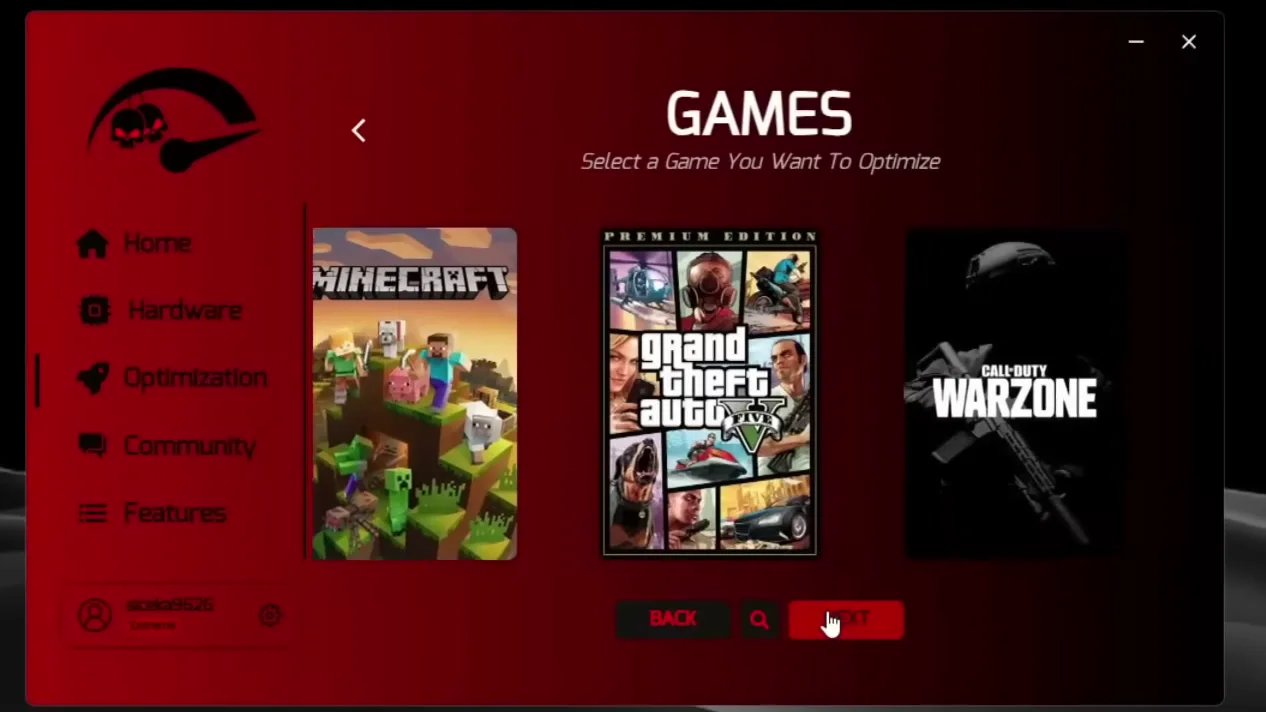
The Apps page installs programs with one click (the video installs Firefox), has an uninstaller, and an update function that lists outdated apps and drivers. None of this changes FPS by itself, it just saves time. The part that matters for you is the Games page: search for your title, press Optimize and Apply, and the app also shows settings to copy. The video does it for GTA as the example. Features such as an FPS counter, custom crosshairs and an OS reinstall tool are listed there too.
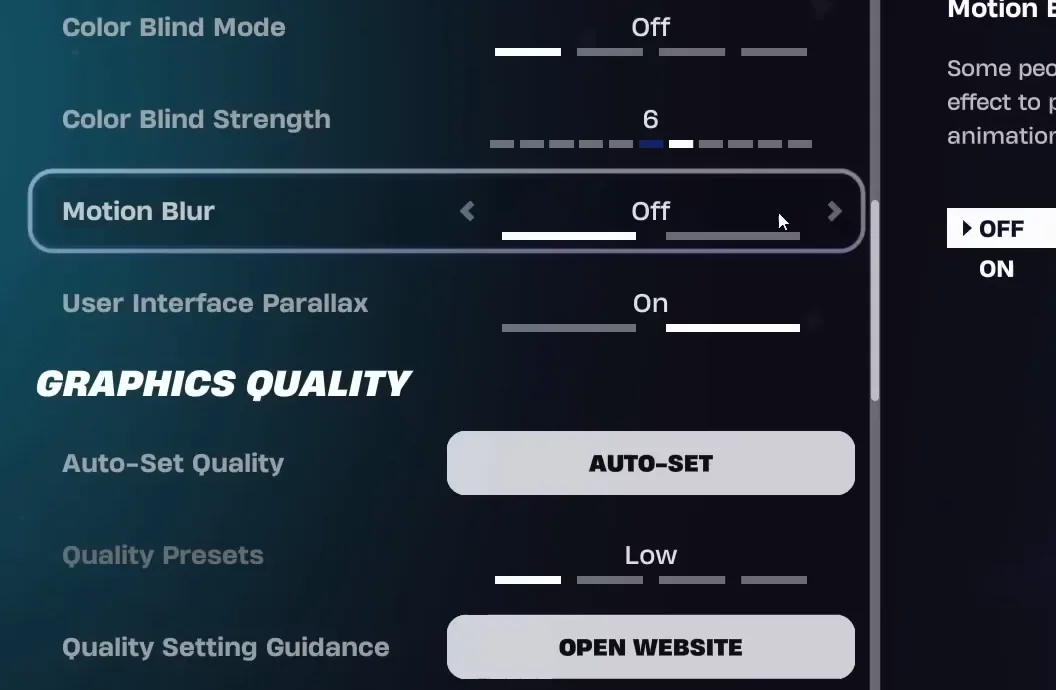
Go back to the exact spot and settings from your first test. In the video Fortnite stays on the lowest quality preset, and the FPS counter showed about 350 to 400 FPS consistently, against about 200 before. That is the result on the PC in the video. Yours depends on your hardware, drivers and what was slowing Windows down before.
How to check it worked
Use the same method both times, otherwise the numbers mean nothing:
- Same map, same spot, same graphics settings and the same DirectX version (the video uses DirectX 12).
- Turn on an FPS counter and note the average and the low numbers. The video shows 195 FPS with a low of 187 before.
- Watch how steady the frames feel, not only the average. Stutters matter more than a few frames.
- Ping is shown in the corner too: the video shows 42 before, so write yours down as well.
Don't do this
If something feels worse after a step, stop. Undo that last change (debloat revert, or switch the tweak off) before you apply anything else, so you know which one caused it.
Key settings at a glance
FAQ
Is there a free app that boosts Fortnite FPS?
Yes. RIP Tweaks has a free download, and the video shows the bigger pack to cover everything. The free version covers the basics, and see what is free and what is premium for the difference.
How many FPS will I get?
It depends on your PC. On the PC in the video the lowest-settings test went from about 200 to 350 to 400 FPS. Typically the gain is larger on a PC that was never tuned and smaller on a clean one, so always test your own before and after.
Which Fortnite settings does the video test on?
The lowest DirectX 12 settings with everything on low, in a 1v1 box zone map. Keep the same settings and the same spot for both runs.
Do I need an NVIDIA card?
No. The GPU page has NVIDIA, AMD and Intel cards. The NVCleanstall driver step and the three 3D settings in this article are for NVIDIA only; AMD has its own options in the app.
Can I undo the changes?
The debloat list has a button that reverts the changes. Some pages, like the CPU apply, warn that they cannot be undone, so apply only what matches your hardware. Our optimize your PC with one free app guide covers the current version.
Does this lower input lag too?
That is the point of the Input Lag page, the Latency tweak, the peripherals page and the NVIDIA Low Latency Mode setting. Our Fortnite input delay guide goes deeper on that.
Does this work for other games?
Yes. The Games page lists many titles, and the video shows GTA as an example. For lower-end PCs, also see our Fortnite potato graphics guide.
 RIP Tweaks
Do it in a few minutes with RIP Tweaks
- Free plan for Windows 10 and 11
- A backup first, and every tweak can be switched off again
- Made for higher FPS, lower input lag and steadier ping
Free · Windows 10 and 11
