Fortnite Potato Textures: Profile Inspector and Config File Guide (2026)

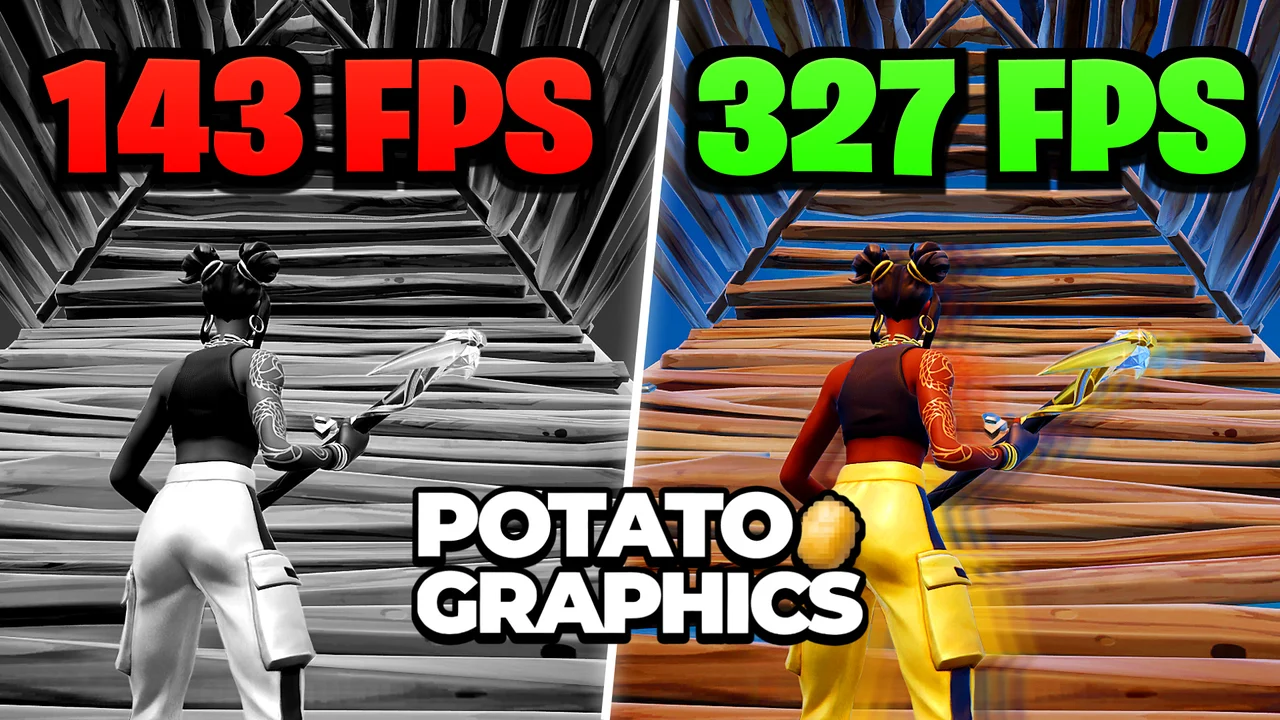
Written version of our video, every step checked against it.
Quick answer
- Download the POTATO GRAPHICS 2026 zip from the RIP Tweaks Discord and drag its files out of the zip.
- NVIDIA only: run NVIDIA Profile Inspector as administrator, select the Fortnite profile, drag in Fortnite.nip and click Apply changes.
- Press Win + R, type
%localappdata%and put the new GameUserSettings file intoFortniteGame\Saved\Config\WindowsClient. - Optional: finish with the hardware tweaks in RIP Tweaks and turn on the FPS counter.
- Start Fortnite: in the video, distant textures are reduced to a minimum and the FPS counter shows a much higher number.
This guide is for anyone on a weak or older PC who wants Fortnite to draw far less every frame, including the broken ground textures people see in Chapter 7. It follows the manual route from our video: a ready-made NVIDIA profile, a replacement settings file, and the PC tweaks that round it off. If you would rather do it in one click, read our potato graphics guide.
In the video the files come from the RIP Tweaks Discord. Join the server, open the YouTube tweaks channel, click Download and then Visit site. That opens a shared Google Drive folder.
DiscordYouTube tweaksDownloadVisit site
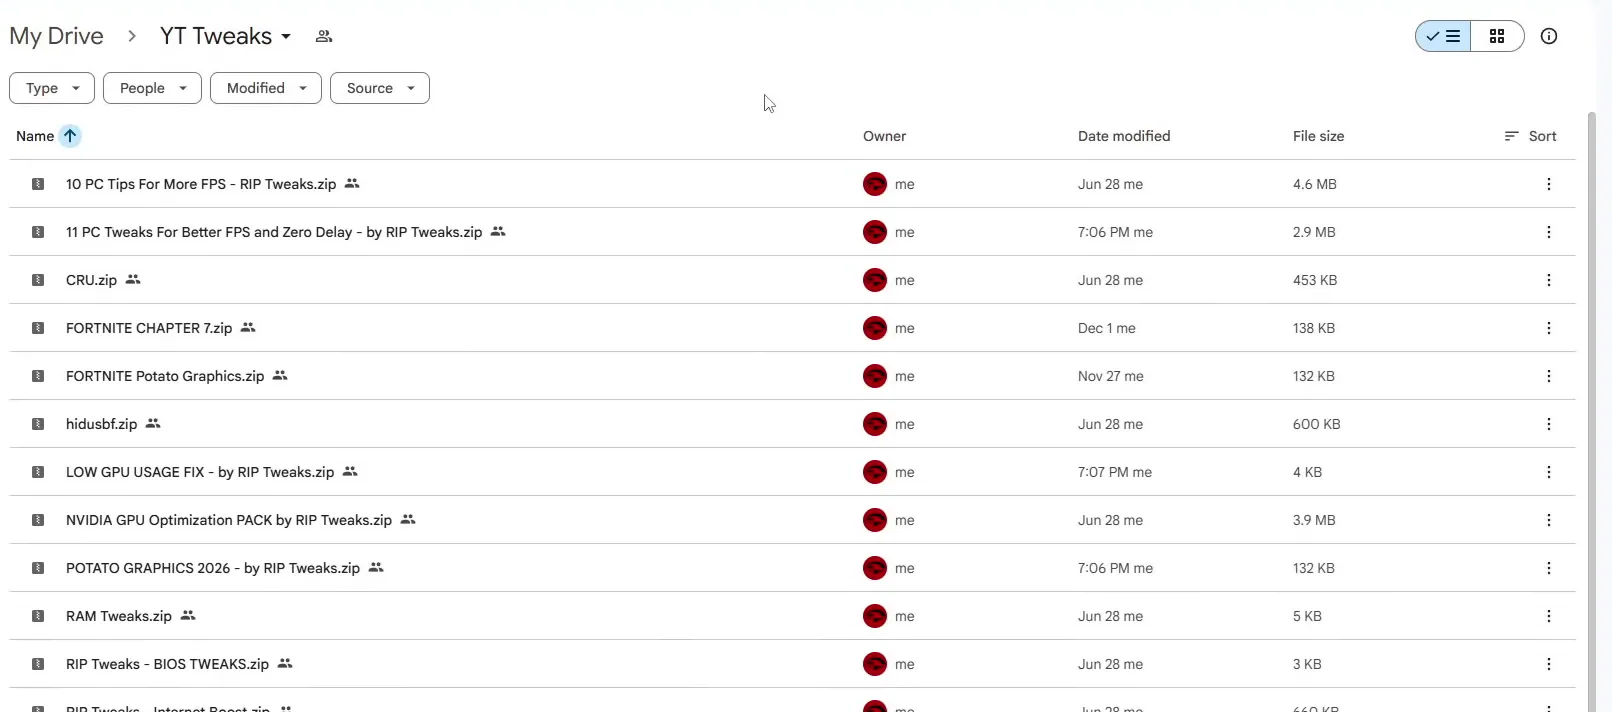
Right-click that zip and download it, drag it to your desktop, open it with Windows Explorer and drag the files out. Do not run anything from inside the zip. You get nvidiaProfileInspector, a fortnite.nip profile and a new GameUserSettings file.
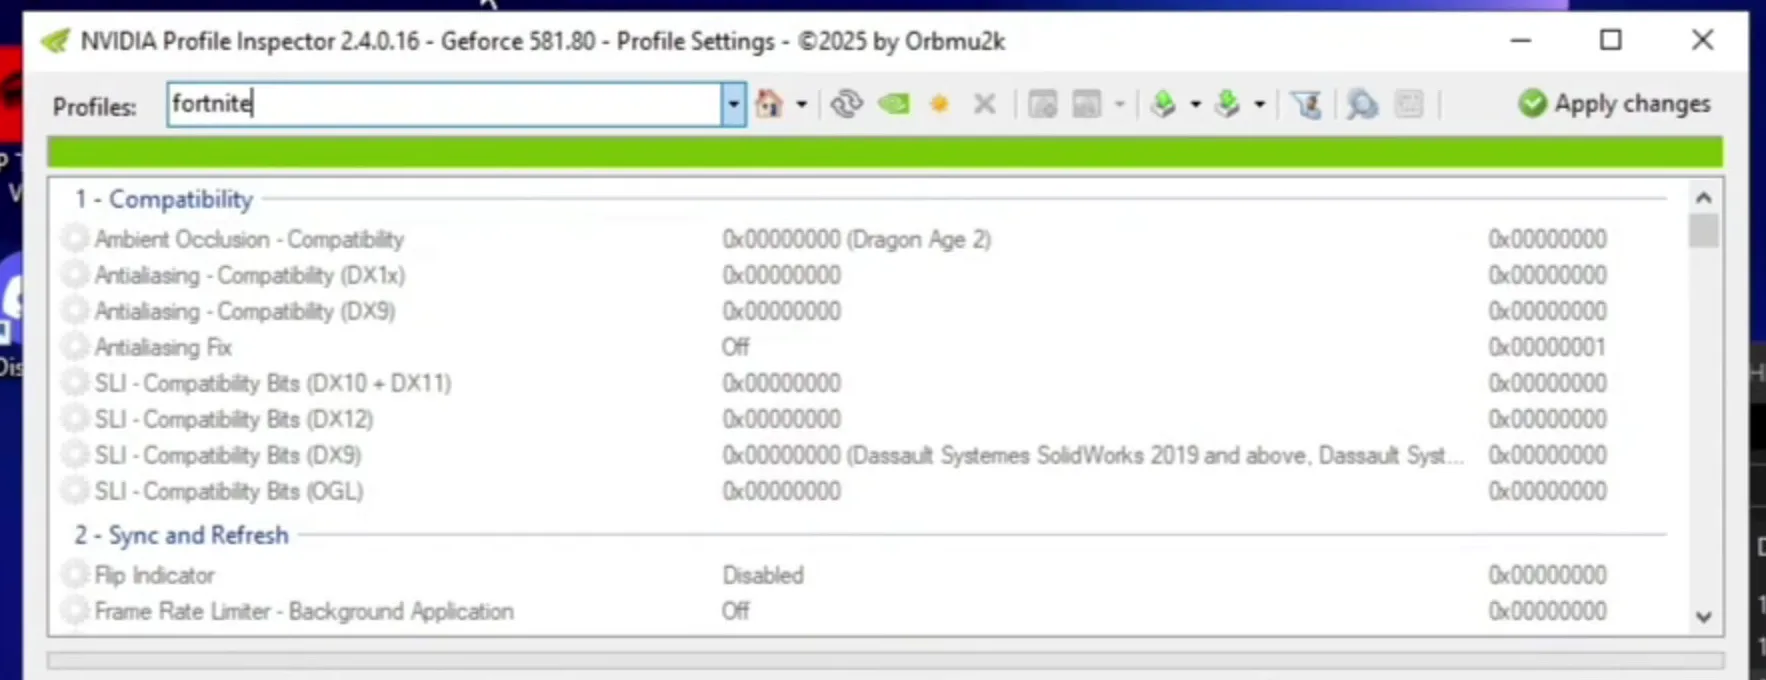
This step is for NVIDIA graphics cards only. Right-click nvidiaProfileInspector and choose Run as administrator. Type Fortnite into the Profiles box at the top and click the Fortnite entry.
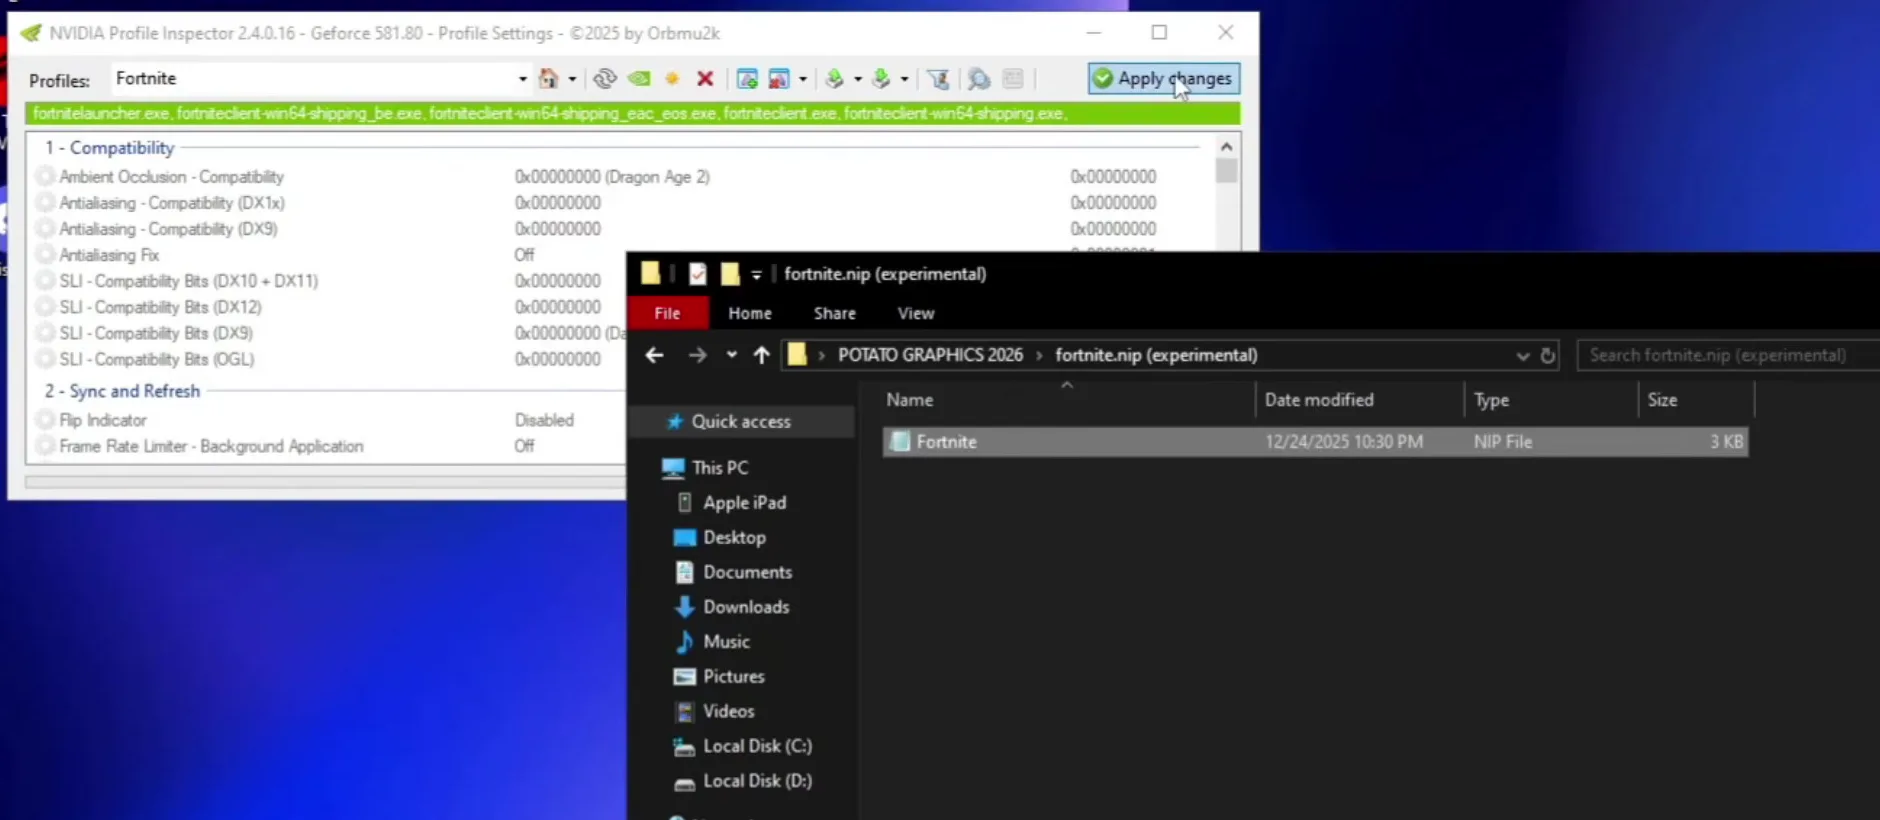
Now drag Fortnite.nip into the Profile Inspector window. The tool says the profile was imported successfully: click OK, then click Apply changes.
Careful
Without the Apply changes click the import is not saved. Make sure you press it before you close the tool.
Close Profile Inspector. Press Win + R, type %localappdata% and click OK. Scroll down to the FortniteGame folder and open the path below. The folder holds two files, Engine and GameUserSettings.
FortniteGameSavedConfigWindowsClient
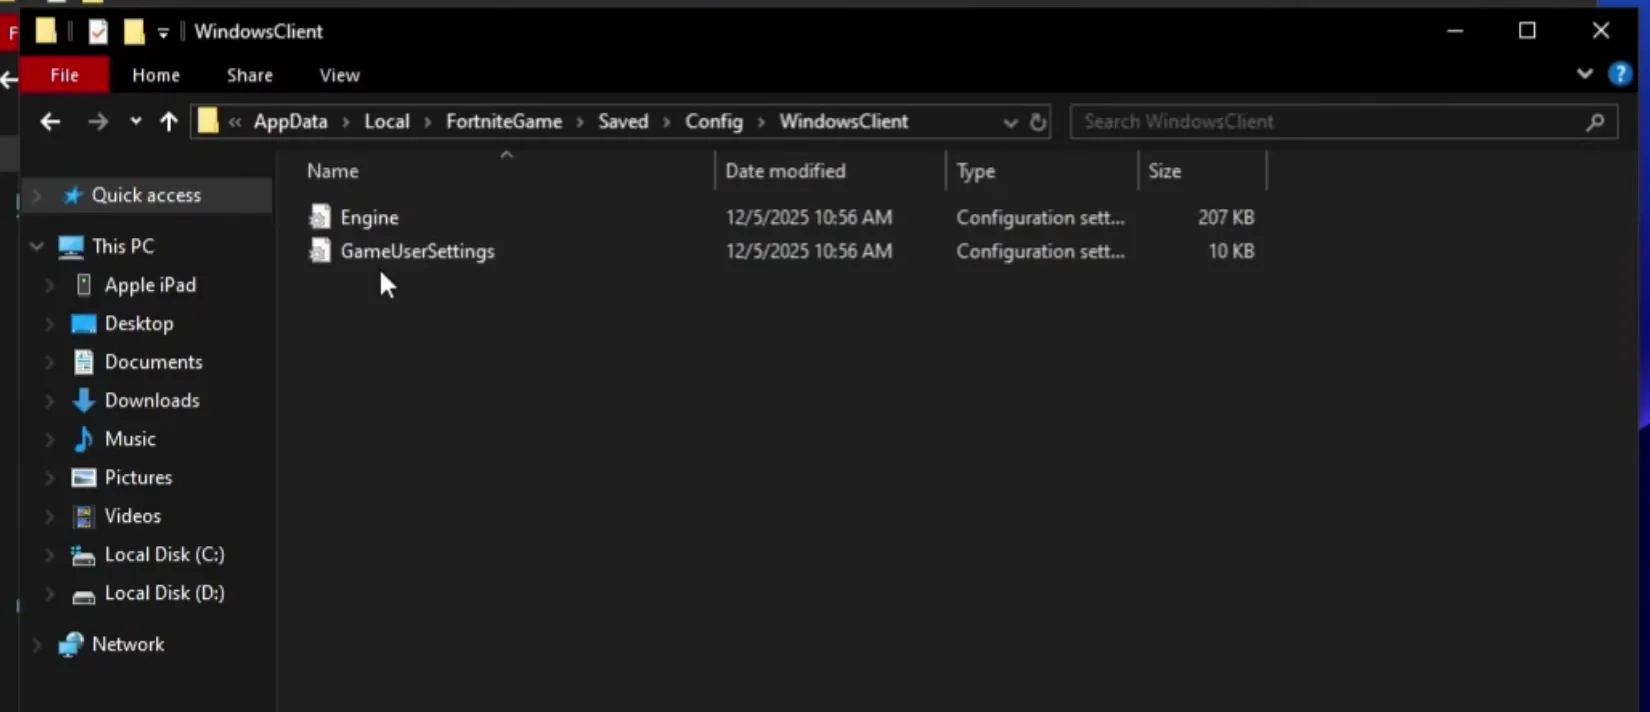
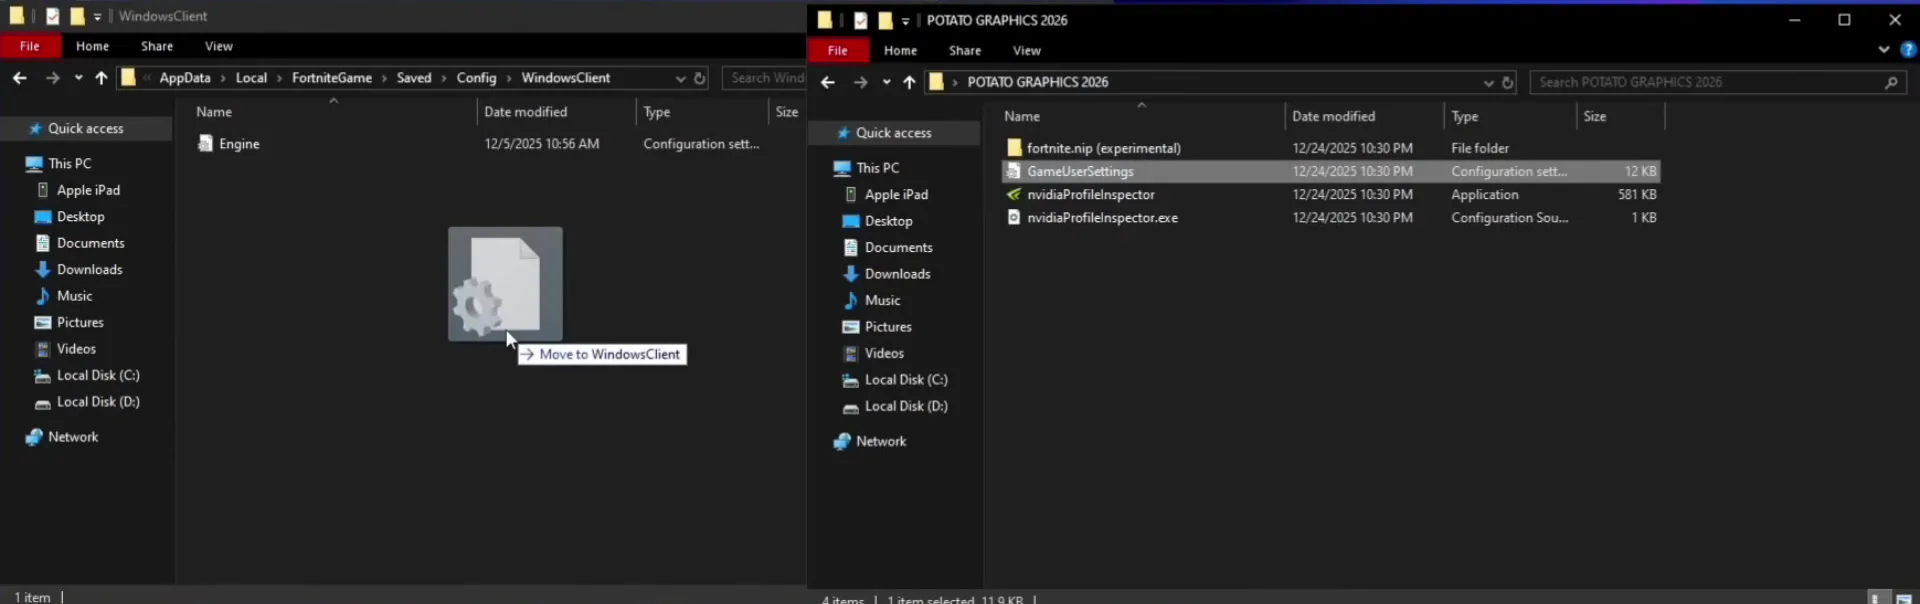
Delete the old GameUserSettings file, or better, move it to your desktop first as a backup. Then drag the new GameUserSettings file from the potato graphics folder into WindowsClient.
Tip
Close Fortnite and the Epic launcher before you swap the file. The game rewrites its own settings when it closes and can overwrite yours.
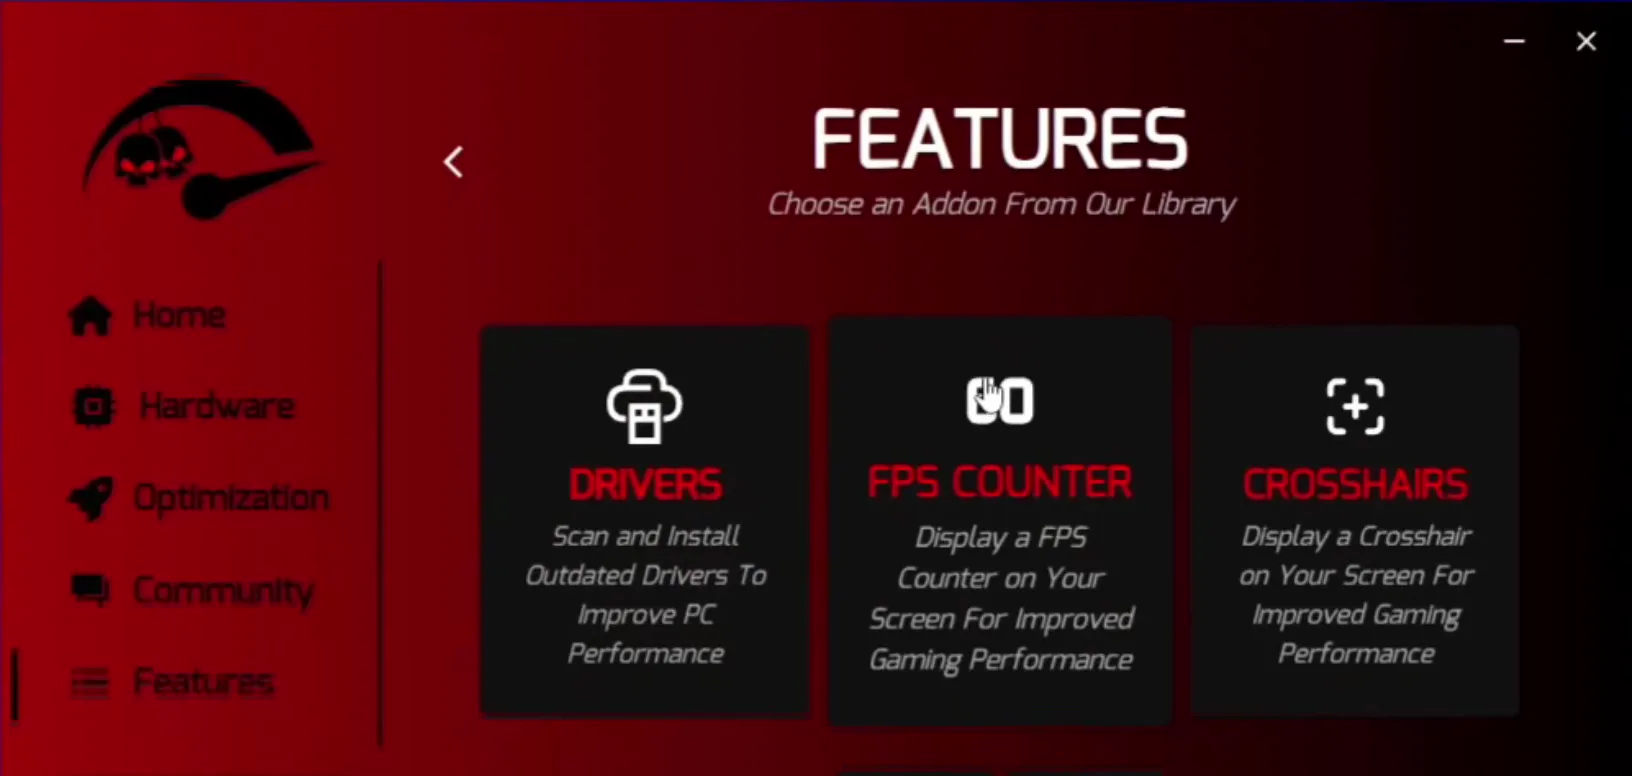
The profile and the settings file only change Fortnite. The rest of the video tunes the PC itself with RIP Tweaks. Open riptweaks.com, scroll to the pricing, pick a pack (the video takes the Extreme pack), then click Purchase, Add to cart and Proceed to checkout. After the purchase, double-click RIP Tweaks to open it.
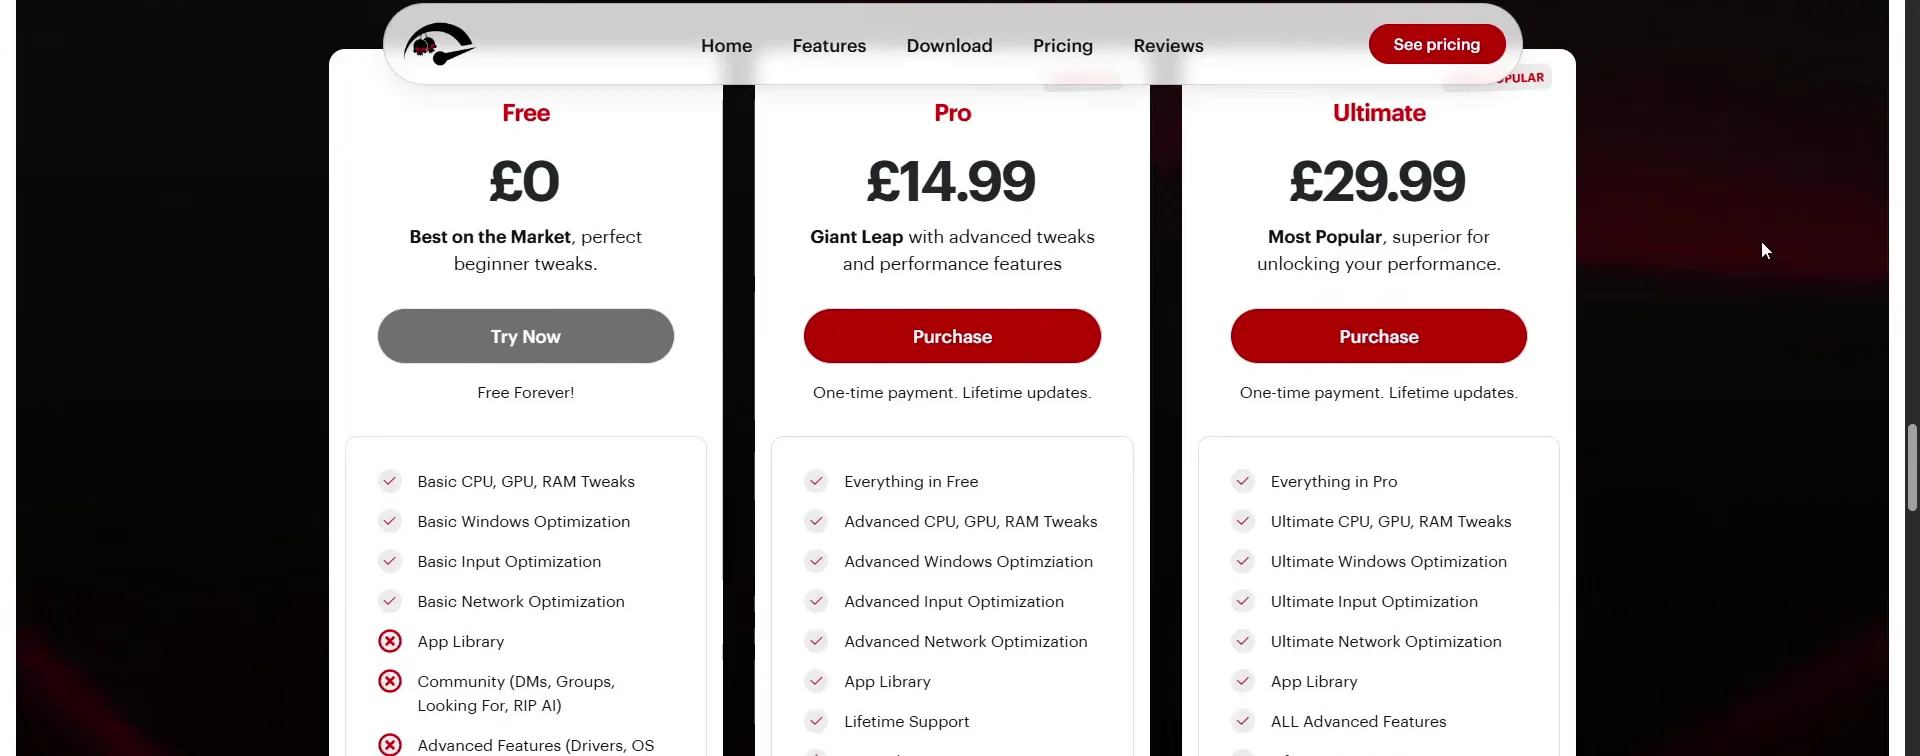
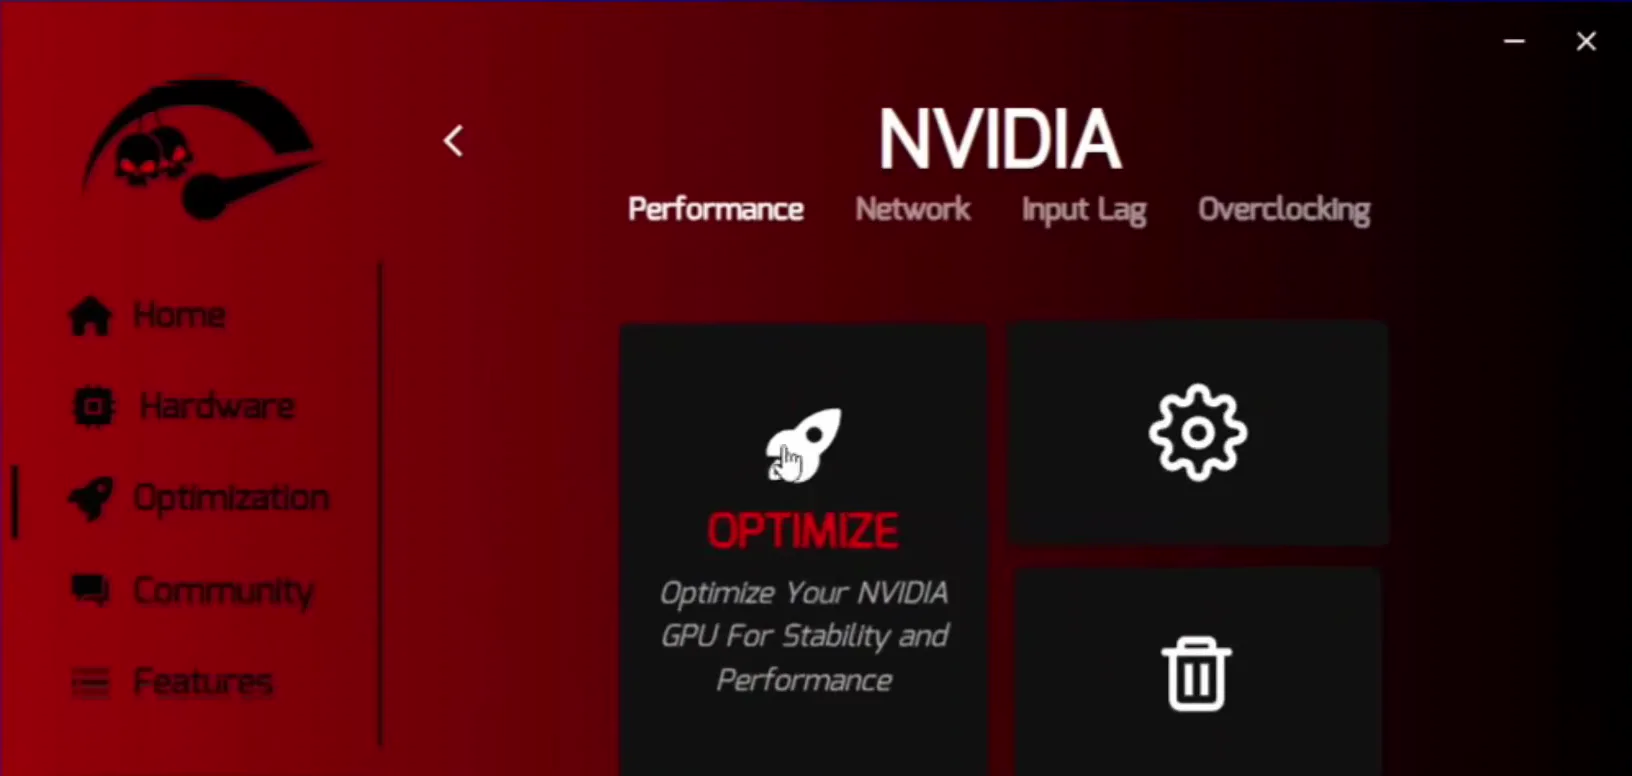
The video works through the Hardware section in this order: CPU (AMD on the PC in the video) and Apply, then GPU (NVIDIA) with Optimize and Apply, then RAM set for 32 GB with Apply, then BIOS and SSD with Optimize. Pick the CPU and GPU brand that matches your own PC.
HardwareGPUNVIDIAOptimizeApply
How to undo it
Every tweak in RIP Tweaks has its own button to switch it off again. Create a backup first before you apply anything.
How to check it worked
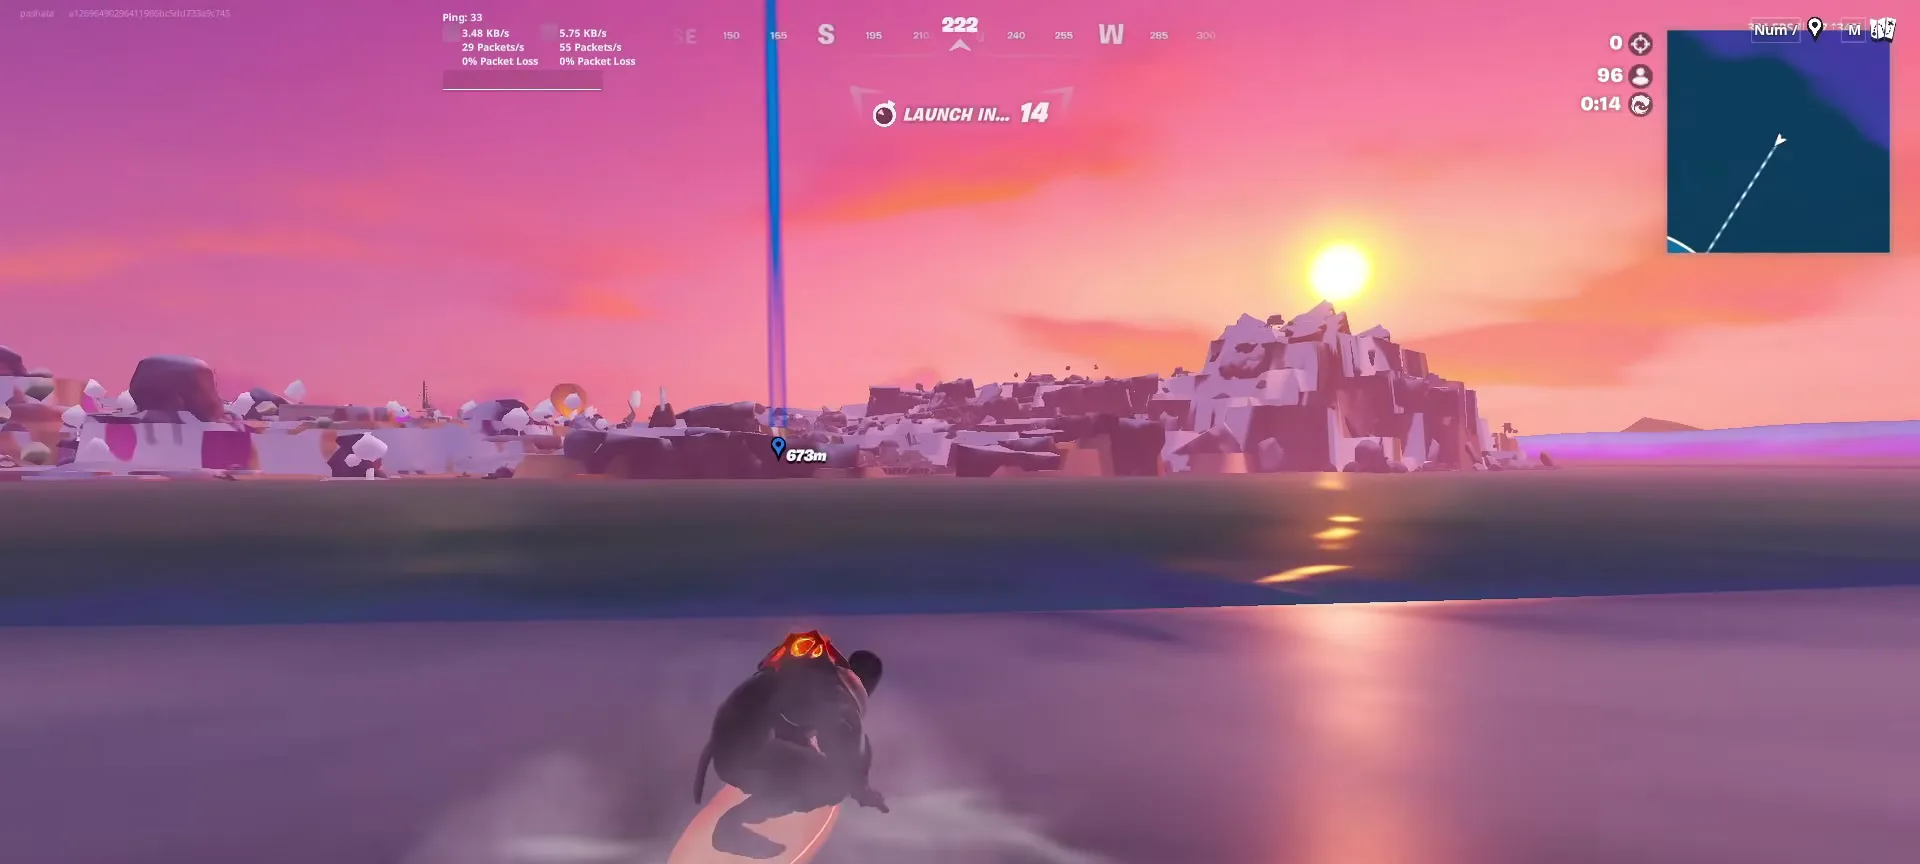
- Look at distant ground, rocks and buildings: they should look flat and plain compared with the in-game Low preset.
- Check the FPS counter in a busy spot such as a full drop or a late-game fight, not only in the lobby.
- Watch the lowest FPS dips as well as the average: steadier dips mean fewer freezes. Results differ on every PC, so judge it on yours.
Don't do this
If Fortnite looks unchanged on an NVIDIA card, open Profile Inspector again, select the Fortnite profile and make sure the import was applied. If the game shows its old settings, the GameUserSettings file was probably rewritten by the game: close Fortnite and copy the new file in again.
Key settings at a glance
FAQ
How do I get potato graphics in Fortnite Chapter 7?
Import the Fortnite.nip profile into NVIDIA Profile Inspector (NVIDIA cards), replace the GameUserSettings file in %localappdata%\FortniteGame\Saved\Config\WindowsClient, then start the game. The video shows both steps.
Does this work on AMD and Intel graphics?
NVIDIA Profile Inspector only works with NVIDIA cards, so skip that step. The GameUserSettings file is Fortnite's own, so it applies on any graphics card. The video promises tweaks for Intel, AMD and NVIDIA GPUs; on AMD or Intel, use the settings file with the RIP Tweaks hardware steps.
Where is the Fortnite GameUserSettings file?
Press Win + R, type %localappdata% and open FortniteGame, Saved, Config, WindowsClient. The video shows an Engine file and a GameUserSettings file there.
How do I undo it?
Put your original GameUserSettings file back into WindowsClient. For the NVIDIA side, open Profile Inspector and restore the Fortnite profile to its defaults, or choose your usual preset in Fortnite's video settings.
Why do I need to run Profile Inspector as administrator?
The video does it that way before importing the profile, so the tool is allowed to write the driver profile. Remember to click Apply changes after the import.
Is there a one-click version?
Yes, the potato graphics option in RIP Tweaks. Our potato graphics guide covers it, and fixed ground textures covers the broken ground problem. For lag in general, see fix input delay in Fortnite.
 RIP Tweaks
Do it in a few minutes with RIP Tweaks
- Free plan for Windows 10 and 11
- A backup first, and every tweak can be switched off again
- Made for higher FPS, lower input lag and steadier ping
Free · Windows 10 and 11
