Optimize Windows 11 for Gaming in 2026: The Full Step-by-Step Checklist for FPS, Input Lag and Ping

Written version of our video, every step checked against it.
Quick answer
- Make a restore point first, so every later change can be undone.
- Clean up by hand: uninstall apps you do not use, disable high-impact startup apps, set Adjust for best performance and run Disk Cleanup.
- Switch to the Ultimate Performance power plan, then debloat Windows with the Win11Debloat script.
- Run the pack's tweaks for your hardware: RAM, SSD or hard drive, TCP optimizer, CPU with Unpark all, and the update blocker.
- Finish with a clean NVIDIA driver, the GPU tweaks, the Manage 3D settings and the NVIDIA Profile Inspector profile.
This guide is for anyone who wants Windows 11 set up for games, with more steady FPS, less input lag and a calmer ping, without downgrading to Windows 10. It follows our video click by click in the same order, with the folder of the free pack open on screen. If you only want the short version, see our guide to increasing FPS on Windows 11, which embeds the same video from a different angle.
The video uses a free pack called Windows 11 Optimization 2026. Open our Discord (discord.gg/riptweaks), go to the YouTube Tech channel and click the Download button. A page opens: click Subscribe to channel, subscribe on YouTube, wait for the link to unlock and click Unlock link. Right-click the pack in the list, download it, drag it to the desktop and extract it.
Inside there are 14 numbered folders, from 1. Start to 14. TCP Optimizer. The rest of this guide goes through them in that order.
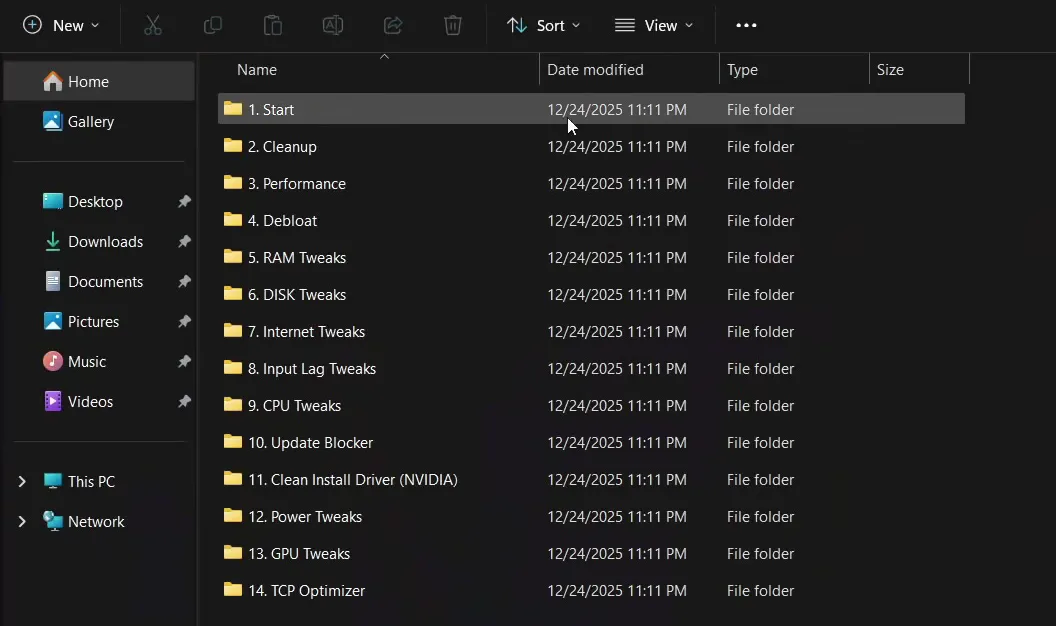
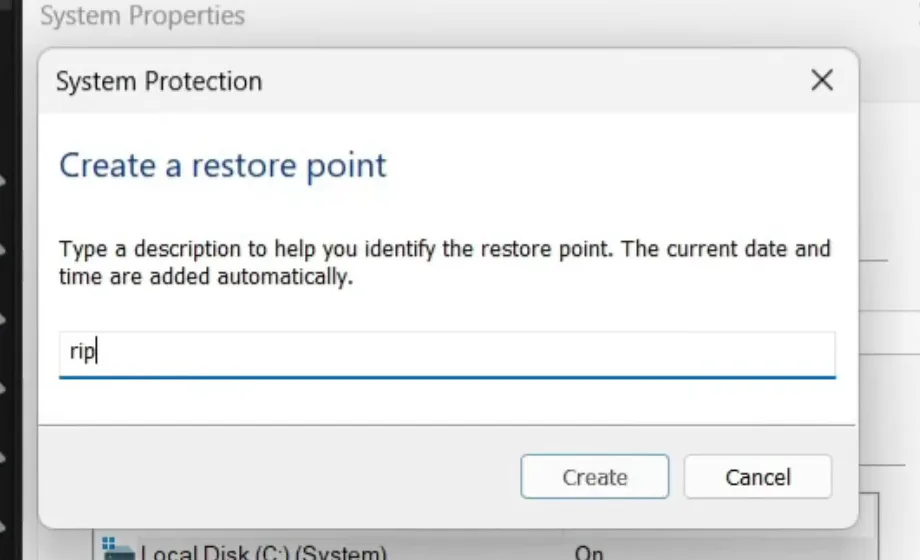
Open 1. Start and double-click Restore Point. In System Protection click Create, type a name such as "RIP Tweaks restore point" and click Create again. Wait until Windows says it is finished before you go on.
1. StartRestore PointCreateName itCreate
How to undo it
If a later step does not suit your PC, this restore point is your way back. Open System Restore from the same System Protection window and pick it.
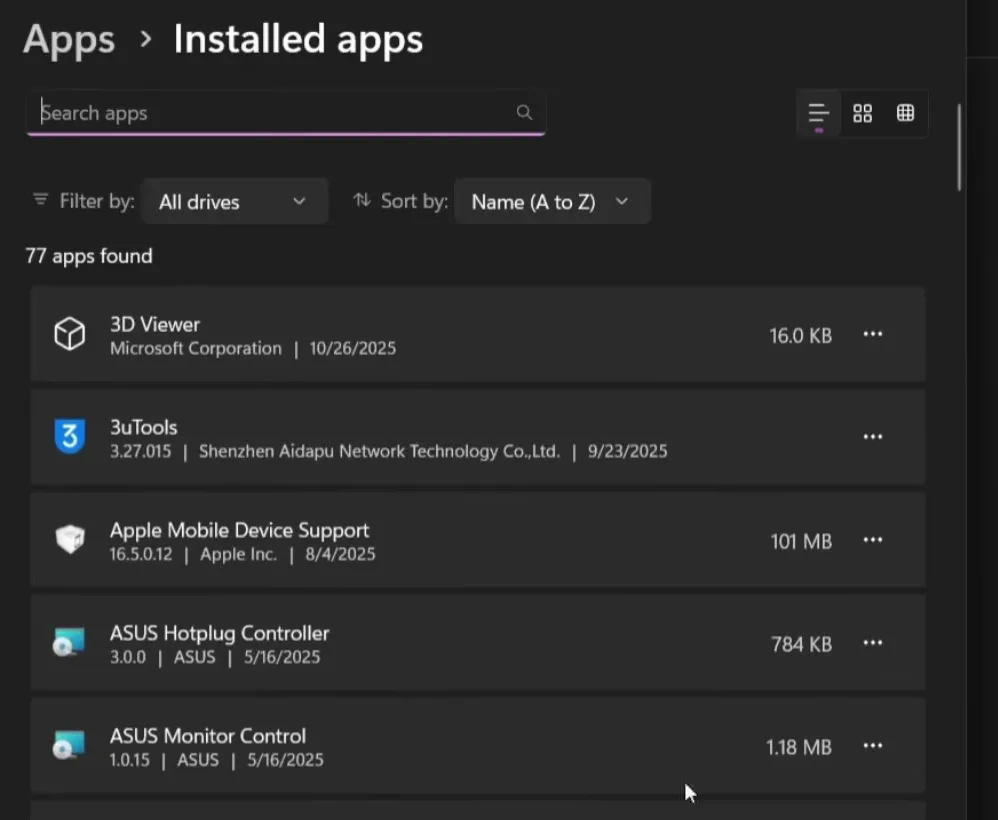
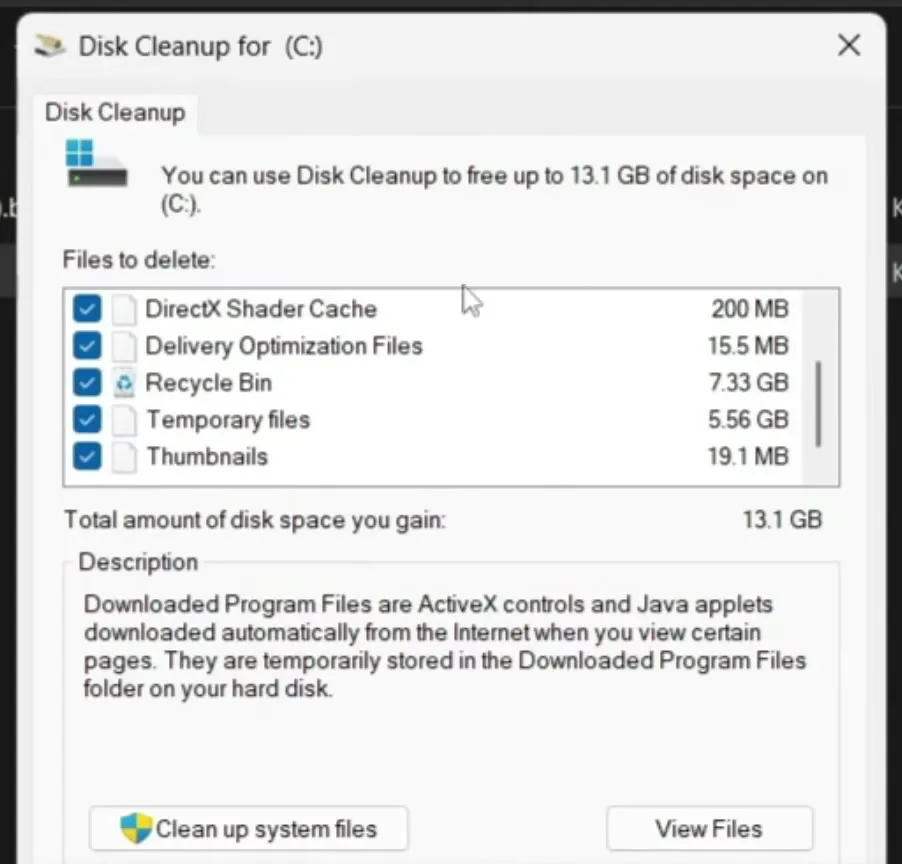
While the restore point is being made, open 2. Uninstall Apps You Don't Need. It opens the Windows installed apps list. The video removes 3uTools as an example and says to uninstall everything you do not use, which also frees disk space.
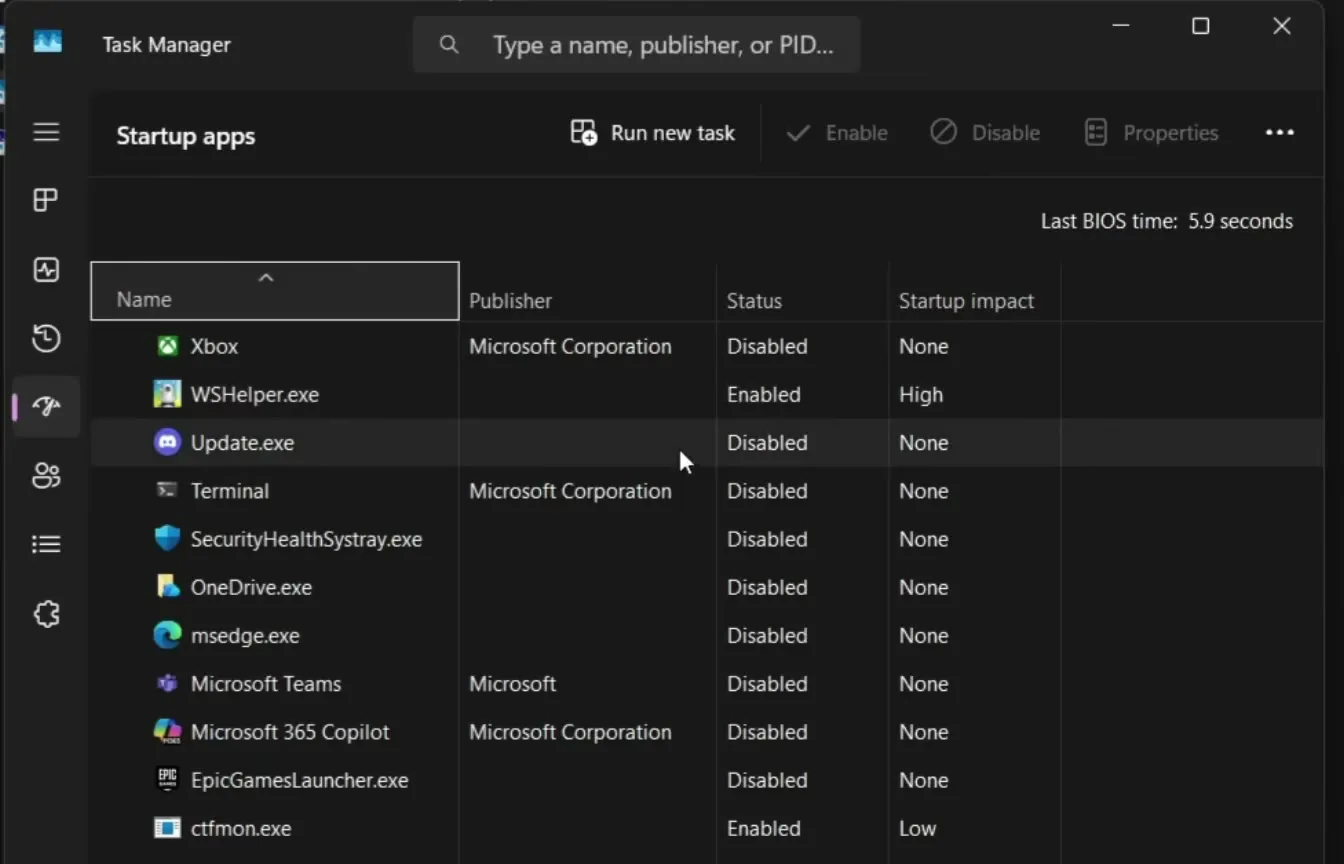
Then open 3. Startup Apps. In Task Manager, find every app whose status is Enabled and that has a high startup impact, and click Disable. The video disables all of them.
3. Startup AppsTask ManagerStartup appsDisable
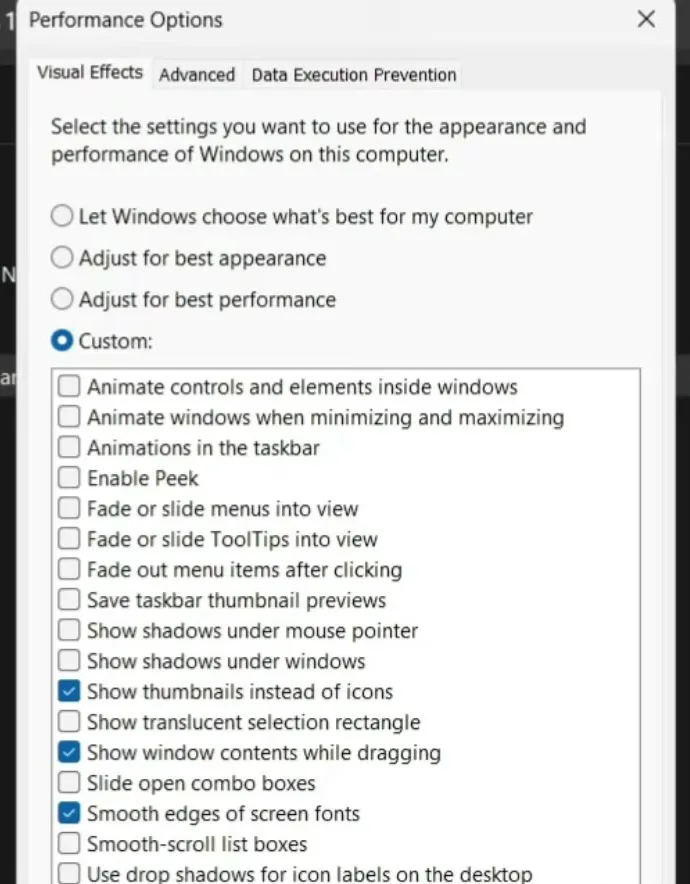
Open 4. SystemPropertiesPerformance.exe (Windows asks if you trust the shortcut: click Open). In Performance Options choose Adjust for best performance. Then tick three boxes again: Smooth edges of screen fonts, Show window contents while dragging and Show thumbnails instead of icons. Click Apply, then OK.
4. SystemPropertiesPerformance.exeVisual EffectsAdjust for best performanceApplyOK
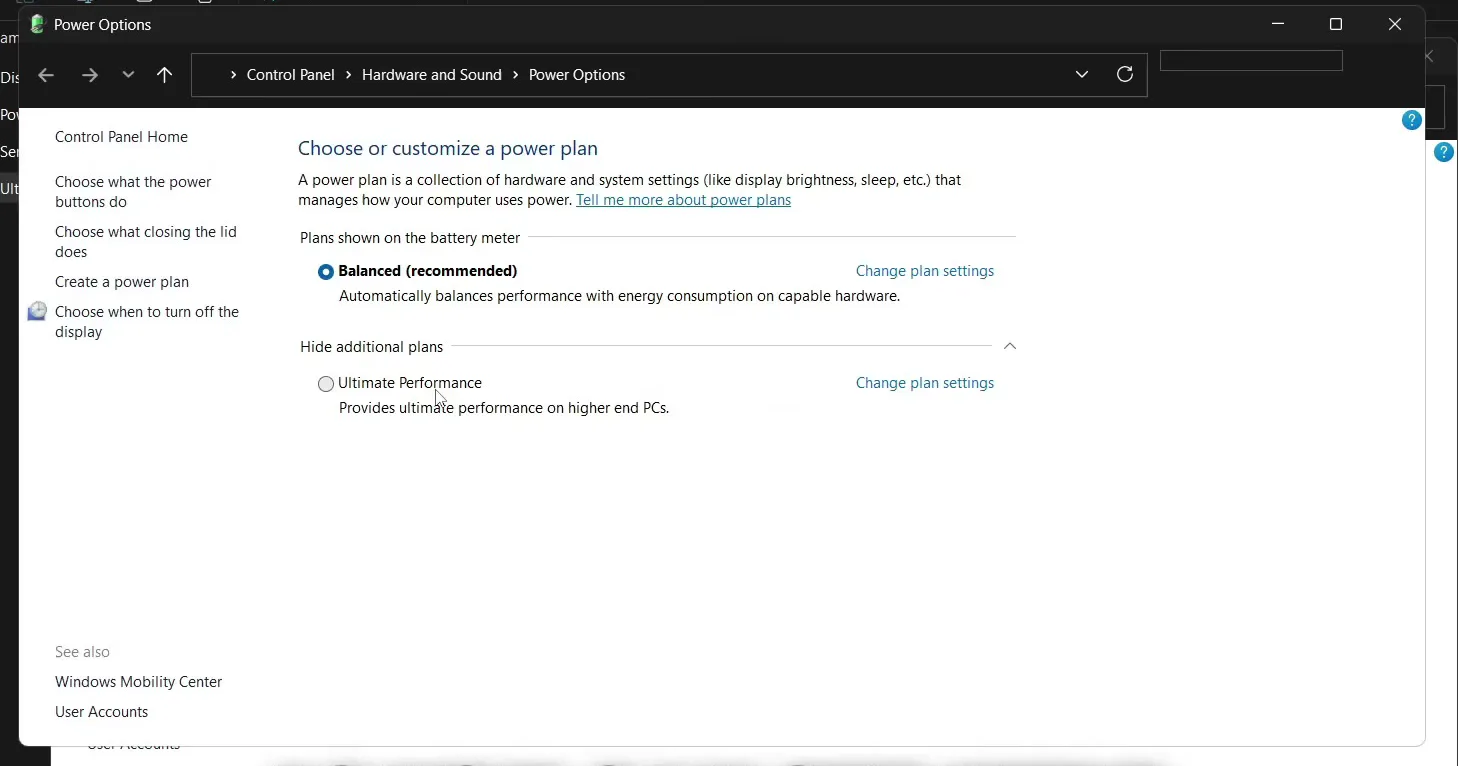
Open 3. Performance. Right-click the power tweaks file, run as administrator and click Run. Do the same for the services file and then for Ultimate Power Plan.bat. Afterwards type "power plan" in the Windows search bar and select Ultimate Performance.
SearchPower planAdditional plansUltimate Performance
Open 4. Debloat: it opens a Windows 11 debloat page in your browser. Click the latest release and download Get.ps1, drag it to the desktop, right-click it and choose Run with PowerShell. Click Open, then type R and press Enter. The script downloads and unpacks itself.
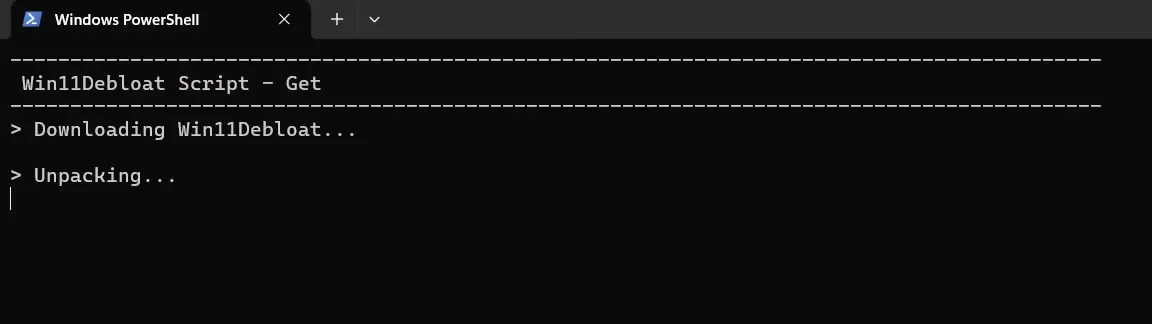
Then pick a mode. The default mode (1) removes the default app selection, which includes Microsoft Teams, Spotify and Sticky Notes. Option 2 lets you tick the apps to remove one by one, and n removes no apps but still debloats other settings, such as Windows Recall and Copilot. Press Enter and wait: the script makes its own restore point and then does the rest.

Careful
Only remove what you know you do not use. Apps are removed for all users on the PC, so choose option 2 if you are not sure about the default list.
Open 5. RAM Tweaks and double-click the file that matches your memory: the folder has files from 4 GB to 64 GB. The video has 16 GB, so it runs 16GB Ram.reg, then clicks Run, Yes and OK.
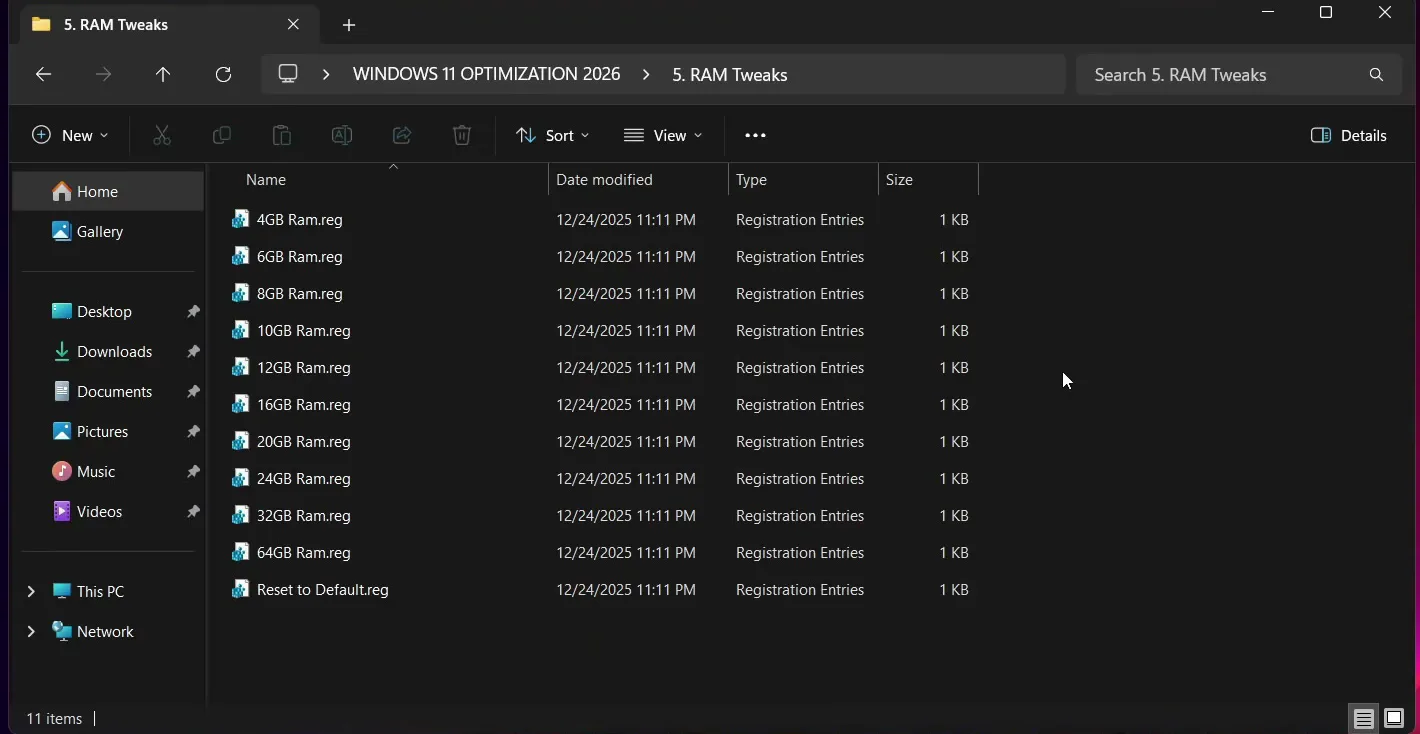
Next open 6. DISK Tweaks, right-click the SSD tweak (or the hard drive tweak if you have a hard drive) and run it as administrator. The video has an SSD.
How to undo it
The RAM folder also holds Reset to Default.reg. Run it to put the RAM setting back.
Open 7. Internet Tweaks. Right-click TCPOptimizer.exe (in the TCP Optimizer folder) and run it as administrator. While it opens, you can also run Network Restart.bat as administrator: it restarts your background connections quickly.
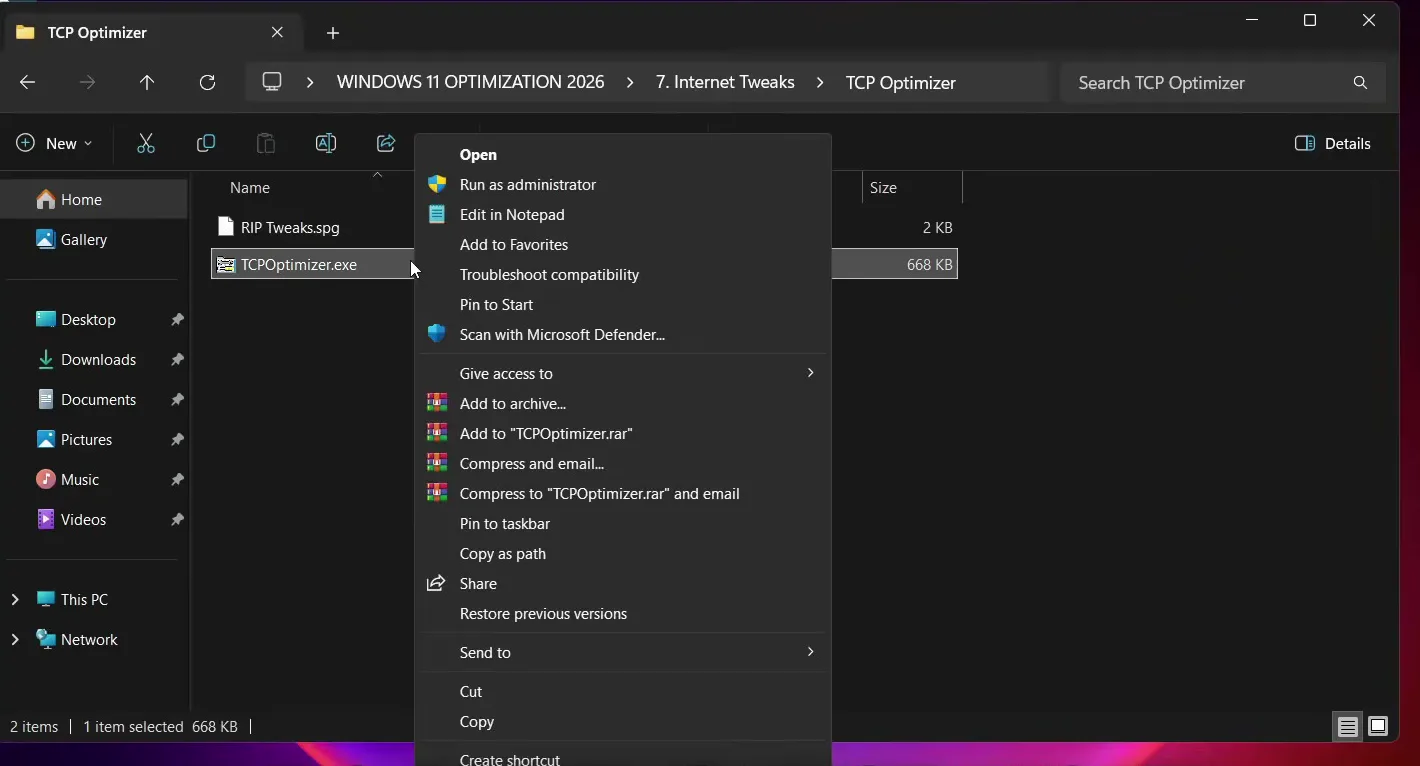
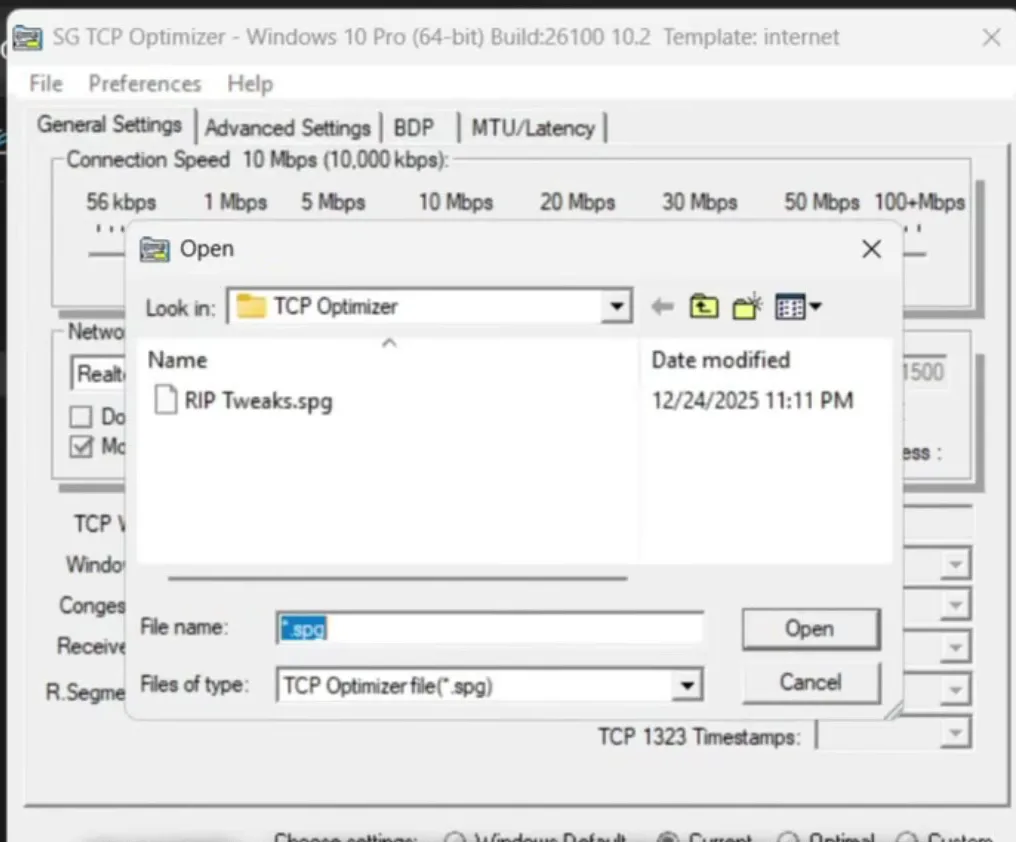
In TCP Optimizer click File, then Import, select RIP Tweaks.spg and click Open. Click Apply changes and OK. When it asks to restart, click No and close it: the video restarts later.
FileImportRIP Tweaks.spgOpenApply changesOK
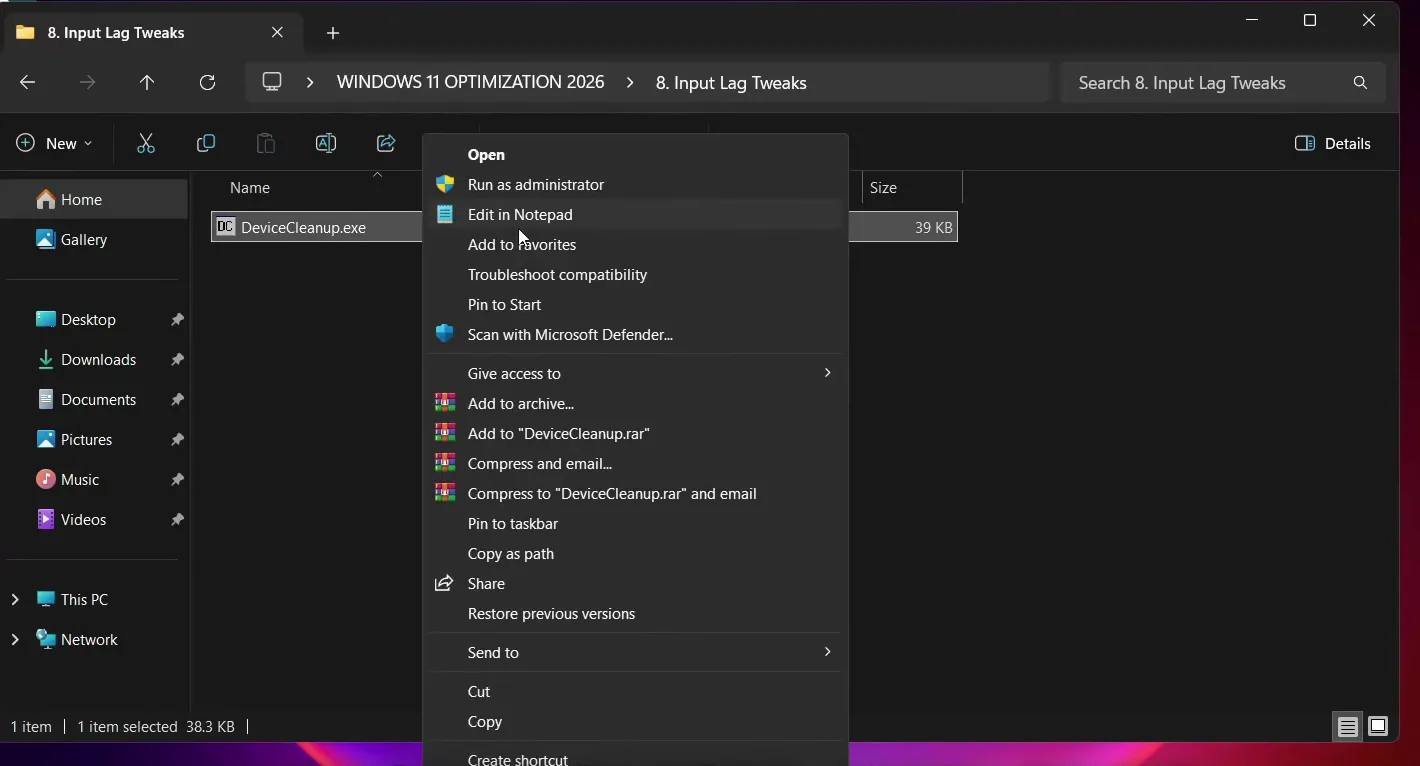
Open 8. Input Lag Tweaks, right-click DeviceCleanup.exe, run as administrator and click Run. The tool lists devices that are no longer connected. On the PC in the video they were last used about 72 days ago. Select them all and remove them.
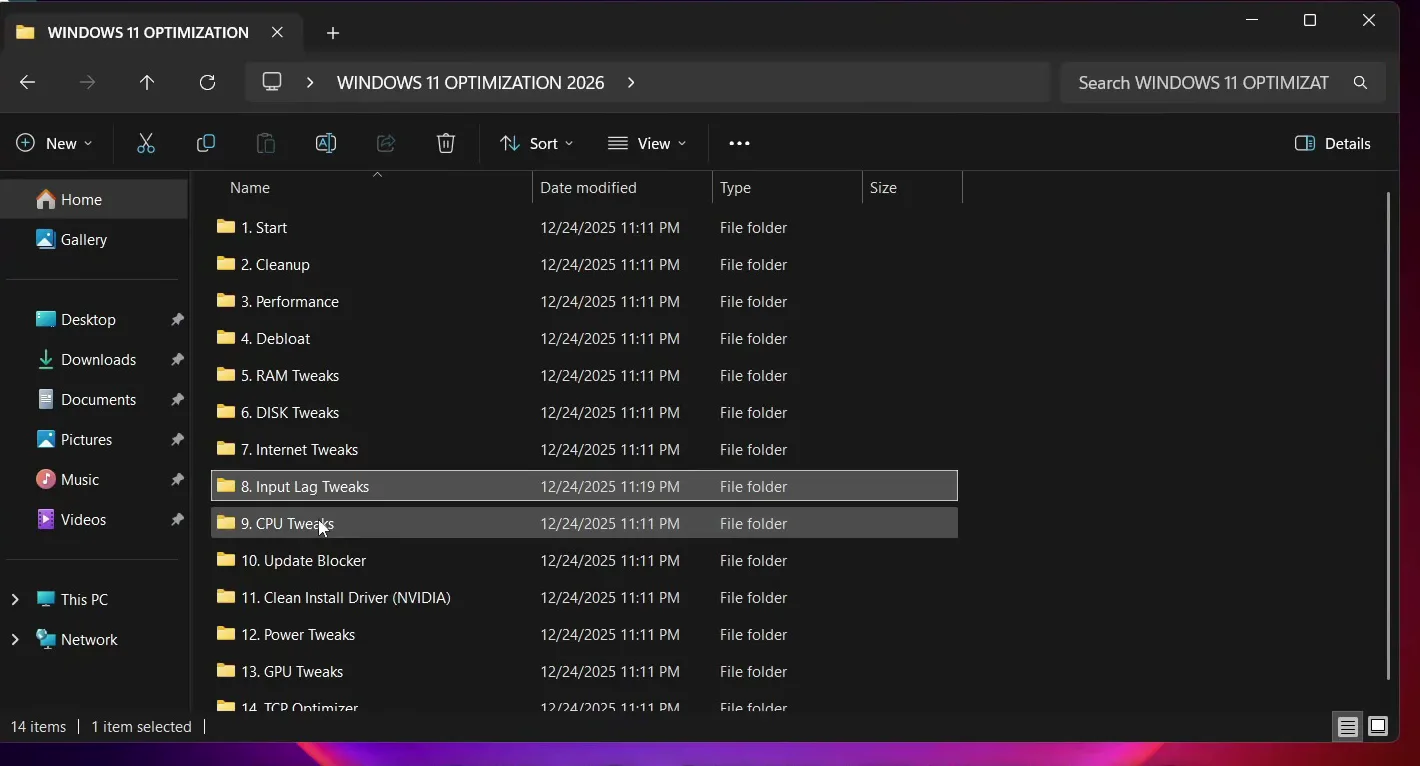
Open 9. CPU Tweaks and choose your processor: AMD or Intel. The video has an AMD CPU, so it right-clicks AMD.bat, runs it as administrator and clicks Run.
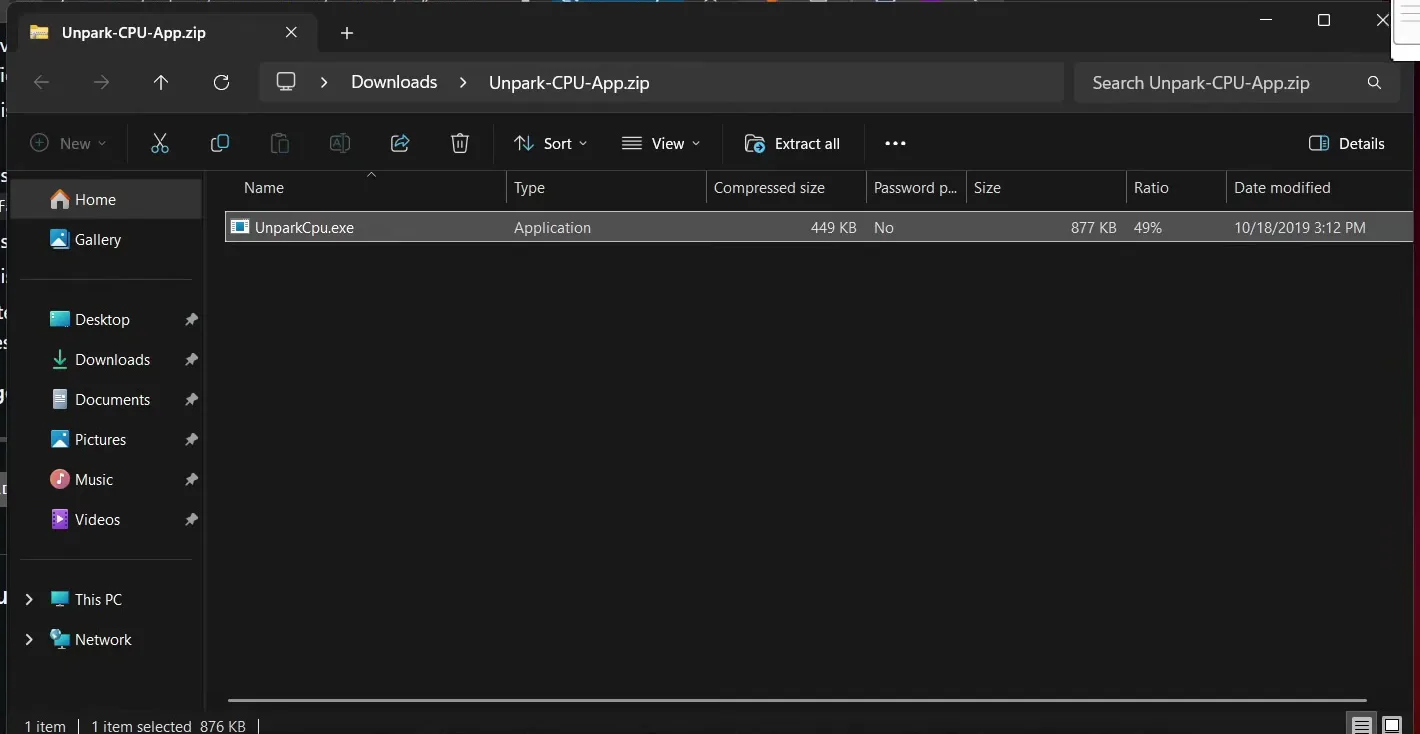
Then double-click the unpark cores batch file and click Run: it downloads Unpark-CPU-App.zip. Drag UnparkCpu.exe to the desktop, double-click it, click Unpark all and click OK. That stops Windows from parking CPU cores.
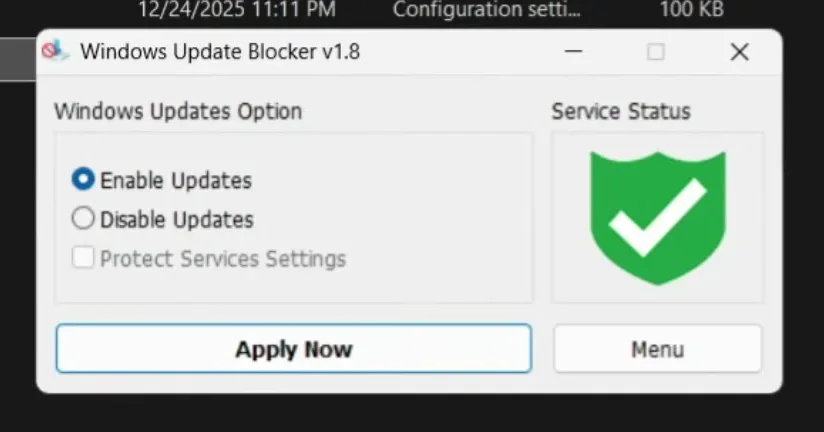
Open 10. Update Blocker and run Wub_x64.exe (Windows Update Blocker). Select Disable Updates and click Apply Now. The video's reason: background updates can spike your ping, lower your internet performance and take up a lot of space.
10. Update BlockerWub_x64.exeDisable UpdatesApply Now
Tip
You can switch it back any time: open the tool, pick Enable Updates and click Apply Now. Do that now and then so you do not miss important fixes.
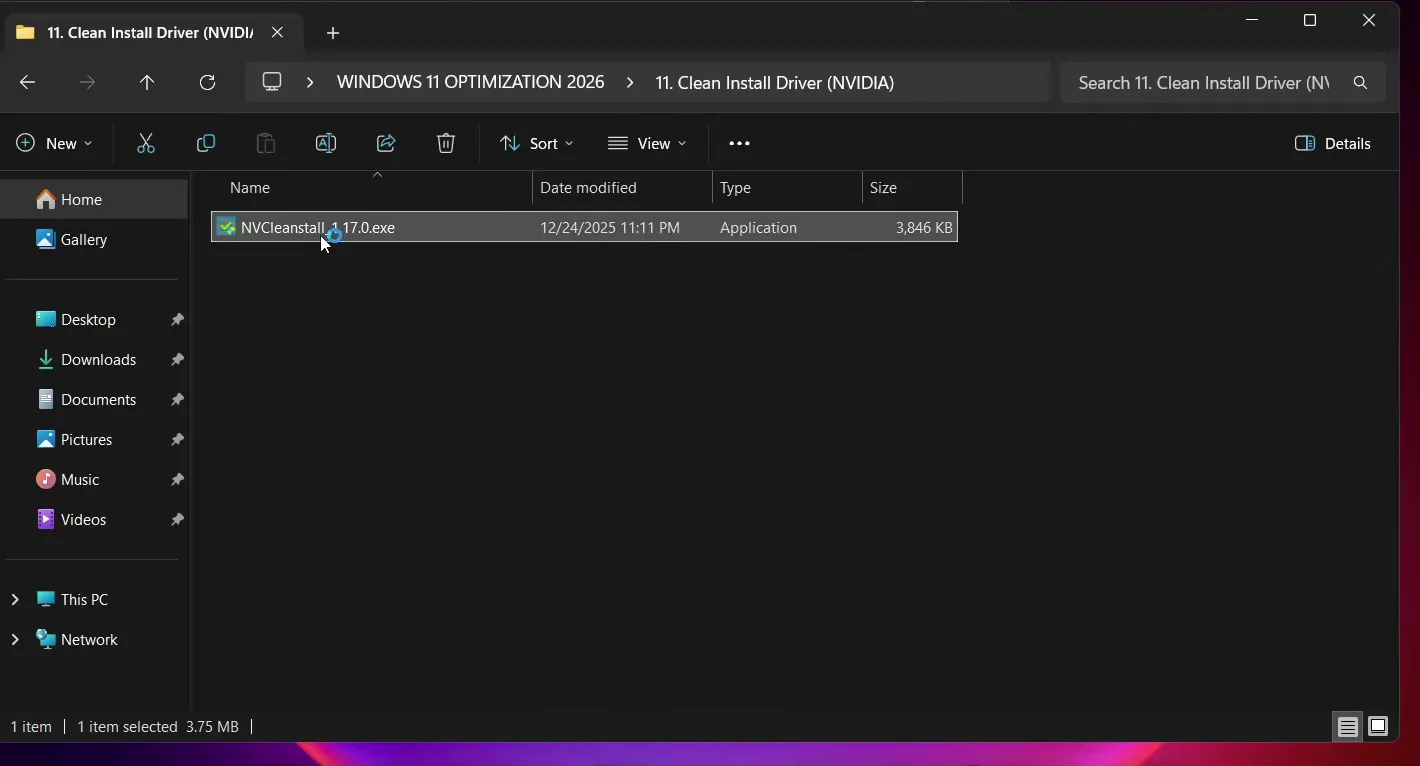
NVIDIA users open 11. Clean Install Driver (NVIDIA) and double-click NVCleanstall. Choose the best driver for your hardware, click Next, keep only the display driver and the PhysX feature on and click Next again. It installs a fresh driver and strips the extras the video calls unwanted. The screen flickers a few times at the end, and that is normal.
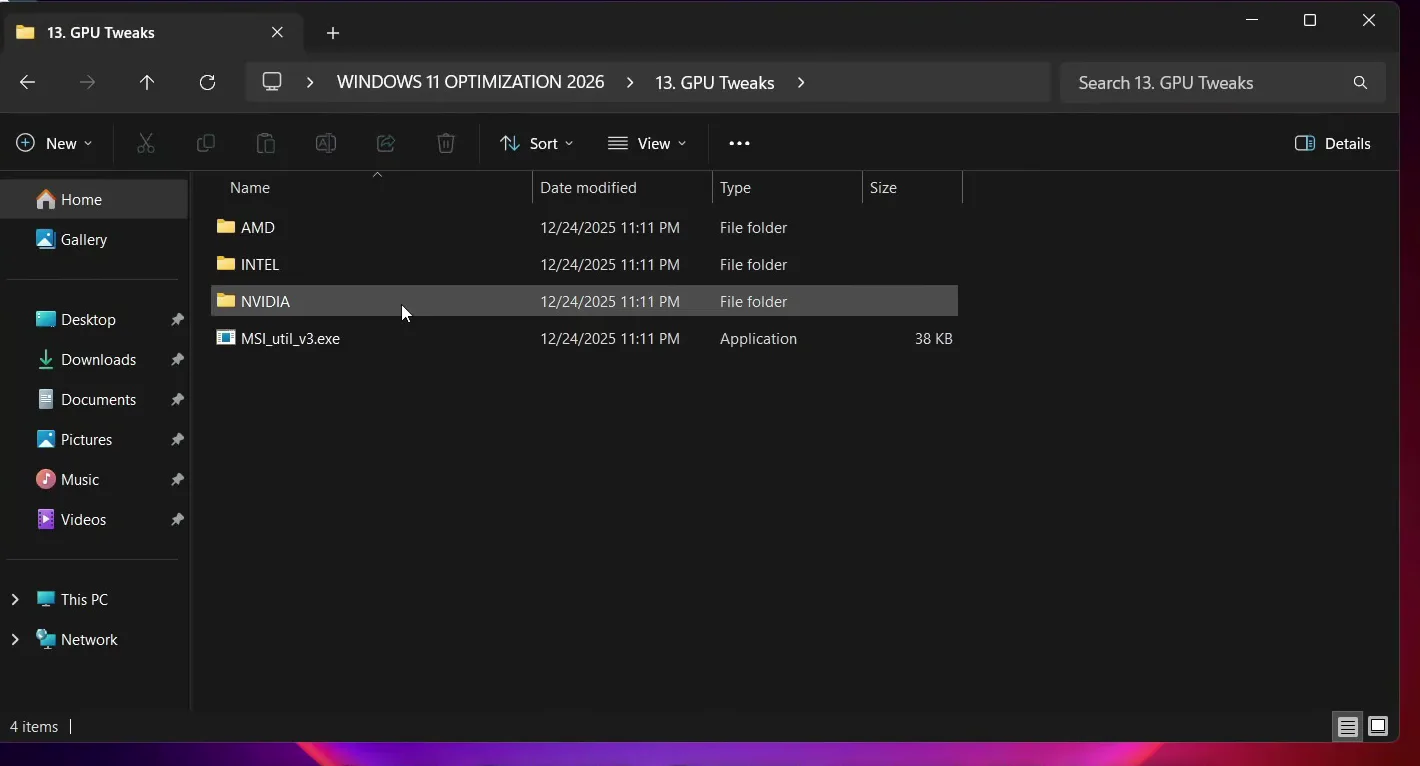
Open 12. Power Tweaks, right-click Power Tweaks.bat, run it as administrator and let it finish. Then open 13. GPU Tweaks. It has AMD, INTEL and NVIDIA folders: pick yours (NVIDIA in the video), right-click the power tweak inside it and run it as administrator.
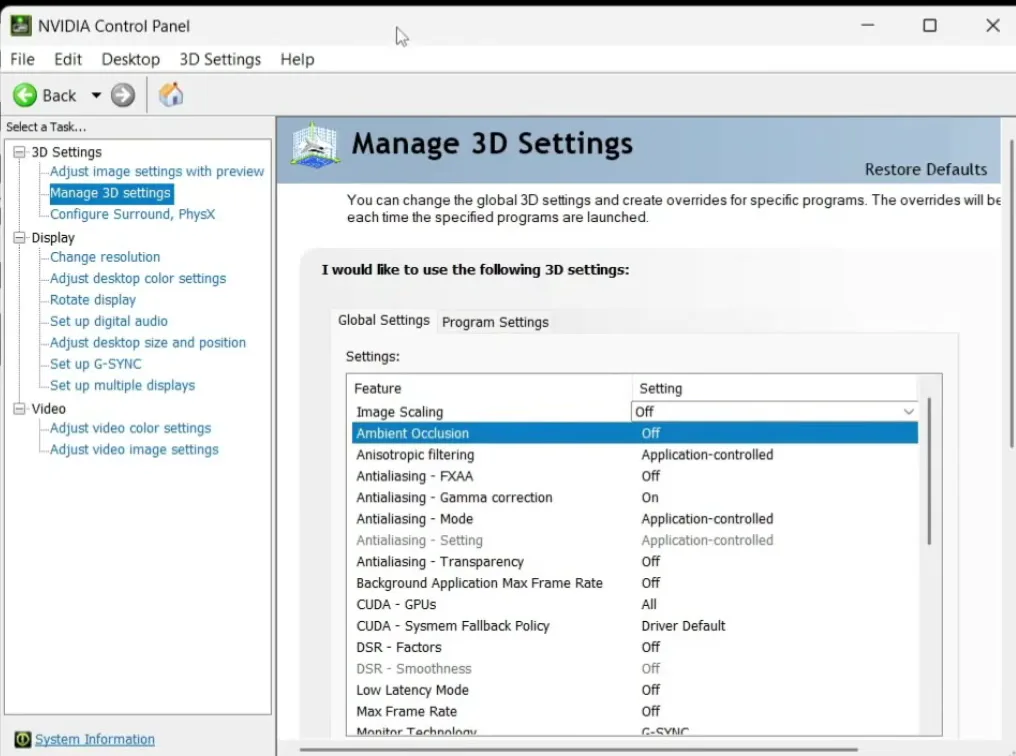
Click NVIDIA Tutorial in the GPU folder. The video tells you to pause here, open the NVIDIA Control Panel, go to Manage 3D settings and copy every setting from the screenshots, for example Image sharpening off and Ambient Occlusion off.
NVIDIA Control Panel3D SettingsManage 3D settings
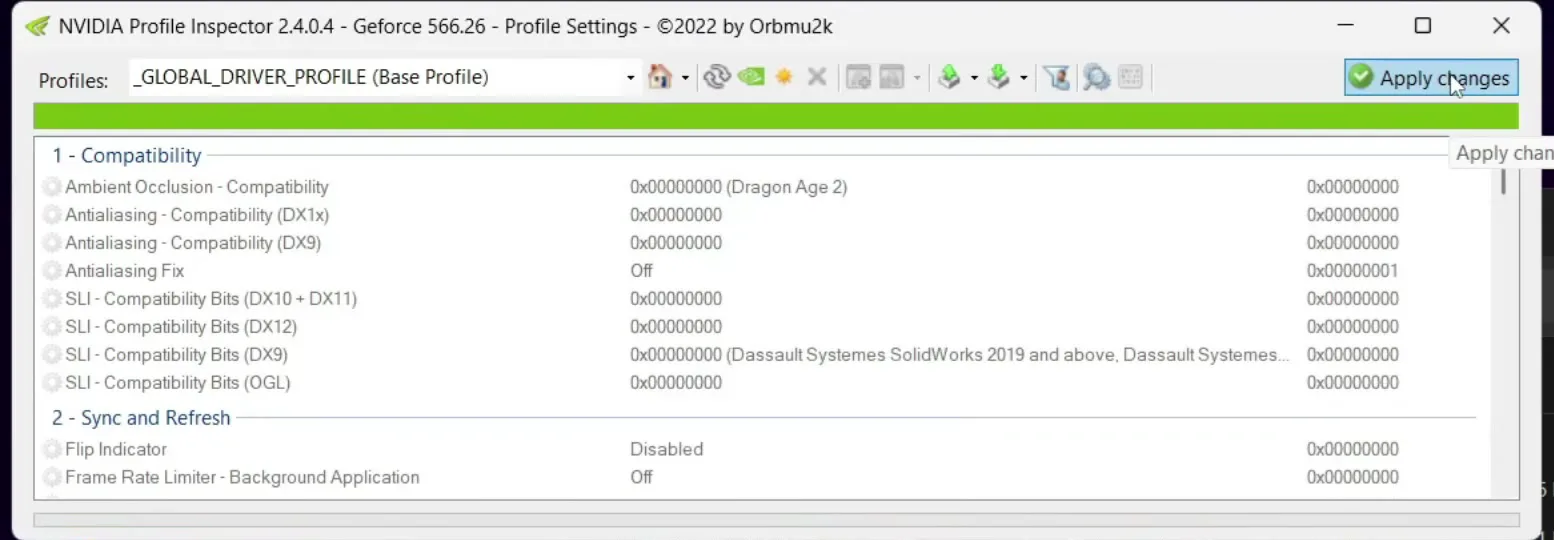
Finally run NVIDIA Profile Inspector as administrator, drag RIP Profile.nip into its window, click OK and then Apply changes. Close it. Our NVIDIA settings guide goes deeper on this part.
Good to know
These last two steps are for NVIDIA cards only. With an Intel or AMD GPU, use the folder for your brand and skip the NVIDIA Control Panel and Profile Inspector.
How to check it worked
Measure the same spot before and after, so you compare like with like:
- Run the same practice match or map and watch your FPS counter, looking at the lows and how often it stutters, not only the average.
- Open Task Manager and check that the startup list has nothing enabled with a high impact and that the process count is lower than before.
- Search "power plan" and confirm Ultimate Performance is the selected plan.
- Restart the PC once. The video skips the restart after TCP Optimizer, so a restart applies everything.
Every PC starts from a different place, so your numbers will be your own.
Key settings at a glance
FAQ
Is it safe to optimize Windows 11 like this?
The first step in the video is a restore point, and the debloat script makes one more when it starts, so you can go back. Change one area at a time and test your games after each one.
Should I keep Windows updates blocked all the time?
No. The blocker is a switch: disable updates while you play and select Enable Updates again when you want them. The video shows both options.
Does this work for AMD and Intel graphics cards?
Mostly yes. The GPU tweaks folder has AMD, INTEL and NVIDIA folders, and the CPU folder has an AMD and an Intel script. Only the clean driver install, the NVIDIA Control Panel settings and Profile Inspector are NVIDIA-only.
What is the best power plan for gaming on Windows 11?
The video uses Ultimate Performance. The pack's script adds it to the power plan list, and you select it there. Laptops on battery will drain faster with it.
What does unparking CPU cores do?
Windows can park cores it thinks are idle. The video runs the Unpark CPU app and clicks Unpark all so all cores stay available while you play.
Do I need the Discord pack, or can I use the app?
The video shows every step by hand with the free pack. At the end, it also shows RIP Tweaks, our app, which puts performance, network and input lag tweaks, an FPS counter and a crosshair in one place. For the registry and service side of Windows, read how to lower Windows 11 processes.
 RIP Tweaks
Do it in a few minutes with RIP Tweaks
- Free plan for Windows 10 and 11
- A backup first, and every tweak can be switched off again
- Made for higher FPS, lower input lag and steadier ping
Free · Windows 10 and 11
