The Best NVIDIA Settings for Gaming: Max FPS and Low Input Lag (2026)

Written version of our video, every step checked against it.
Quick answer
- Make a backup first, then turn on Optimize NVIDIA GPU, Enable MSI Mode and Force Max Performance P-State in RIP Tweaks.
- Run NVIDIA Debloat: driver install, deep clean and telemetry off, keep only PhysX (plus DLSS or the NVIDIA app if you use them), then Clean install.
- In the NVIDIA app, copy the driver settings: Low Latency Mode to
Ultra, Texture Filtering - Quality toHigh performance. - Switch the NVIDIA overlay off and turn on Automatic Tuning under System, Performance (the scan takes 30+ minutes).
- Launch each game from RIP Tweaks with a Game mode and apply the FPS Boost Profile in the Profile Inspector.
This guide is for anyone with an NVIDIA graphics card who wants more FPS and less input lag in Fortnite, Valorant or any other game on Windows 10 or 11. It follows our video click by click: the GPU tweaks, a clean driver install, the exact driver and NVIDIA app settings, automatic tuning, and a per-game profile before you launch.
In this video
Get the free app from the Download page on riptweaks.com (the free tweaks channel on the RIP Tweaks Discord links to the same download). Run the installer, click Continue, then create your account with a username, e-mail and password and fill out the short questionnaire.
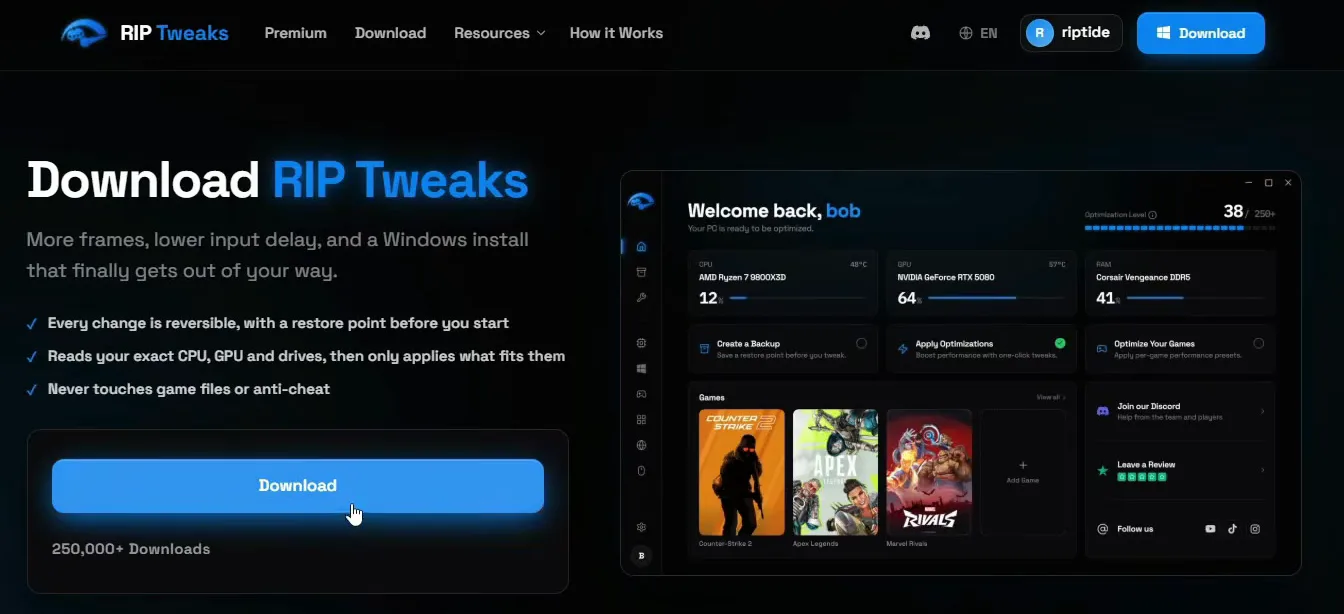
When the app opens, the home page already shows your hardware. On the PC in the video that is an NVIDIA GeForce RTX 4060 Laptop GPU, so every step below is the laptop version of the setup.
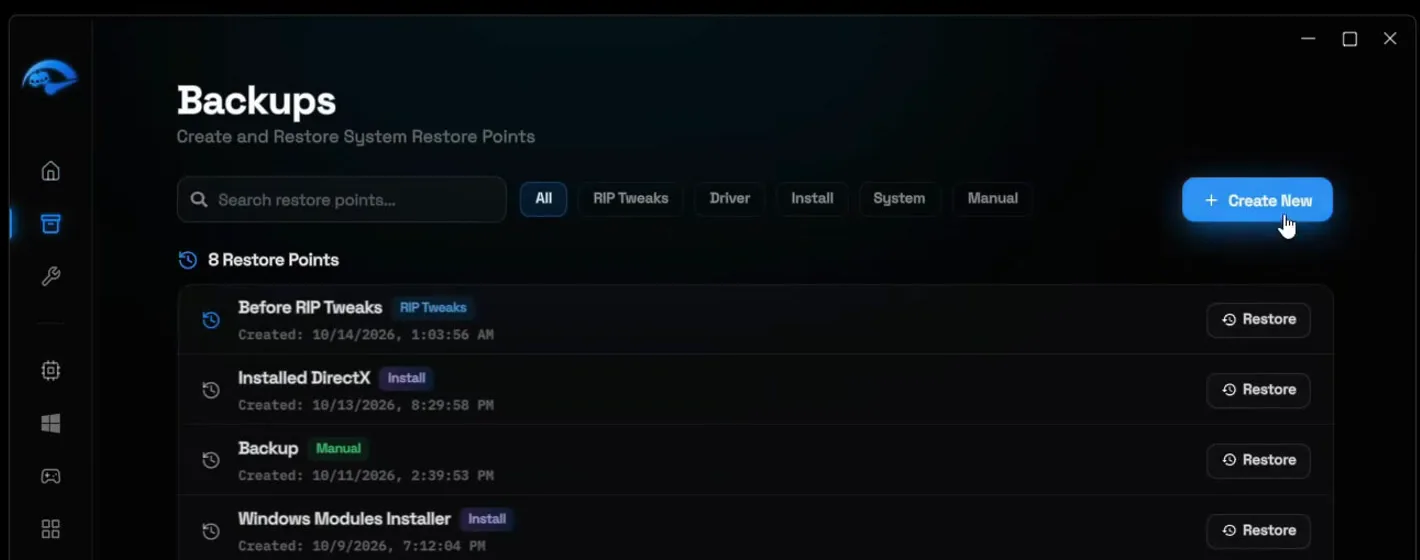
Open Backups in the left sidebar, click Create New, type a name such as before tweaks and click Create. Wait until it finishes, then close the window.
BackupsCreate Newbefore tweaksCreate
How to undo it
If anything later in this guide does not suit your PC, come back here and click Restore next to your "before tweaks" point. The PC goes back to how it was before you started.
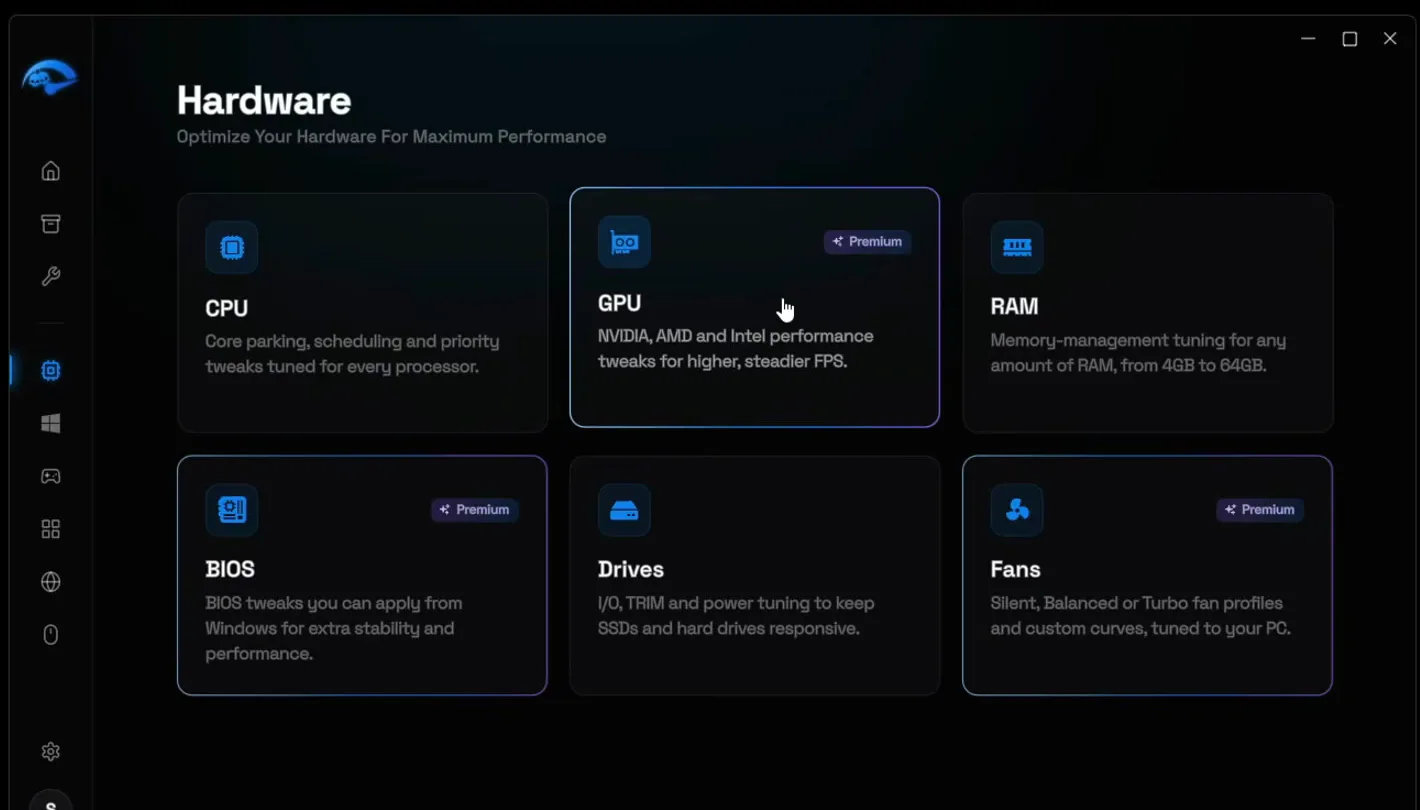
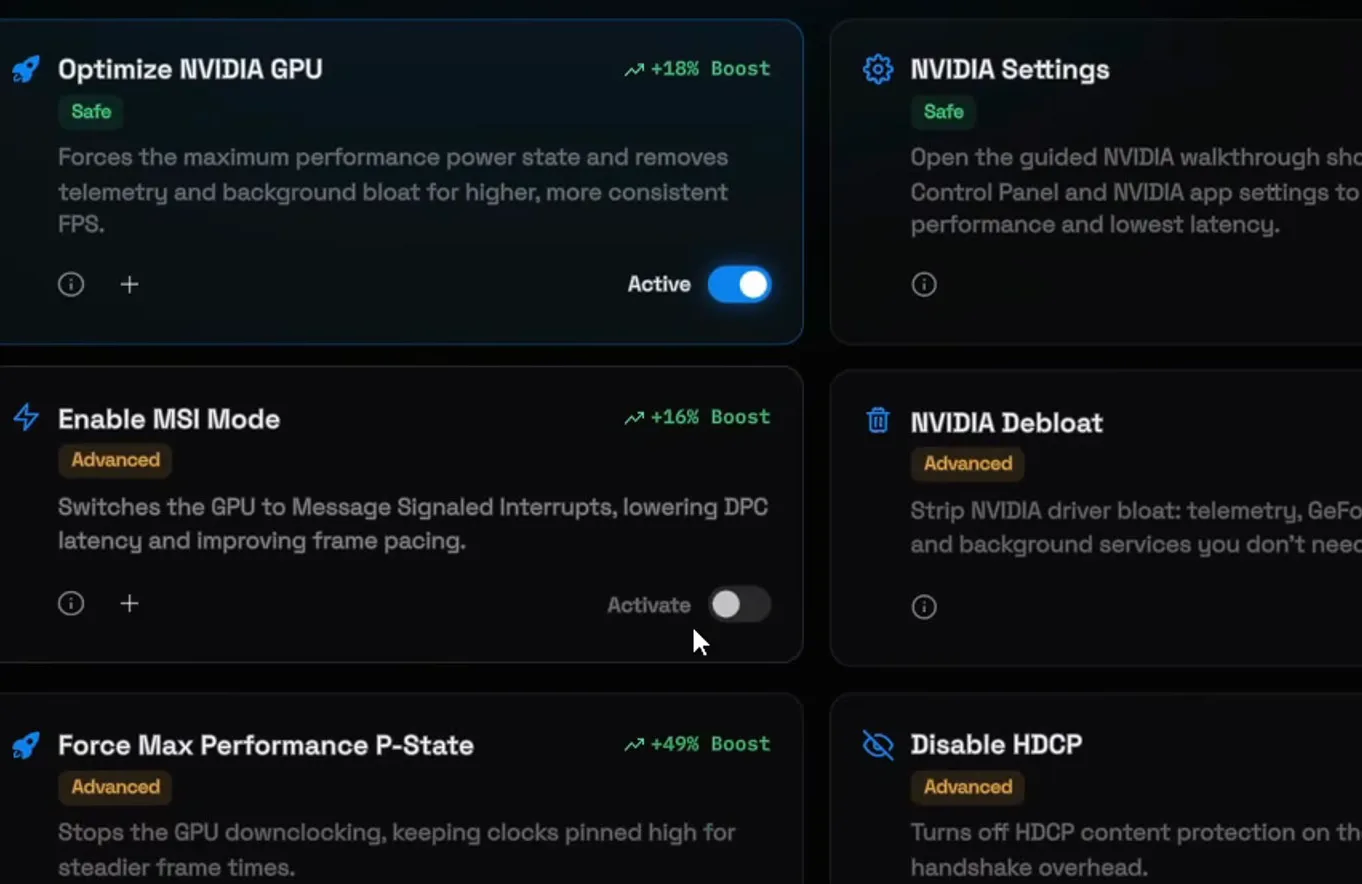
Go to Hardware and click the GPU card. The NVIDIA section lists the tweaks for GeForce cards. The video switches on every one of them for the best performance, including:
- Optimize NVIDIA GPU: forces the maximum performance power state and removes telemetry and background extras.
- Enable MSI Mode: switches the GPU to Message Signaled Interrupts, which lowers DPC latency and improves frame pacing.
- Force Max Performance P-State: stops the GPU from downclocking, so clocks stay high for steadier frame times.
HardwareGPUNVIDIAActivate each tweak
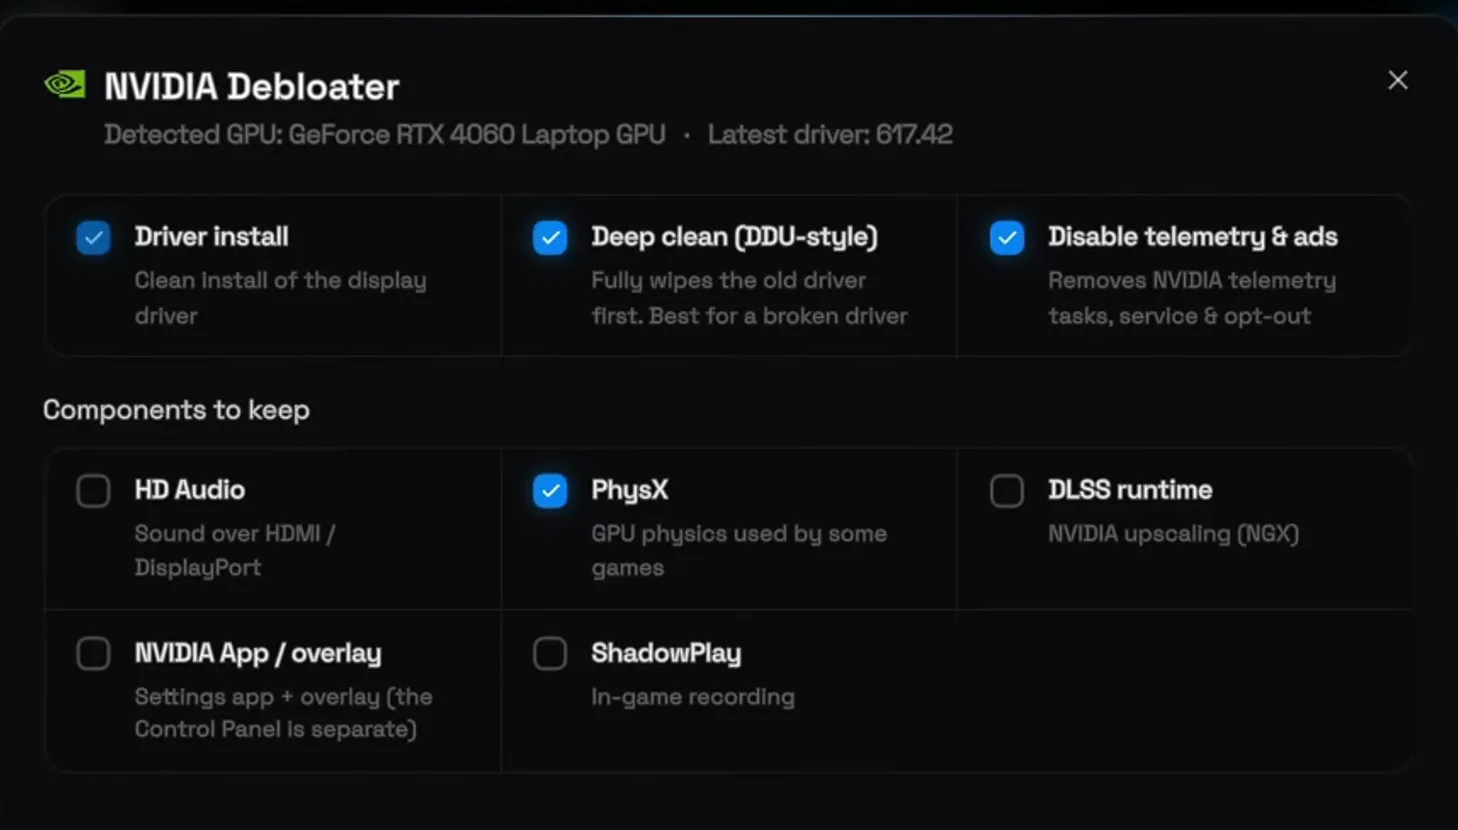
On the same GPU page, click Run on NVIDIA Debloat. The NVIDIA Debloater window detects your card and the latest driver (617.42 for the laptop in the video). It strips the driver down to what games need, then installs it cleanly.
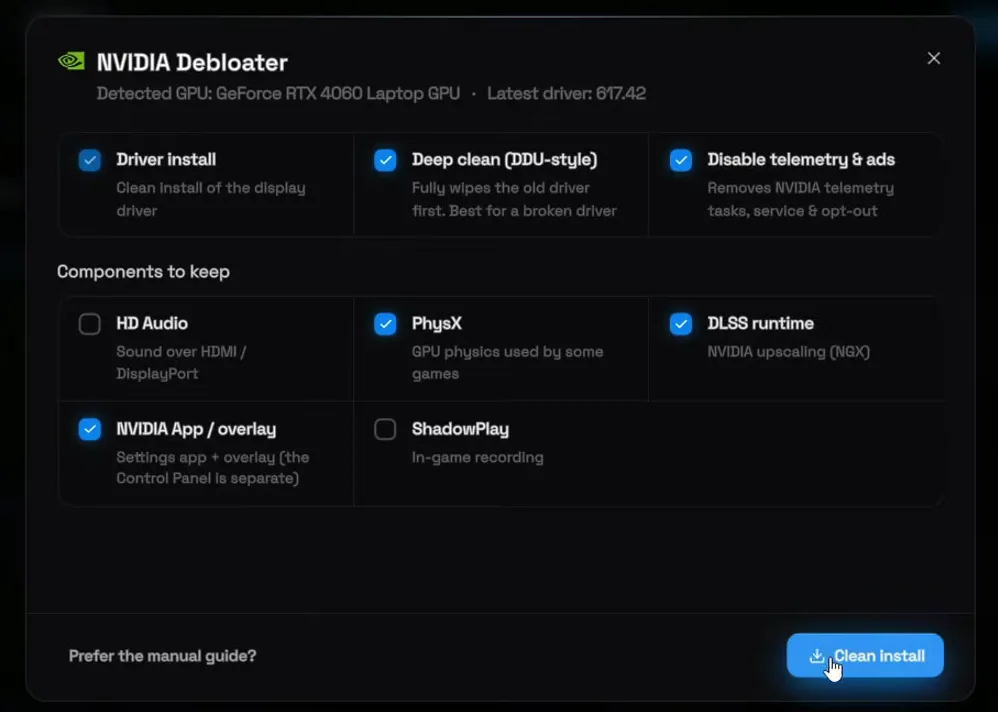
- Keep the three top boxes ticked: Driver install, Deep clean (DDU-style), which fully wipes the old driver first, and Disable telemetry & ads.
- Under Components to keep, the video only needs PhysX. Tick DLSS runtime if you use DLSS and NVIDIA App / overlay if you want the NVIDIA app (you need it for the next two steps).
- Click Clean install. The tool downloads the driver, removes the extras and installs it on your PC.
Careful
Your screen can go black or flicker for a moment while the new driver installs. Close your games first and let the tool finish without restarting the PC halfway.
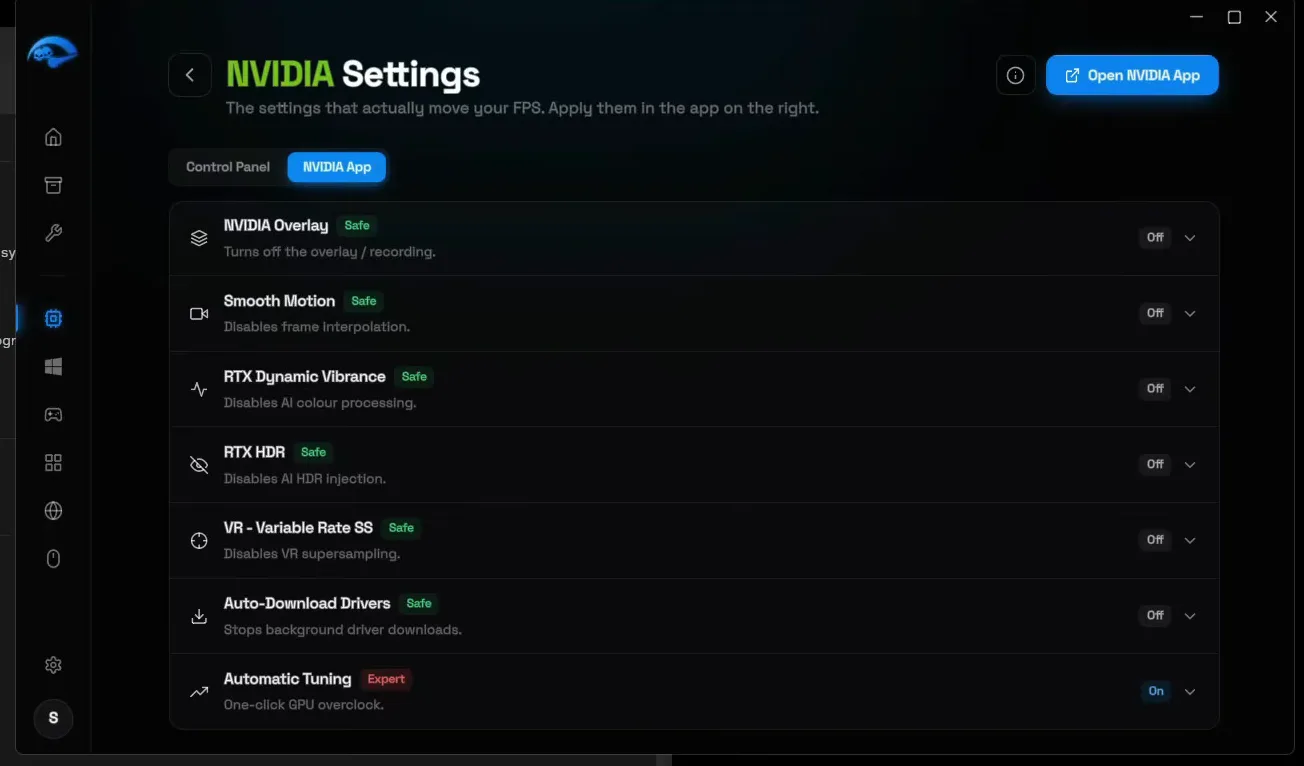
Back on the GPU page, click Open on NVIDIA Settings. RIP Tweaks shows a guided list of the exact settings to change, with an Open NVIDIA App button at the top. In the NVIDIA app, go to Graphics, then Global Settings, and copy every value from the Control Panel tab of the list into the app, one by one.
NVIDIA appGraphicsGlobal Settings
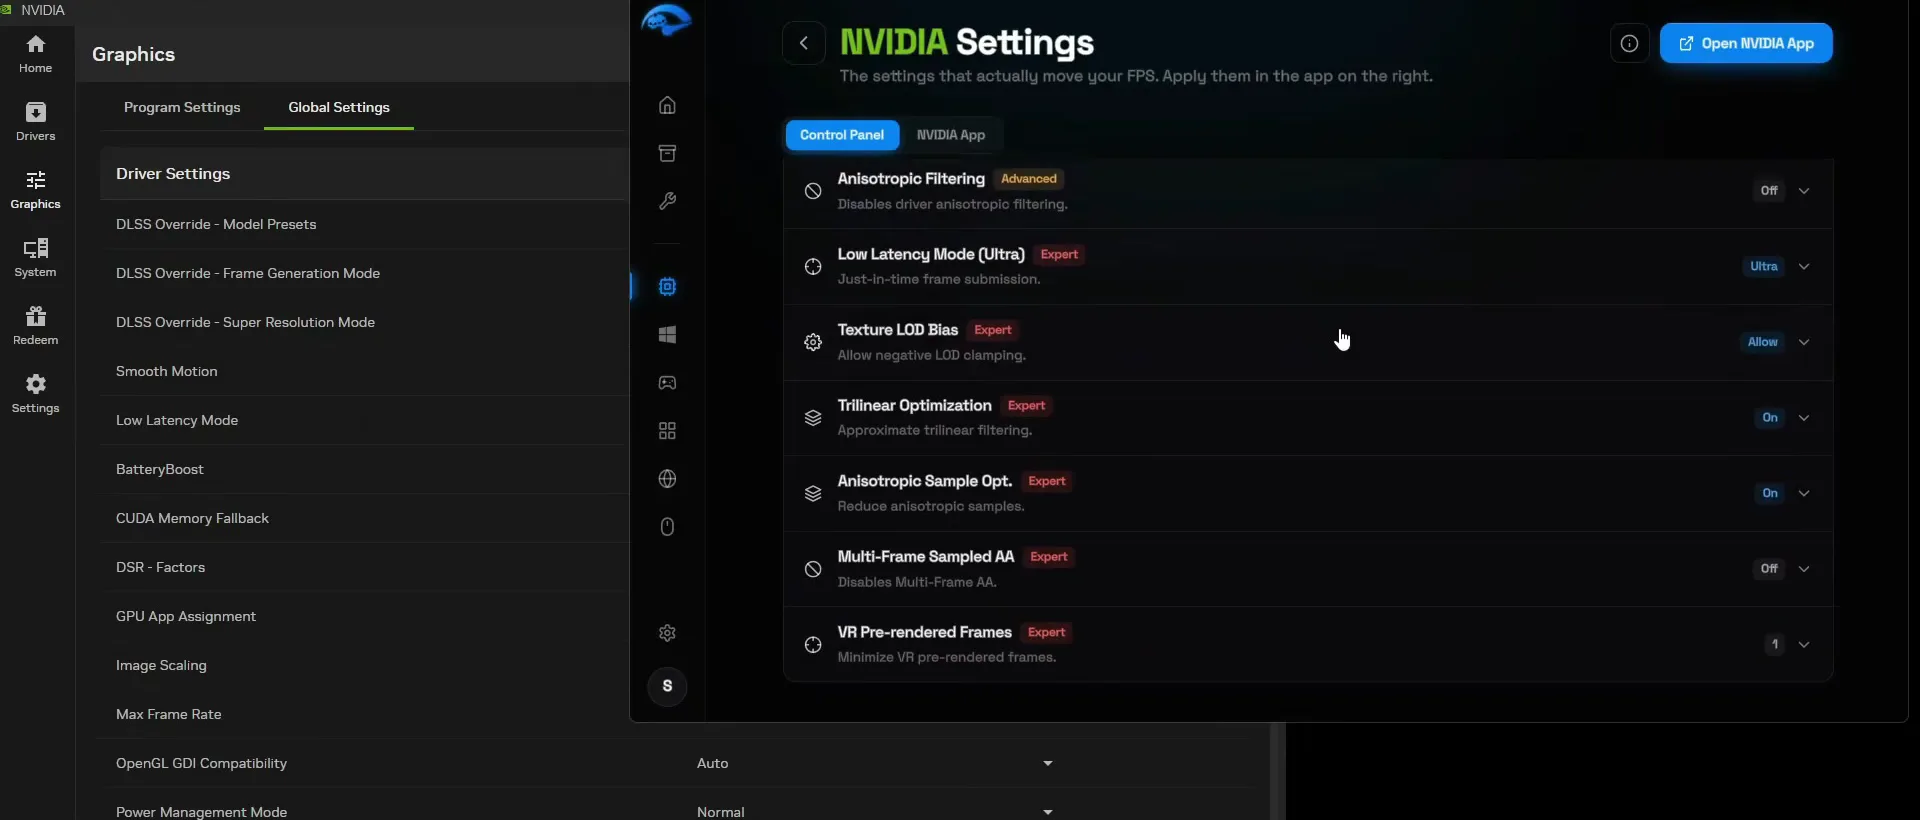
For example, set Low Latency Mode to Ultra and Texture Filtering - Quality to High performance. The list also covers Power Management Mode (stops the GPU downclocking mid-game), Threaded Optimization, Shader Cache Size and Preferred Refresh Rate, and further down Anisotropic Filtering Off, Texture LOD Bias Allow, Trilinear Optimization On, Anisotropic Sample Opt. On, Multi-Frame Sampled AA Off and VR Pre-rendered Frames 1.
Tip
Open the arrow next to a setting in the RIP Tweaks list to see more about it. Work top to bottom so you don't skip one, because the NVIDIA app lists them in a different order.
Switch the list to its NVIDIA App tab. In the NVIDIA app, open Settings and turn the NVIDIA overlay off. The list also sets Smooth Motion, RTX Dynamic Vibrance, RTX HDR, VR Variable Rate SS and Auto-Download Drivers to Off.
Then go to System, Performance, switch Automatic Tuning on and click Agree and continue. The NVIDIA app scans your card for 30 minutes or more and looks for the best overclock it can keep stable.
NVIDIA appSystemPerformanceAutomatic Tuning
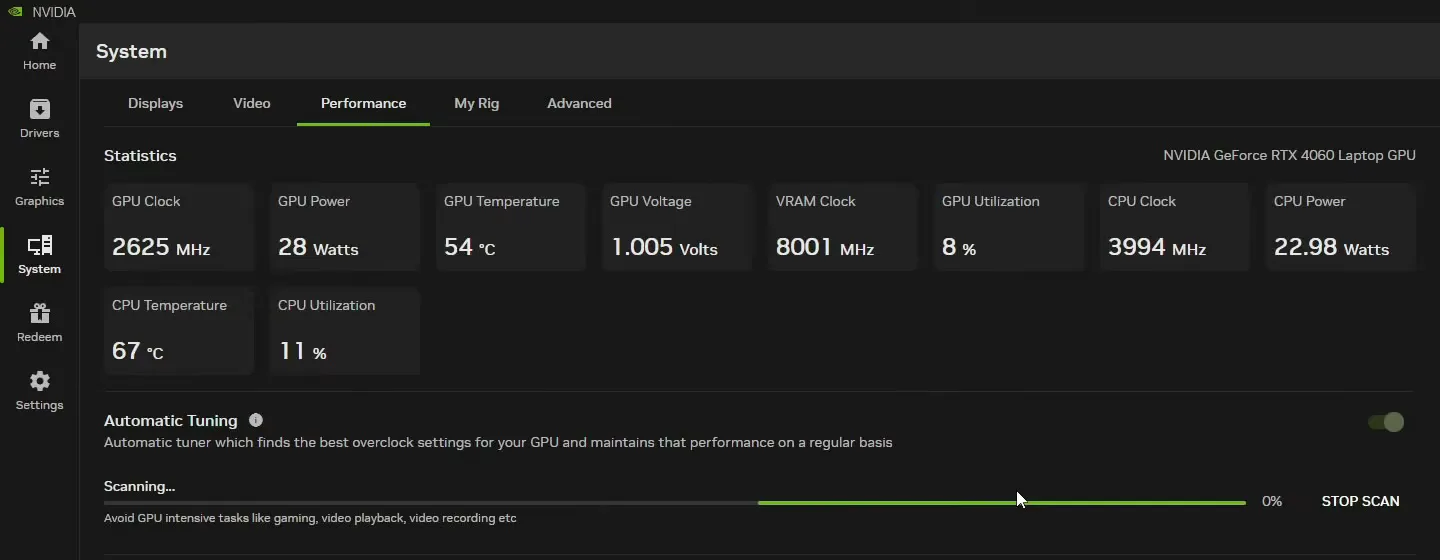
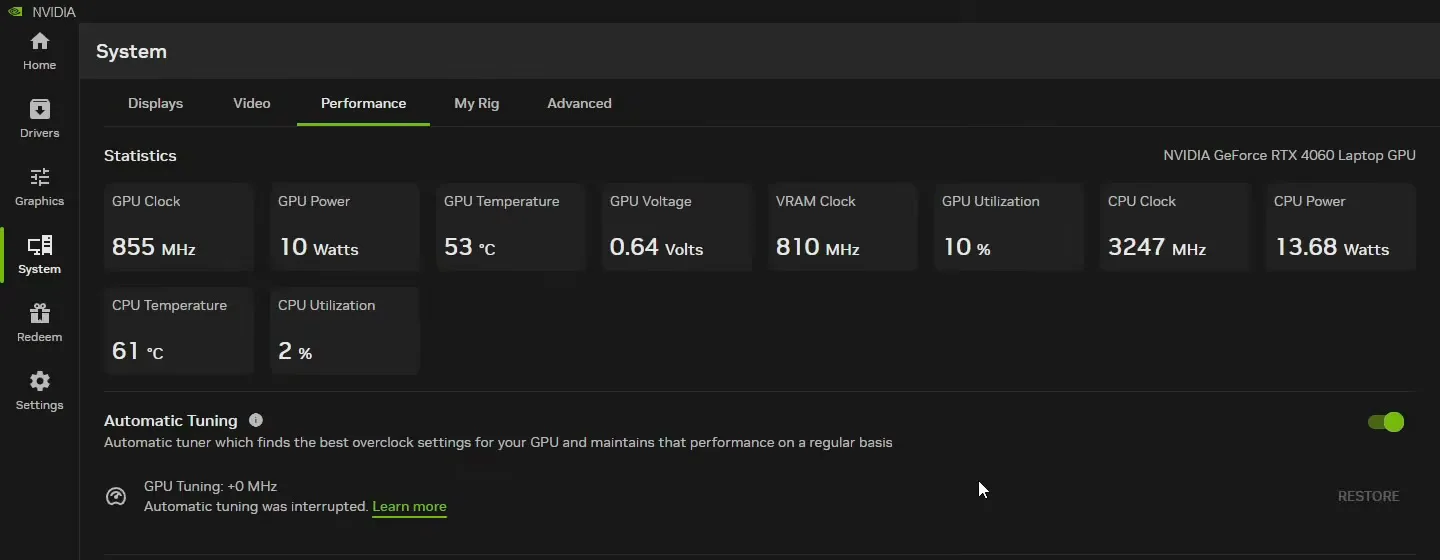
On the laptop in the video, the scan could not find any GPU tuning, most likely because it is a laptop GPU. On desktop cards it usually finds one: in older videos on the channel, a desktop GPU gained 200 MHz this way.
Open Games in RIP Tweaks and click the game you play. Launching every game from RIP Tweaks is the habit the video recommends, because the launch window has a Game mode.
GamesYour gameGame mode
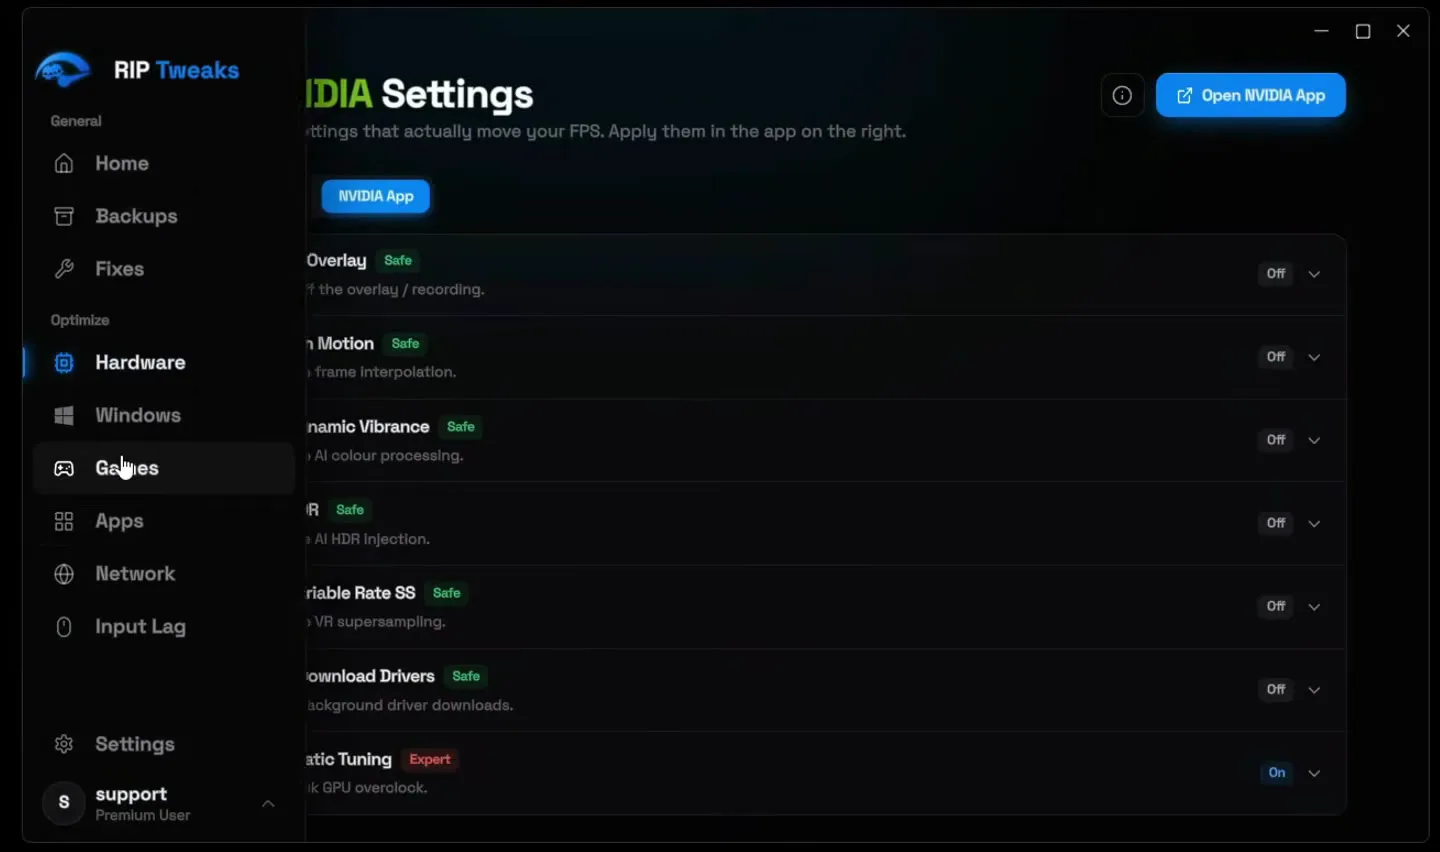
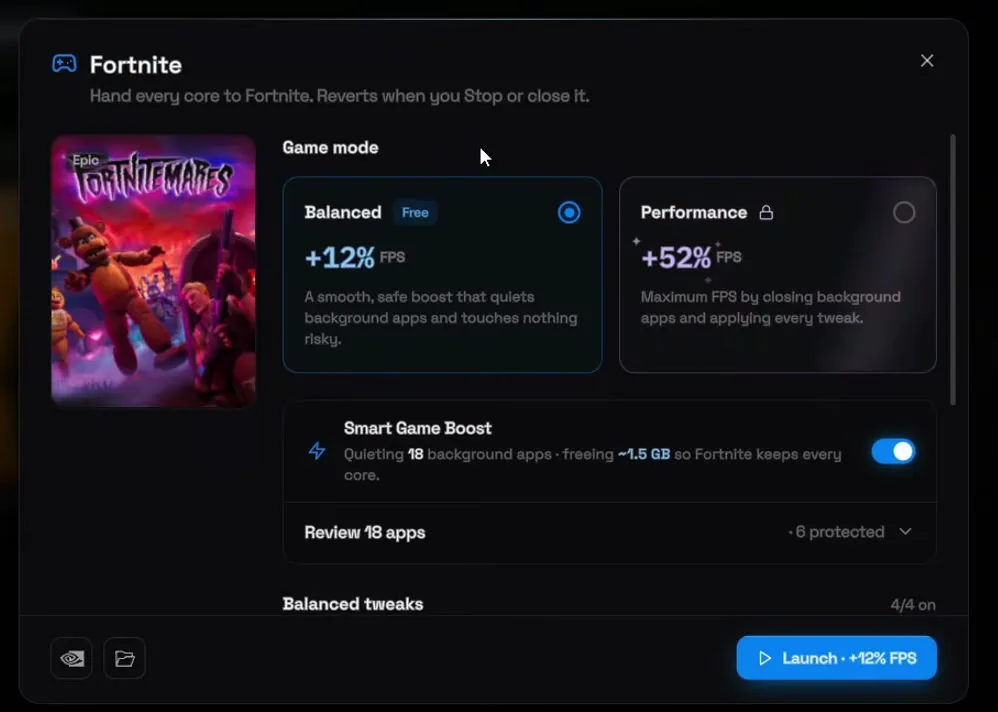
Balanced is free: it applies four tweaks (Balanced tweaks, 4/4 on) and quiets the background apps, so the game starts with as much of the PC as possible. In the video, Smart Game Boost quiets 18 background apps for Fortnite and keeps 6 protected. Performance is the Premium mode and closes background apps and applies every tweak.
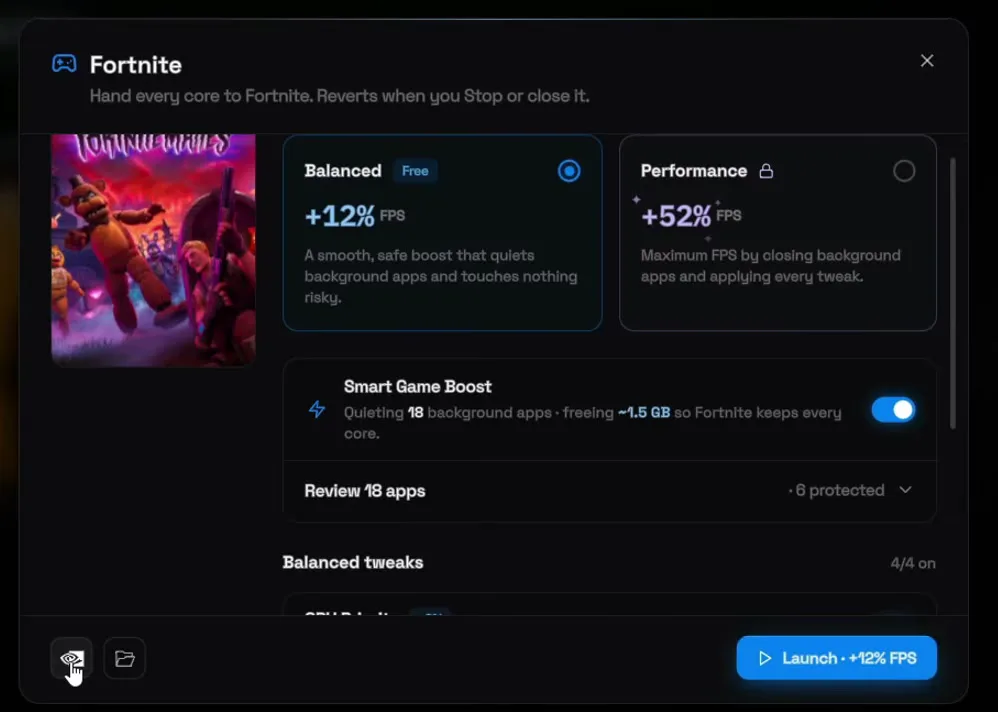
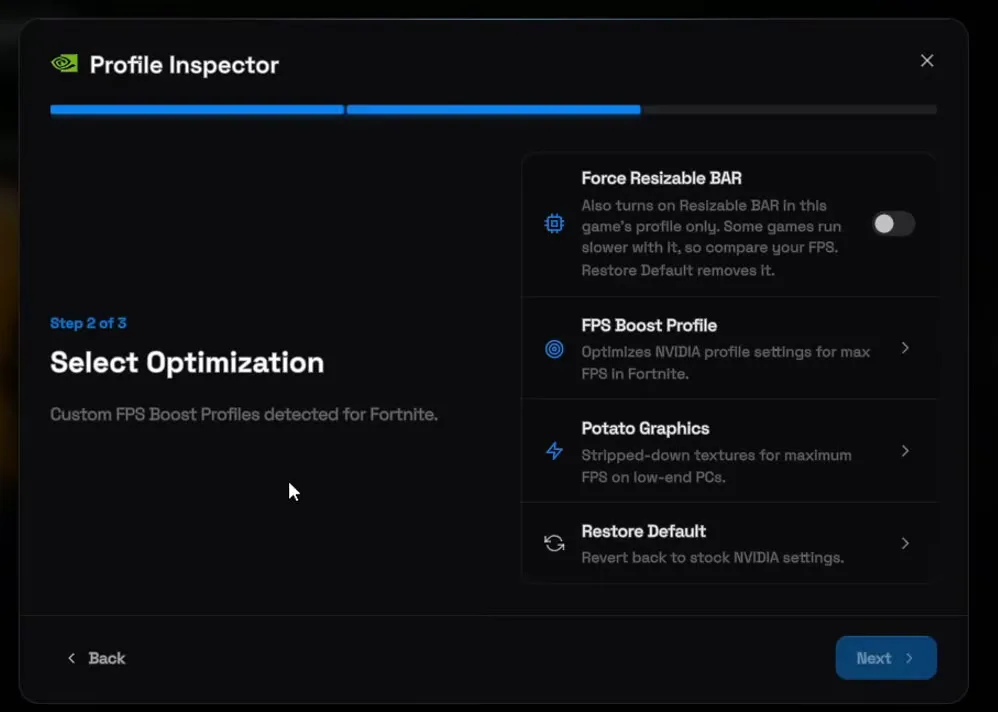
In the same launch window, click the NVIDIA button at the bottom left. It opens the Profile Inspector for that game. Click Next to reach Select Optimization, switch on Force Resizable BAR and pick the FPS Boost Profile, then click Finish.
GamesYour gameNVIDIANextFPS Boost ProfileFinish
Good to know
The app itself says some games run slower with Resizable BAR, so compare your FPS after the switch. Restore Default in the same list takes the profile back to stock NVIDIA settings.
Restart your PC once after this step, so the new driver and all the settings load cleanly.
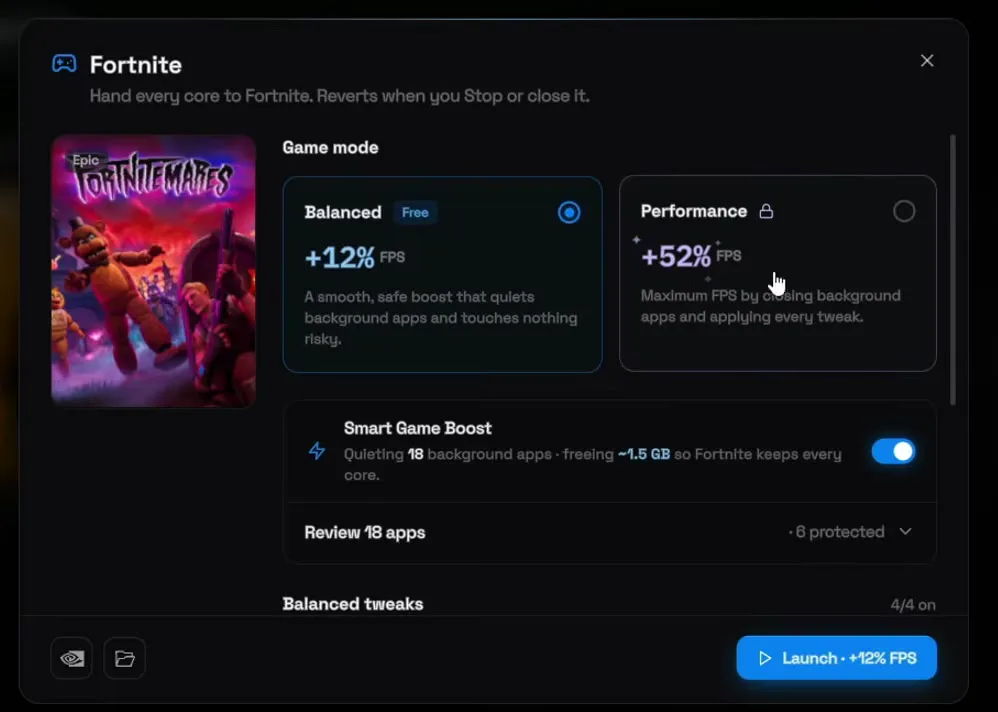
After the restart, open the game in RIP Tweaks again, choose your Game mode and click Launch. The video picks the mode that gives the most FPS and starts Fortnite from here. The mode reverts by itself when you click Stop or close the game.
How to check it worked
- In the NVIDIA app, open Graphics, Global Settings and check that Low Latency Mode shows Ultra and Texture Filtering - Quality shows High performance.
- Under System, Performance, the GPU Tuning line shows the overclock the scan found (+0 MHz means it found none, as on the laptop in the video).
- On the RIP Tweaks GPU page, the three tweaks show Active.
- Play a few matches and watch your FPS and frame times in the same spot before and after. Steadier lows are the clearest sign that Max Performance P-State and the driver settings work on your PC.
Key settings at a glance
FAQ
What are the best NVIDIA Control Panel settings for FPS?
The ones in the video: Low Latency Mode Ultra, Texture Filtering - Quality High performance, Power Management Mode set so the GPU does not downclock, Anisotropic Filtering Off at driver level, Texture LOD Bias Allow, Trilinear and Anisotropic Sample optimization On, and VR Pre-rendered Frames 1. The NVIDIA app's Global Settings now hold the same driver settings as the old control panel.
Should NVIDIA Low Latency Mode be On or Ultra?
The video uses Ultra, which submits frames just in time and keeps the render queue as short as it gets. If a game has NVIDIA Reflex in its own settings, turn Reflex on there: in those games Reflex takes over.
Is NVIDIA Automatic Tuning safe?
It is NVIDIA's own tuner in the NVIDIA app. It tests your card for 30 minutes or more and only keeps an overclock it finds stable, and the Restore button on the same line resets it. On laptop GPUs it often finds nothing, as in the video (+0 MHz).
Should I turn off the NVIDIA overlay?
Yes, if you don't use it to record or to watch performance stats. The video turns it off in the NVIDIA app settings, so nothing runs on top of your game.
Which driver components do I need to keep?
For most games only PhysX. Keep DLSS runtime if you play with DLSS and NVIDIA App / overlay if you want the app for its settings and Automatic Tuning. HD Audio is only needed for sound over HDMI or DisplayPort.
Does Force Resizable BAR increase FPS?
In some games, yes, but not in all of them. The Profile Inspector turns it on for that one game's profile and says some games run slower with it, so compare your FPS and use Restore Default if it gets worse.
Does this work on a gaming laptop?
Yes. The whole video is recorded on a laptop with an RTX 4060 Laptop GPU. Only Automatic Tuning found no overclock there. For more laptop steps, see our gaming laptop FPS boost guide, and for a lighter Fortnite profile, the potato textures Profile Inspector guide.
How do I undo the NVIDIA tweaks?
Switch any tweak back off on the RIP Tweaks GPU page, use Restore Default in the Profile Inspector for a game, or restore the "before tweaks" point under Backups to go back to how the PC was before you started.
 RIP Tweaks
Do it in a few minutes with RIP Tweaks
- Free plan for Windows 10 and 11
- A backup first, and every tweak can be switched off again
- Made for higher FPS, lower input lag and steadier ping
Free · Windows 10 and 11
