Fix Slow Startup and Shutdown on Windows 10 With a Free Tweaks Pack

Written version of our video, every step checked against it.
Quick answer
- Time it first: on the PC in the video a fast SSD still needed 1:09 to boot and 17.46 s to shut down, which pointed at a badly set up Windows, not the drive.
- Download the Free Pack V7 from the free tweaks channel of the RIP Tweaks Discord, extract it and run it as administrator.
- Press
1to create a restore point, then work through the menu: CPU, GPU and RAM Tweaks matched to your hardware. - Run Clean-Up, Windows Tweaks (the long one), Services, Debloat, Power, all four Input-Lag tweaks and Network.
- Time it again: in the video startup fell to about 20.6 s (three times less) and shutdown became about four times faster.
This guide is for anyone whose Windows 10 PC starts and shuts down slowly even with a good SSD, and who wants a smoother system for games like Fortnite. It follows our 2025 video step by step: the stopwatch test before, every menu of the free tweaks pack in the order the video uses them, and the same test after.
The video starts with a simple benchmark: a phone stopwatch next to the monitor. Start it when you press the power button and stop it when Windows is ready. On the PC in the video the boot hung on the logo screen and took 1 minute 9 seconds, on an SSD that cost around $100.
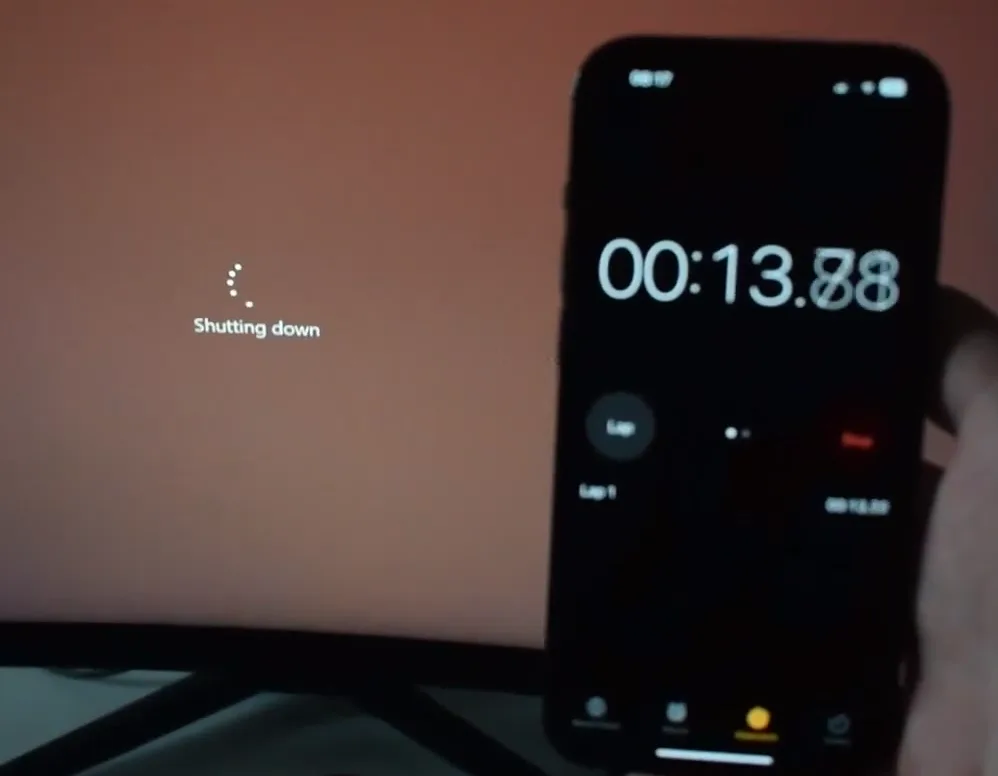
Then do the same for a shutdown. In the video it took at least 15 seconds, 17.46 s on that run. Write both numbers down: they are your before result, and this test needs no extra software.
Good to know
When an SSD boots this slowly, the drive is rarely the problem. The video calls it a case of a very bad Windows installation: too many things load and run that a gaming PC does not need.
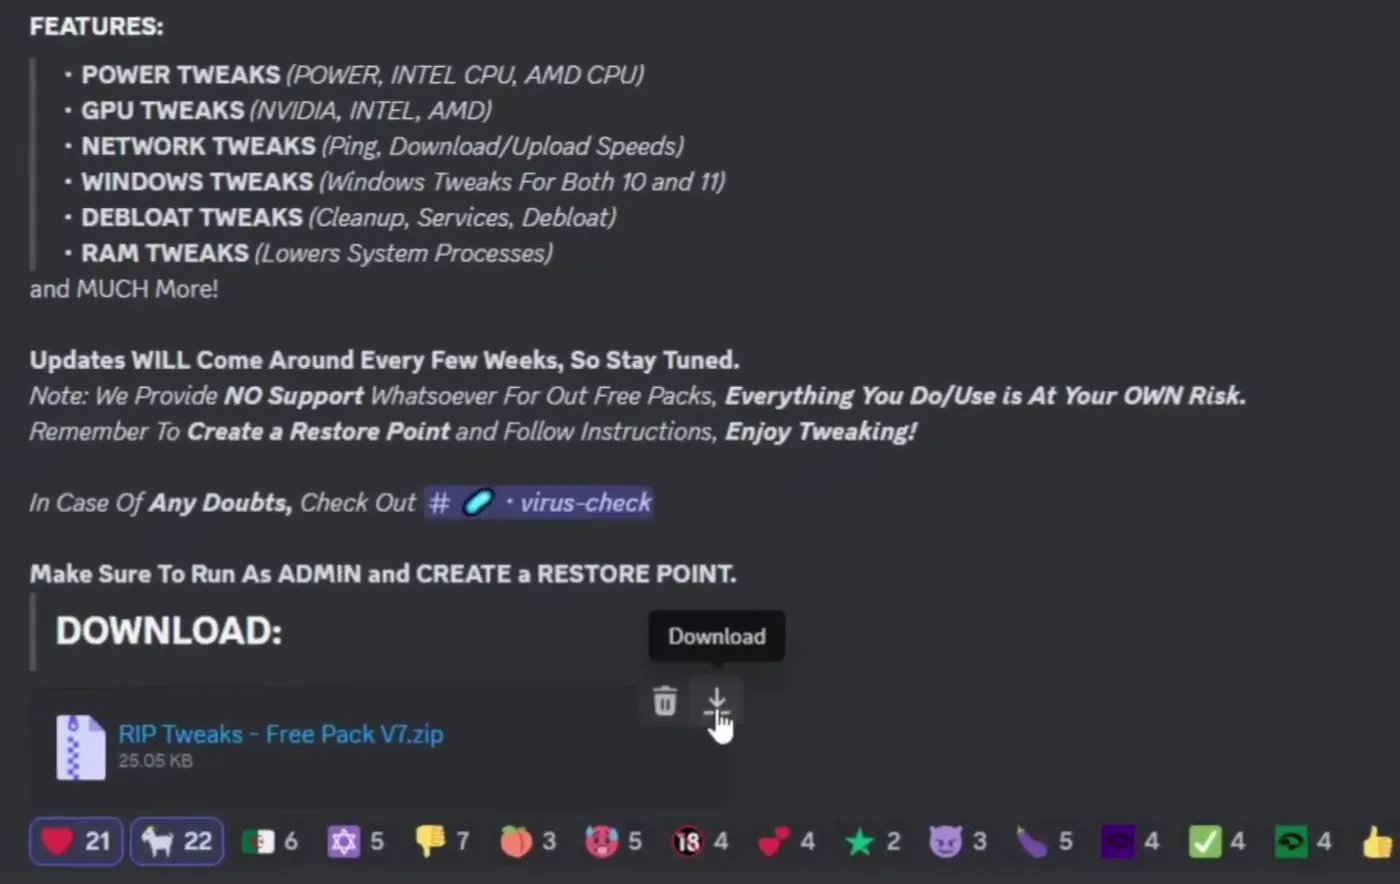
Open your browser, join the RIP Tweaks Discord (discord.gg/riptweaks, also linked in the video description) and go to the free-tweaks channel. Download RIP Tweaks - Free Pack V7.zip and save it on your desktop.
RIP Tweaks Discordfree-tweaksRIP Tweaks - Free Pack V7.zipDownload
Right-click the zip, open it with Windows Explorer and drag the file inside out to the desktop.
Good to know
The video shows the 2025 Free Pack V7, a script that runs in a command window. The free tools and the RIP Tweaks app look different today, but the ideas below (restore point first, hardware tweaks, services, power, input lag, network) are the same.
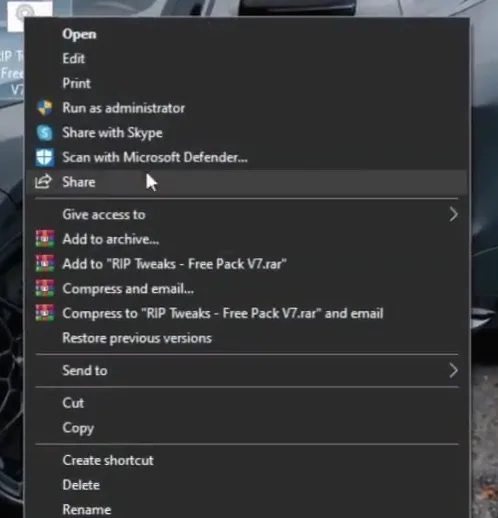
Right-click the extracted file and choose Run as administrator. The tweaks change system settings, so they need admin rights. The first screen asks about a restore point: press 1 (Create a Restore Point, marked Recommended) and Enter.
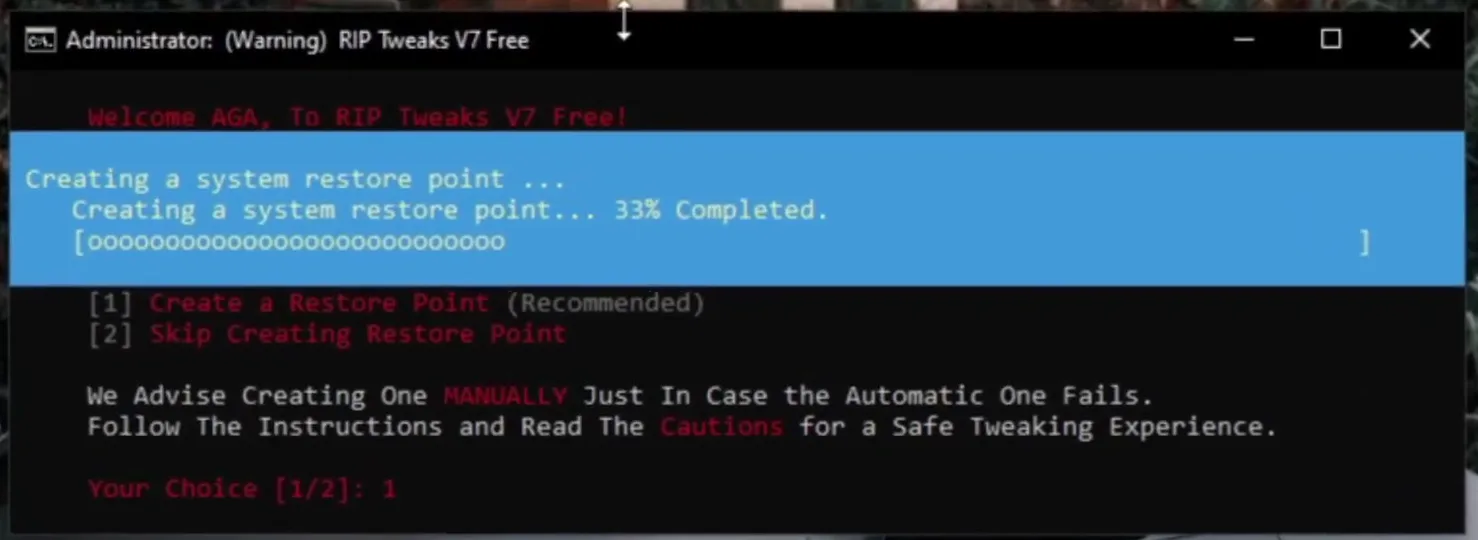
You can skip it with 2, but the restore point is what lets you go back if you want to revert anything later. The screen itself also advises making one manually, just in case the automatic one fails.
Tip
To make one by hand, search Windows for "Create a restore point", select your system drive and click Create. It takes a minute and gives you a second safety net.
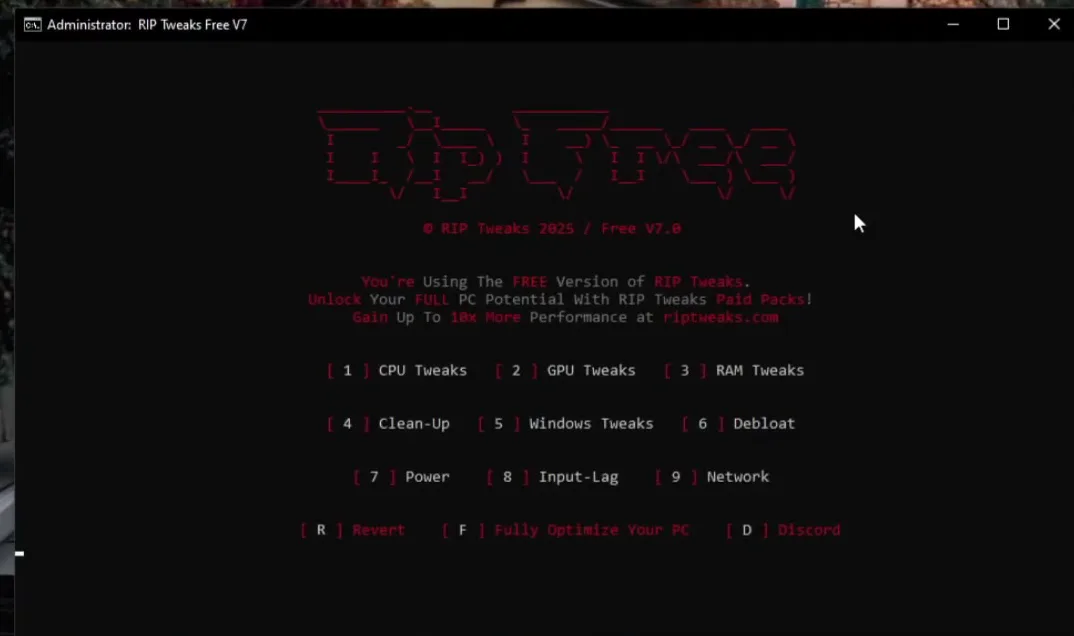
Now you are in the main menu. Every menu works the same way: type the number and press Enter, then use the Go Back option to return.
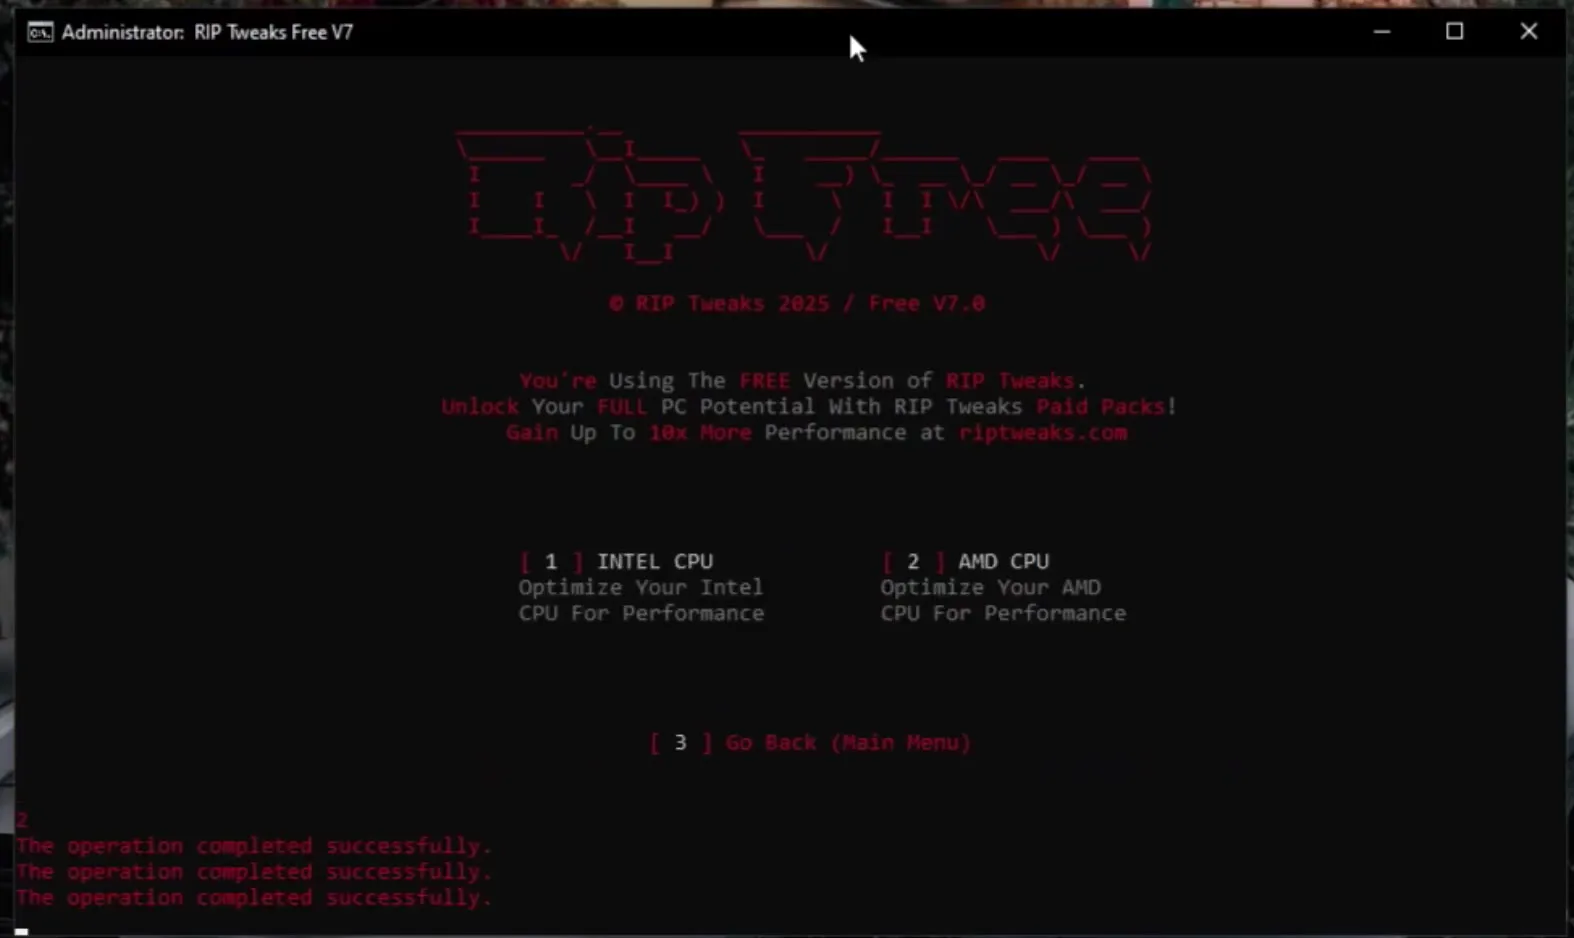
- CPU Tweaks (
1): pick1for an Intel CPU or2for an AMD CPU. The video uses AMD. - GPU Tweaks (
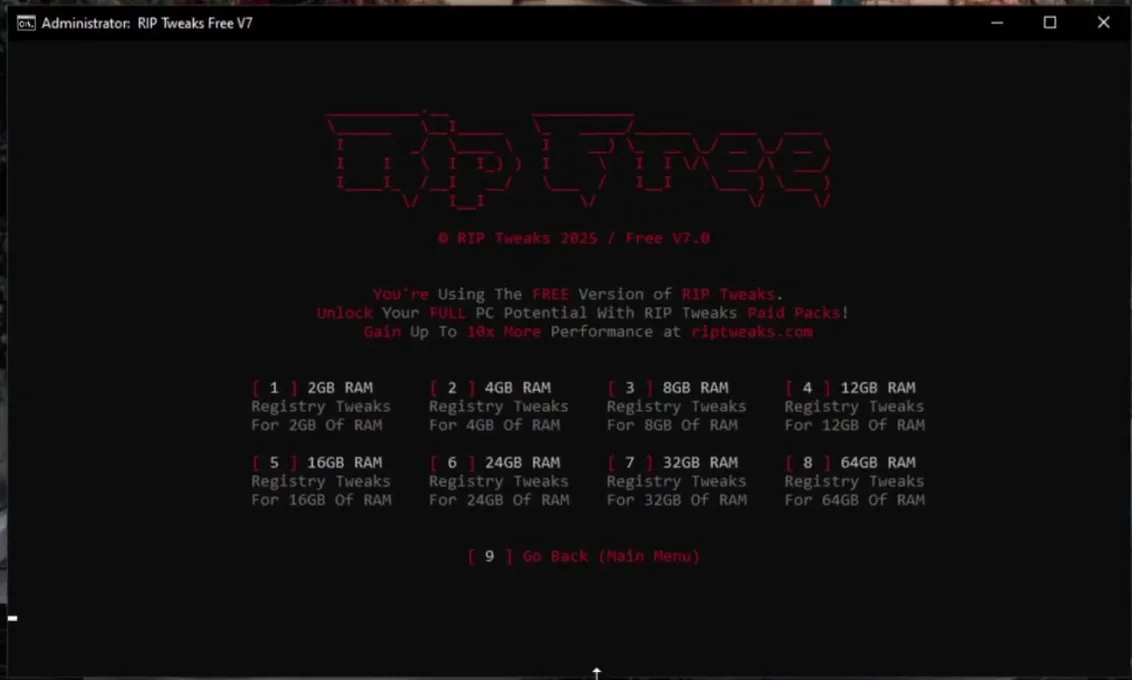
2): pick the option for your graphics card brand. The video tweaks an Nvidia GPU. - RAM Tweaks (
3): pick your exact amount of memory, from 2 GB to 64 GB. The PC in the video has 32 GB, so it uses7.
Tip
Not sure how much RAM you have? Open Task Manager (Ctrl+Shift+Esc), go to Performance and click Memory: the total is at the top right.
Back in the main menu, run Clean-Up (4), then Windows Tweaks (5) and pick the option for your Windows version. The PC in the video runs Windows 10.
Main menu5 Windows TweaksWindows 10
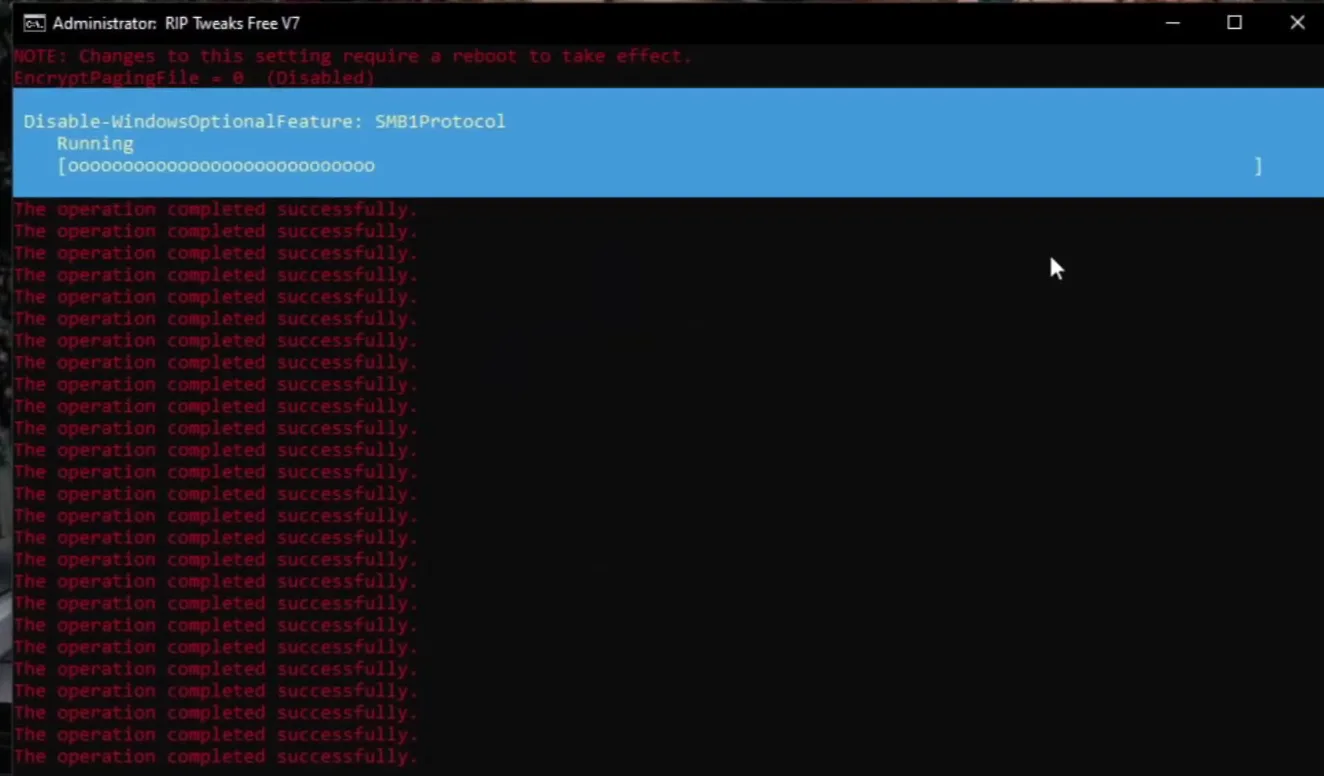
This is the slow part. It is a single option, but it applies thousands of tweaks, so let it run as long as it needs and do not close the window. In the video this is the step where the FPS gain comes from.
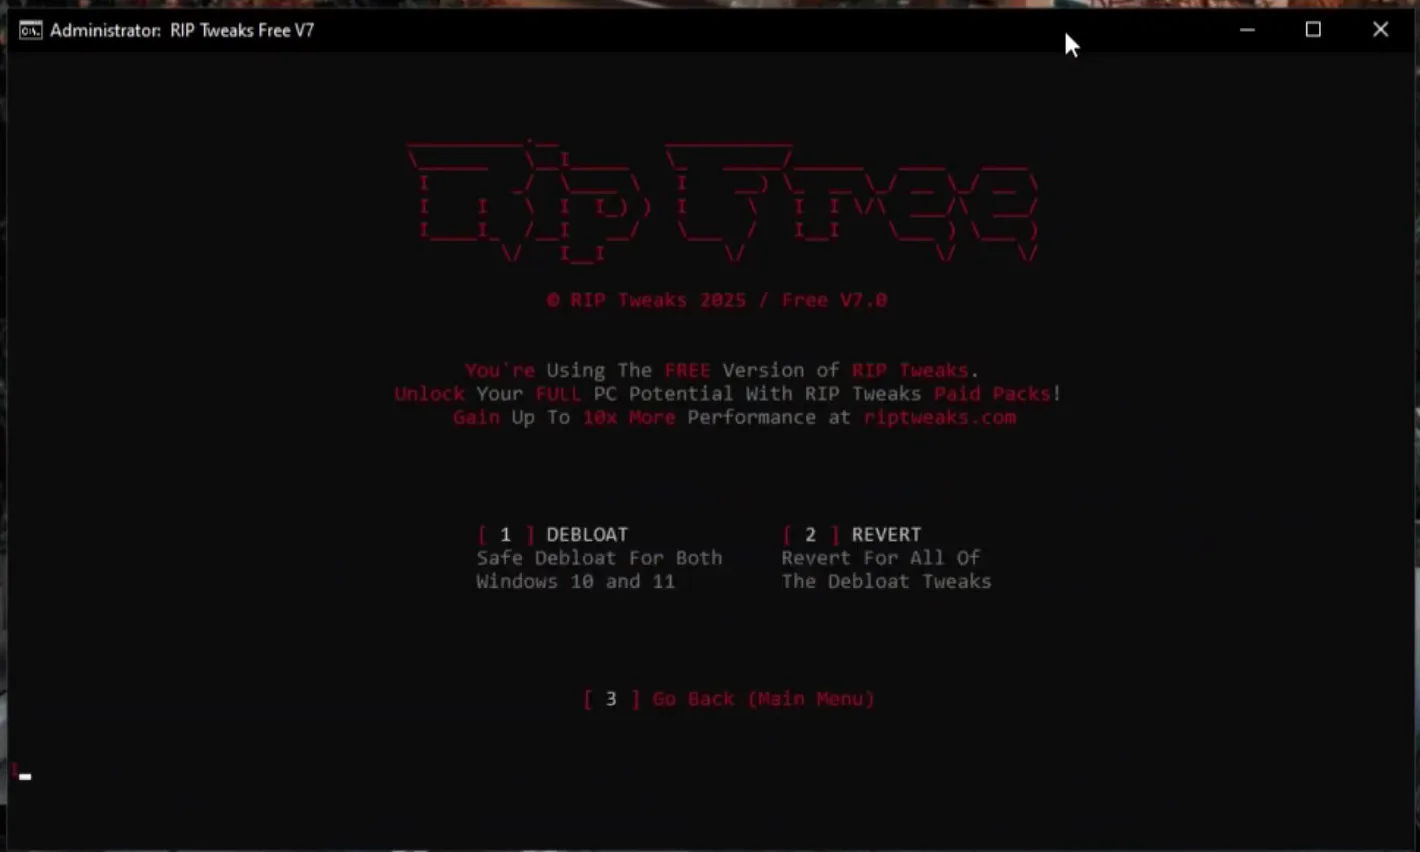
When the Windows tweaks are done, open Services and disable the useless ones: Windows starts many services at boot that a gaming PC never uses, and each one adds to startup time. Then go back and open Debloat (6) and press 1 to remove the apps that come with Windows and run for nothing.
How to undo it
Every change here can be taken back: the Debloat menu has its own Revert (2), the main menu has R Revert, and your restore point from the start covers everything else.
Next, run Power (7). The video calls the power tweaks probably the best of all for FPS in general, because Windows power saving holds the CPU back between bursts of work.
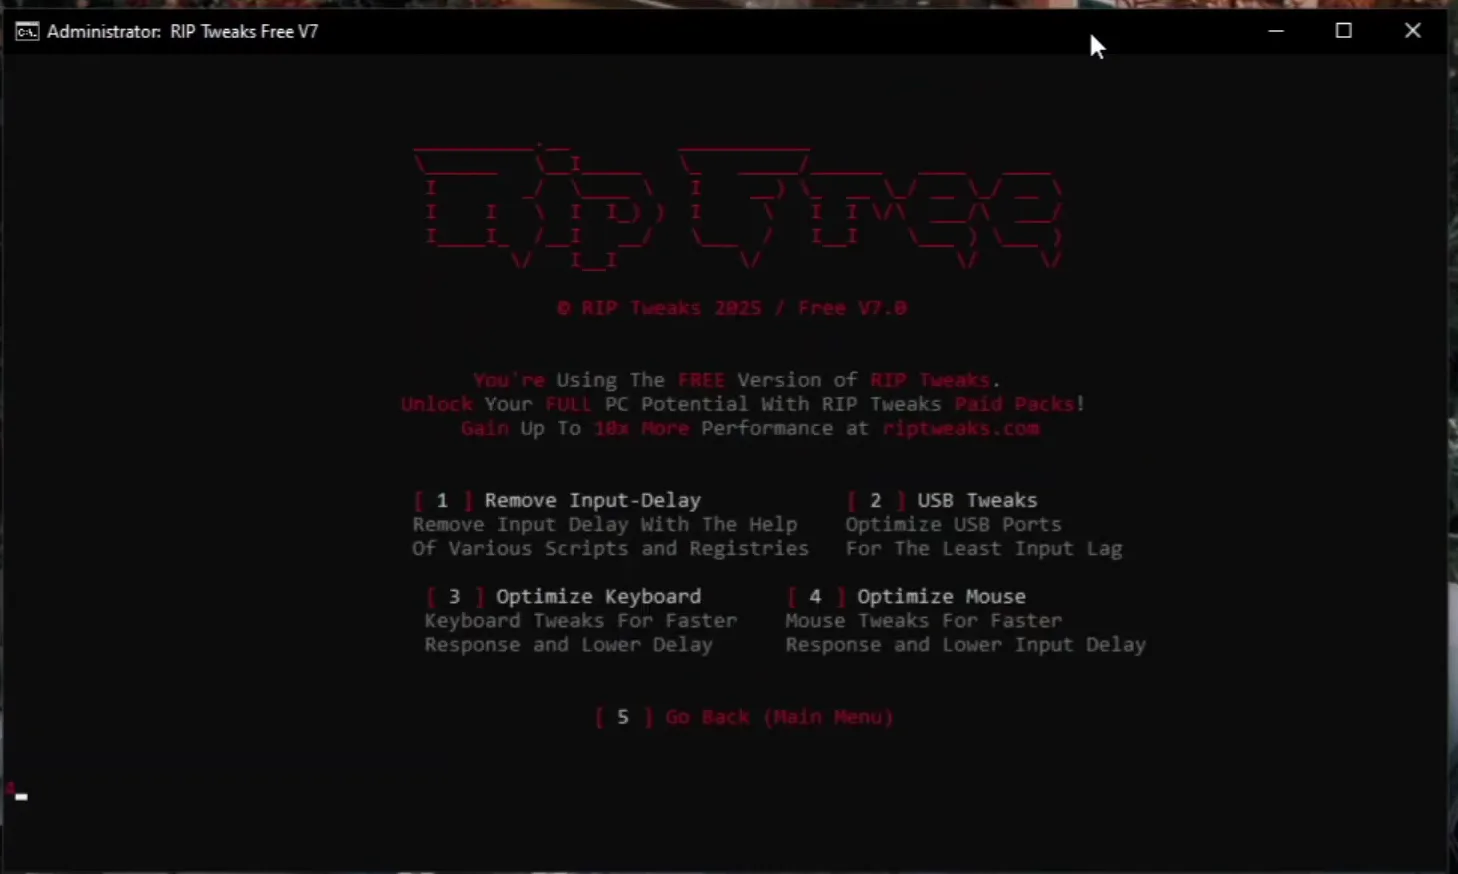
Then open Input-Lag (8) and apply all four options, one after another:
- Remove Input-Delay: scripts and registry changes against input delay.
- USB Tweaks: optimizes the USB ports your mouse and keyboard use.
- Optimize Keyboard: faster response and lower delay for the keyboard.
- Optimize Mouse: faster response and lower input delay for the mouse.
For more on input delay in one game, see our guide to fixing input delay in Fortnite.
Finally, open Network (9) and press 2 to boost the internet connection. That is the last of the free tweaks the video applies.
Main menu9 Network2
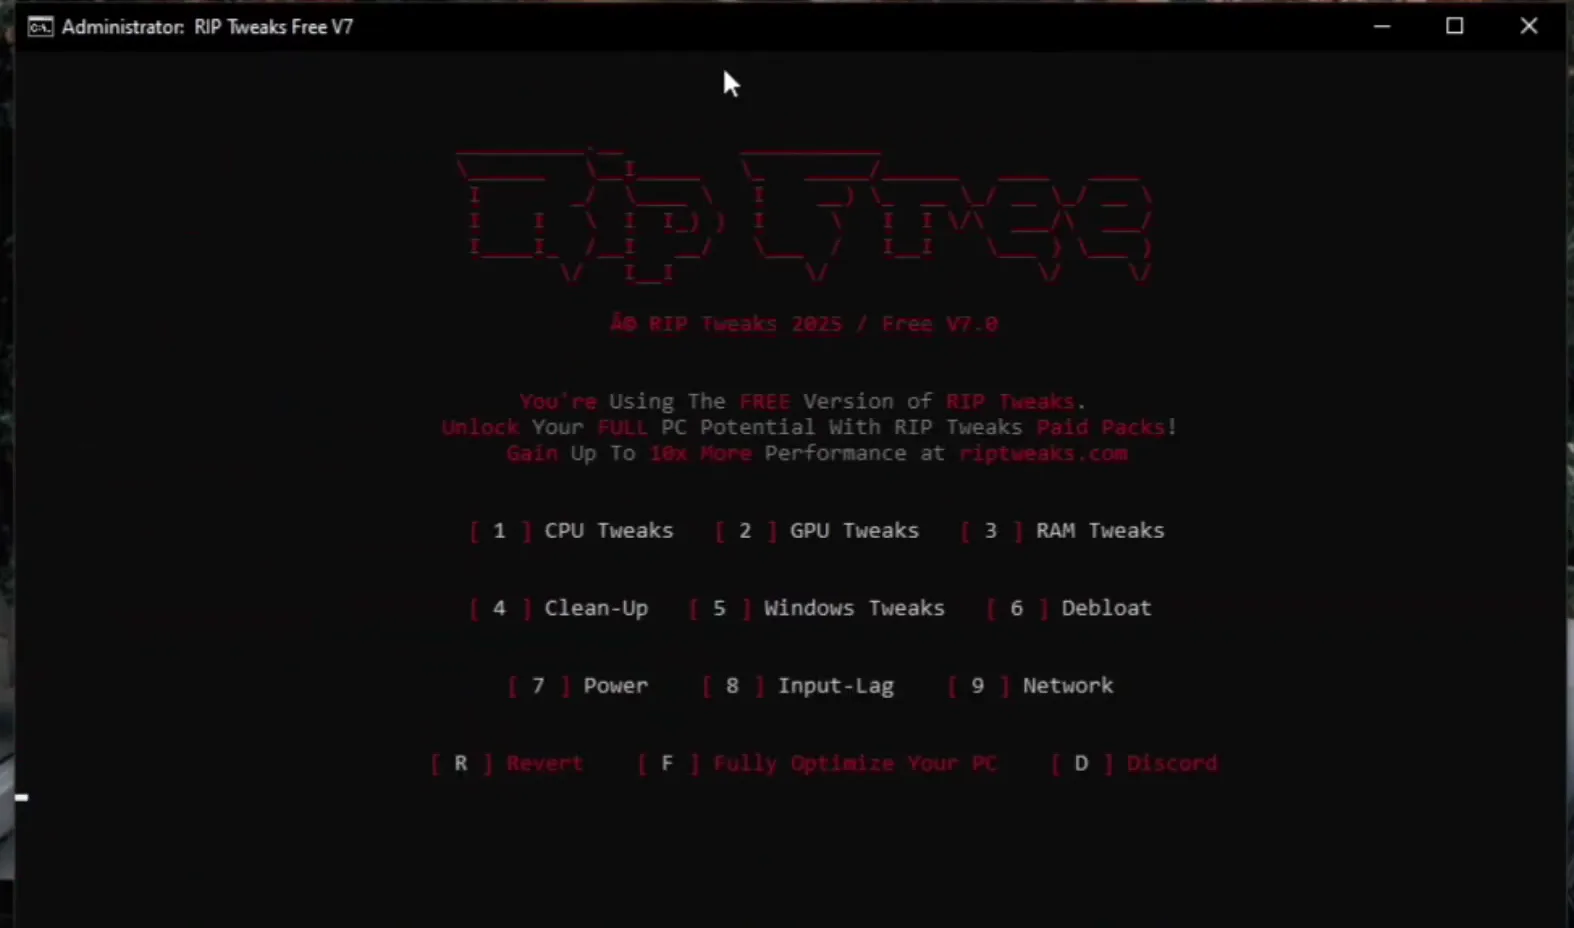
The F option on the main menu opens riptweaks.com, where the full RIP Tweaks app goes further than the free pack. For ping problems on top of this, our guide to ping spikes and packet loss goes deeper.
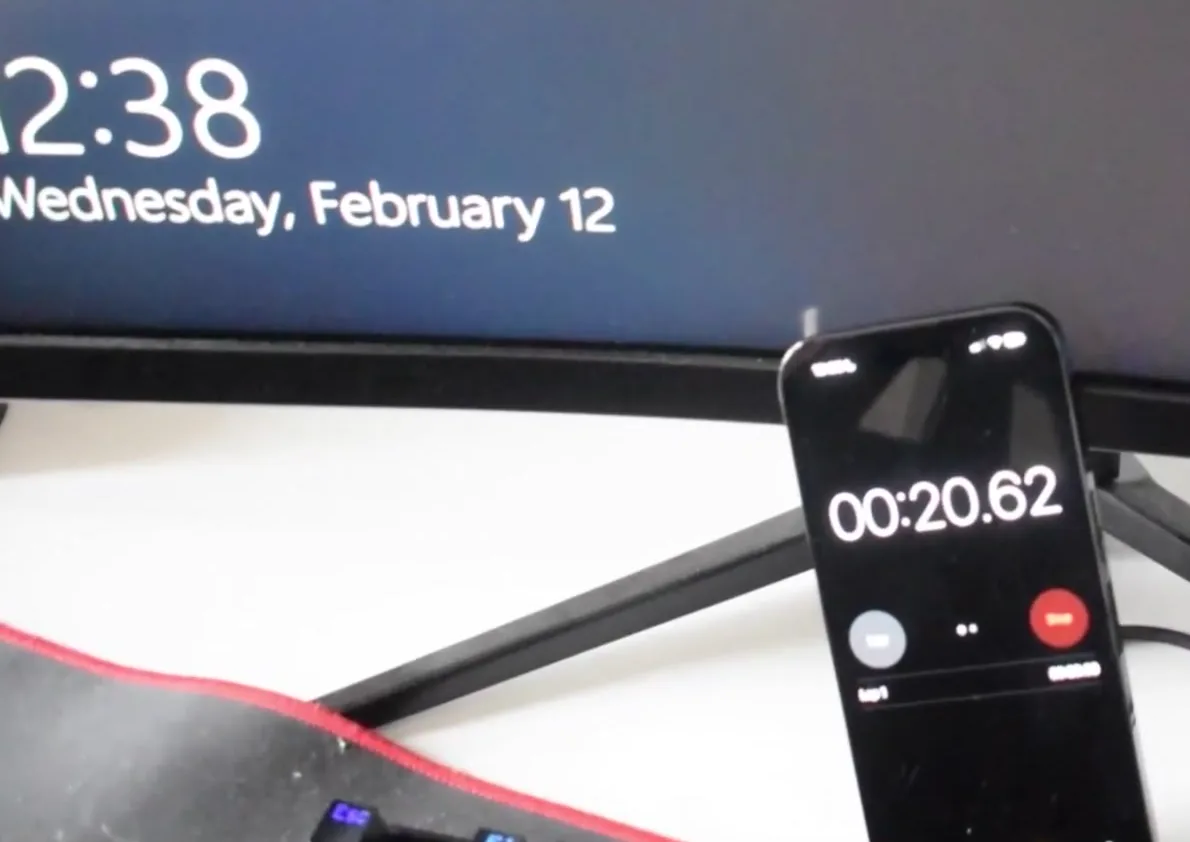
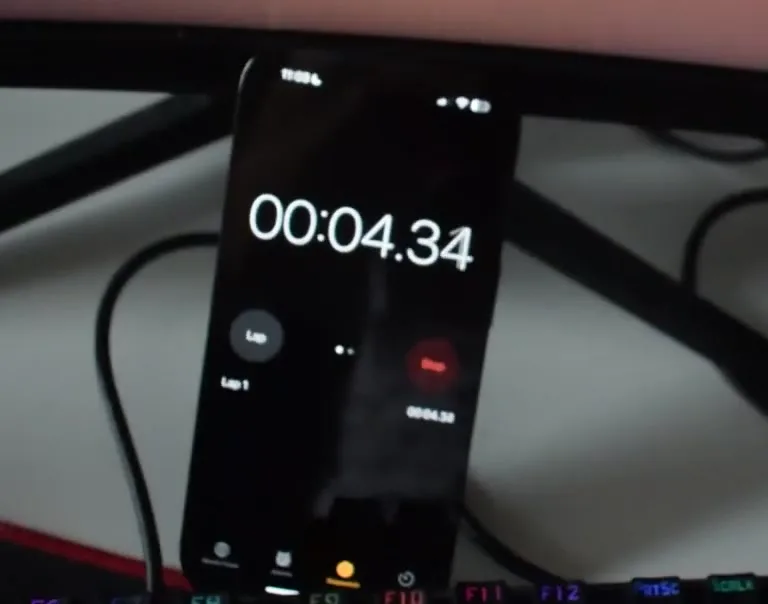
Restart the PC and repeat the stopwatch test from the first step. On the PC in the video Windows reached the lock screen in about 20.6 seconds, down from 1:09: three times less. The shutdown counted down in a few seconds, about four times faster than the 17.46 s before.
How to check it worked
- Run the same stopwatch test as before, from power button to a usable desktop, and compare it with your before numbers.
- Restart once more and time it again: the first boot after big changes can be slower while Windows finishes applying them, so the second one is the fair result.
- Open Task Manager, go to Performance and look at the number of processes on the CPU page: after Services and Debloat it should be lower than before.
- Start Fortnite or another game and play a match. In-game FPS and smoothness after these tweaks typically vary a lot from PC to PC, so compare with the FPS counter you used before.
Key settings at a glance
FAQ
Why is my PC slow to start up even with an SSD?
Usually because of what Windows loads, not the drive. In the video a $100 SSD needed 1:09 to boot because of a very bad Windows installation: services, startup apps and settings that a gaming PC does not need. After the tweaks the same SSD booted in about 20.6 seconds.
Why does Windows 10 take so long to shut down?
Windows waits for running services and apps to close before it turns off, so every extra service adds time. On the PC in the video shutdown took 17.46 s before and became about four times faster after the services, debloat and Windows tweaks.
Is the RIP Tweaks free pack really free?
Yes. In the video it is downloaded at no cost from the free-tweaks channel of the RIP Tweaks Discord. The F option inside it opens riptweaks.com, where the paid app goes further.
Do these tweaks boost FPS in Fortnite?
They target FPS and input lag in all games, Fortnite included: the video points at the Windows tweaks and the power tweaks as the main FPS steps. How much changes typically depends on how unoptimized your Windows was to begin with; the numbers the video measures are the startup and shutdown times.
Should I create a restore point first?
Yes. Press 1 on the first screen and the pack creates one automatically. The screen also advises making one manually in case the automatic one fails.
Can I undo the tweaks?
Yes. Use R Revert in the main menu or the Revert option inside Debloat, or go back to the restore point you made at the start through System Restore.
Does it work on Windows 11?
The video uses Windows 10, but the Windows Tweaks menu has an option per version and the Debloat option is made for both Windows 10 and 11. For a newer walkthrough, see our Windows 11 gaming optimization guide.
Is there a newer version of this guide?
Yes. This video shows an earlier free pack. Our guide to optimizing your PC for gaming with RIP Tweaks and the background processes guide cover the current tools.
 RIP Tweaks
Do it in a few minutes with RIP Tweaks
- Free plan for Windows 10 and 11
- A backup first, and every tweak can be switched off again
- Made for higher FPS, lower input lag and steadier ping
Free · Windows 10 and 11
