Fortnite on Mac with Boot Camp: Windows on a 2015 iMac, Tested

Written version of our video, every step checked against it.
Quick answer
- Fortnite needs Windows on a Mac: open Boot Camp Assistant, which only works on Intel-based Macs.
- Give it a real Windows 10 ISO file (the video used 22H2). A USB stick with the setup files already extracted does not work.
- Drag the divider to split the disk between macOS and Windows, click Install and run the normal Windows setup.
- Blue screen after the install? On the iMac in the video the culprit was the Intel Management Engine driver: an older version fixed it.
- Then tweak Windows and restart: on the PC in the video Fortnite went from about 20 FPS to a steady 40 to 50 FPS.
This guide is for anyone with an older Intel Mac who wants to play Fortnite on it. It follows our video on a late 2015 iMac: installing Windows with Boot Camp, the ISO and blue screen problems that cost days, the first Fortnite test, and what Windows tweaks did to the frame rate. The video was made in January 2025 with an earlier free tweak pack; the ideas still apply, and the free RIP Tweaks app is now on our download page.
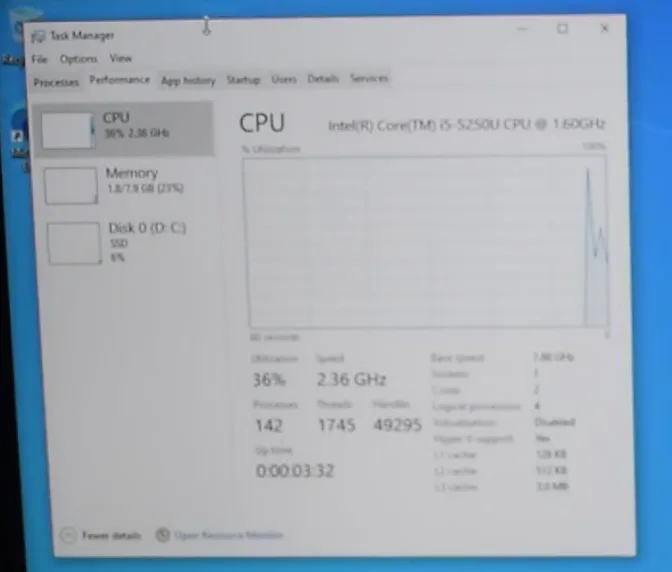
Before you install anything, look at the specs: click the Apple menu, then About This Mac. The iMac in the video is a 21.5-inch late 2015 model with a 1.6 GHz dual-core Intel Core i5, 8 GB of 1867 MHz DDR3 memory, an SSD and Intel HD Graphics 6000. Even in 2015 those were weak gaming specs, and there is no separate graphics card at all.
Apple menuAbout This MacOverview
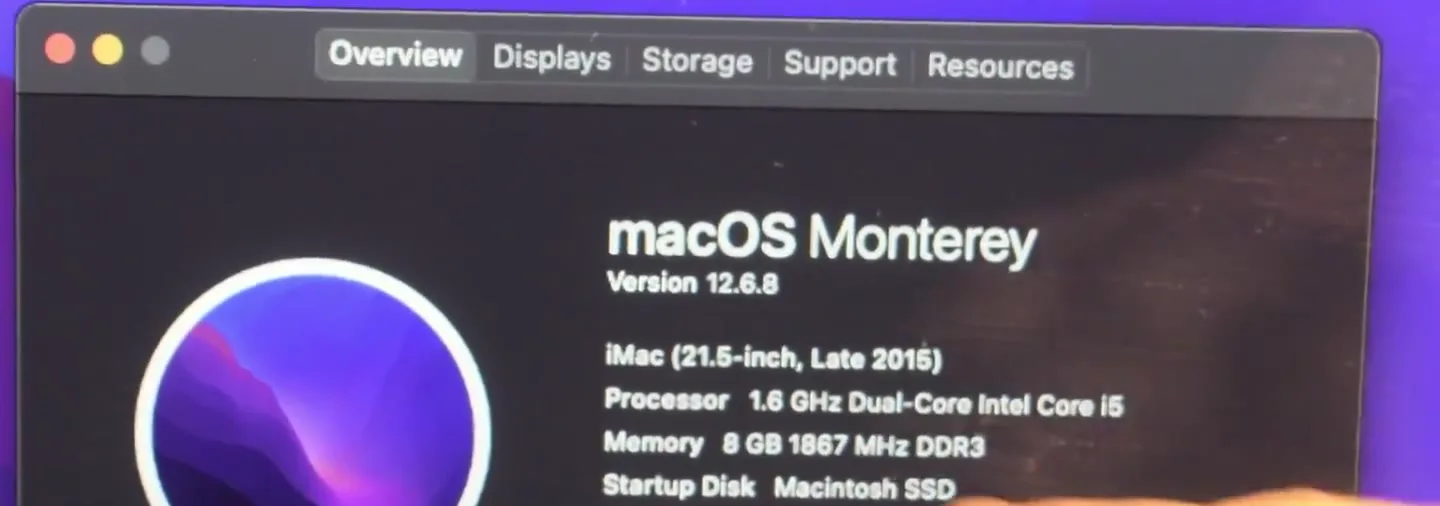
The word that matters most here is Intel. If the processor line says Apple M1, M2 or newer, Boot Camp does not exist on your Mac and the rest of this guide does not apply.
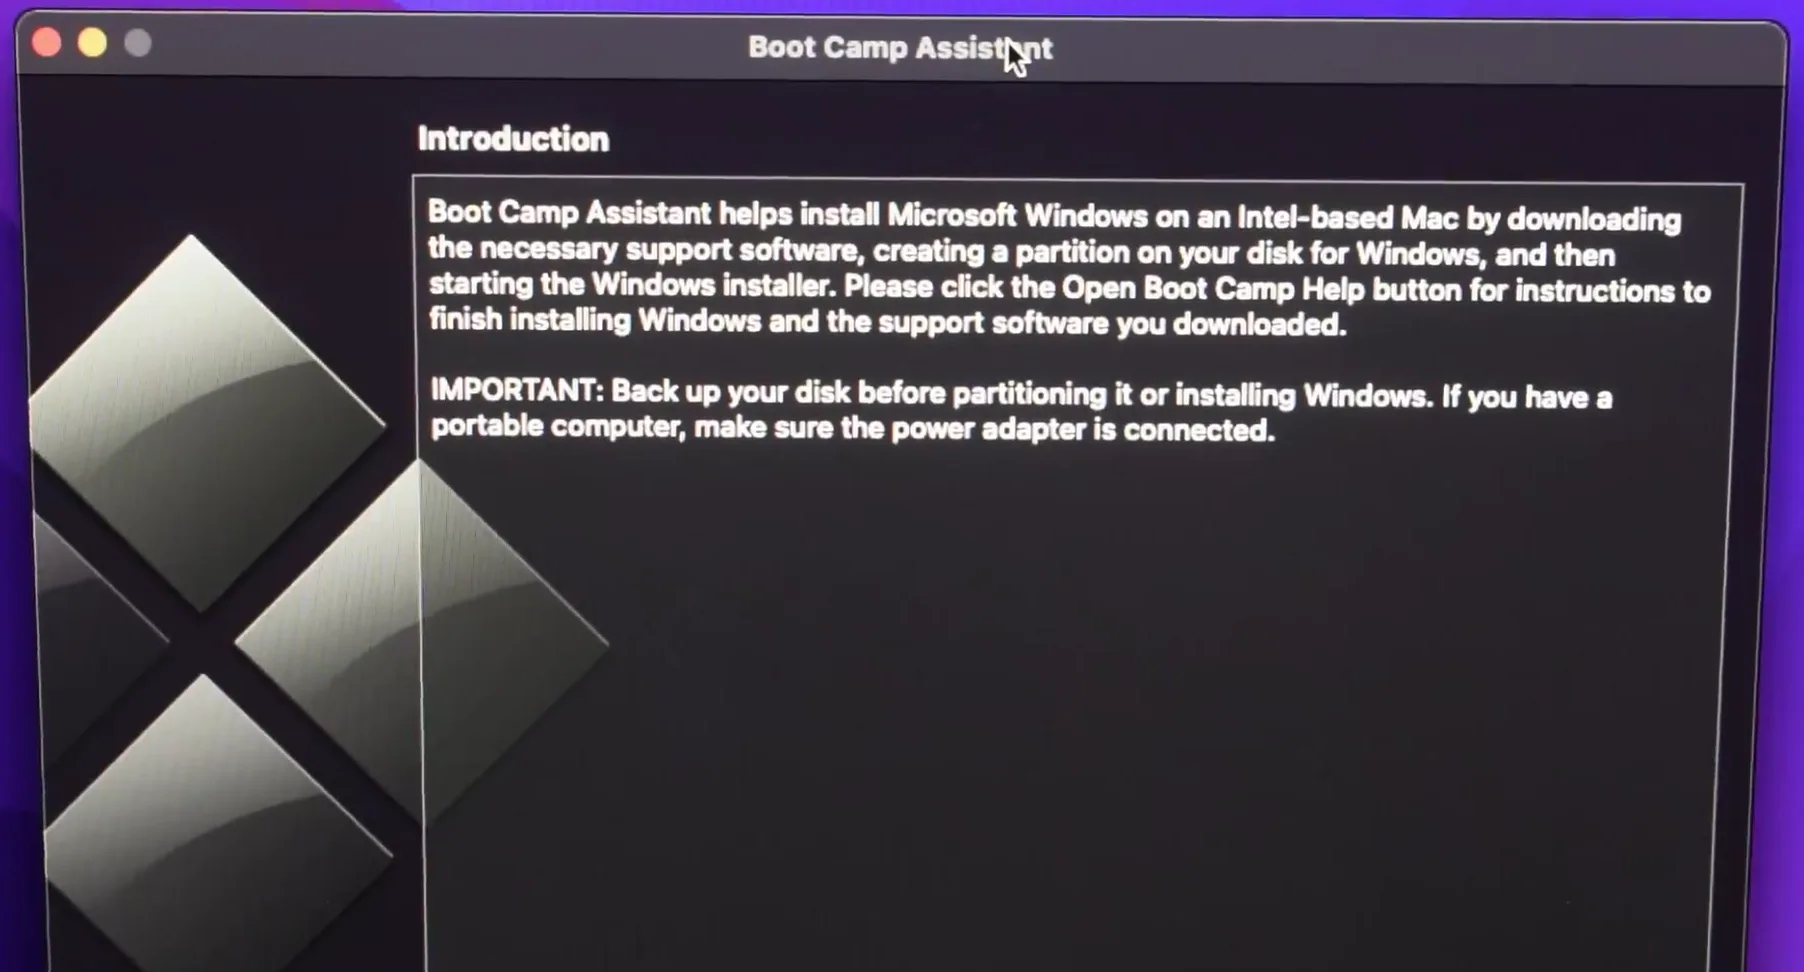
Search for Boot Camp in Spotlight (the magnifier at the top right) and open Boot Camp Assistant. It is Apple's own tool: it downloads the Windows support software, creates a partition on your disk for Windows and starts the Windows installer.
SpotlightBoot Camp AssistantContinue
Careful
Boot Camp's own introduction says to back up your disk before partitioning it. Do that first: a Time Machine backup takes minutes to start and saves your Mac files if anything goes wrong.
The video first tried a USB stick that already had Windows 10 on it, and it did not work. The stick held the extracted setup files (autorun.inf, boot, sources, setup.exe), but Boot Camp asks for a Windows 10 ISO file, one single image file.
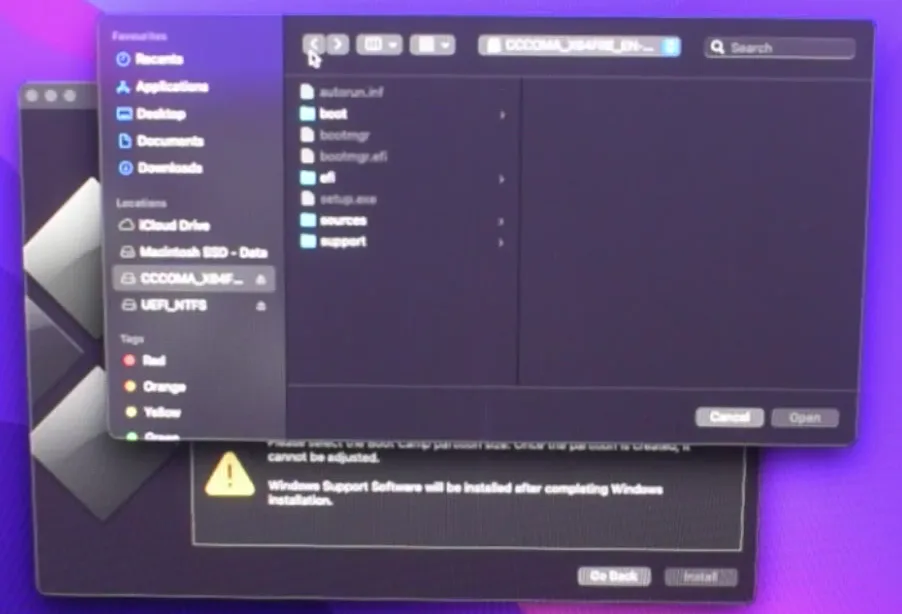
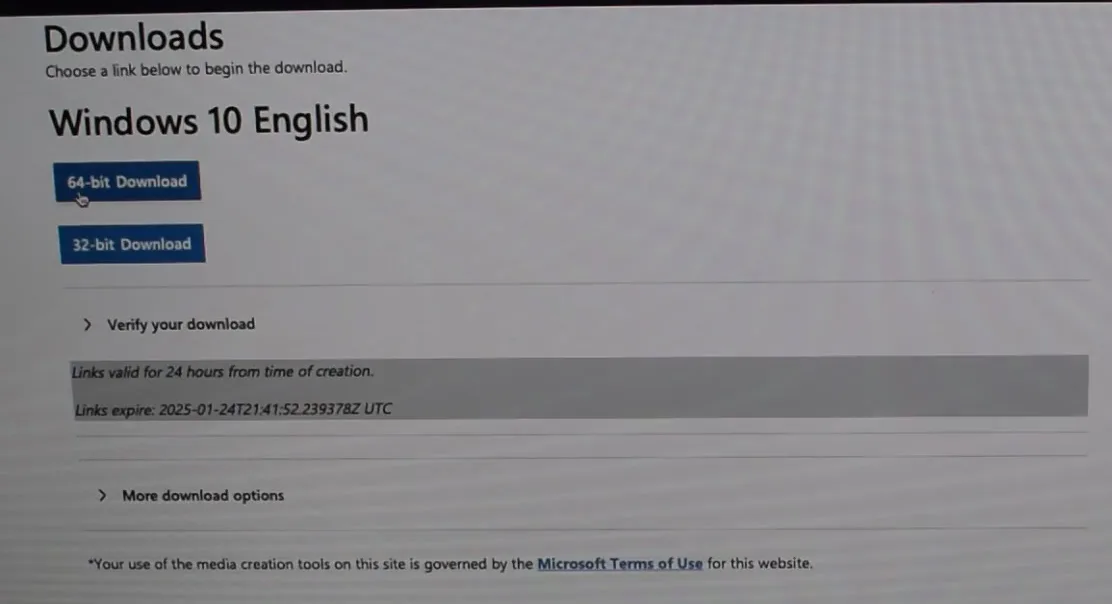
So download the ISO from Microsoft's Windows 10 download page and pick 64-bit Download. The video used the latest version at the time, 22H2. The page notes that its download links are valid for 24 hours, so start the download right away.
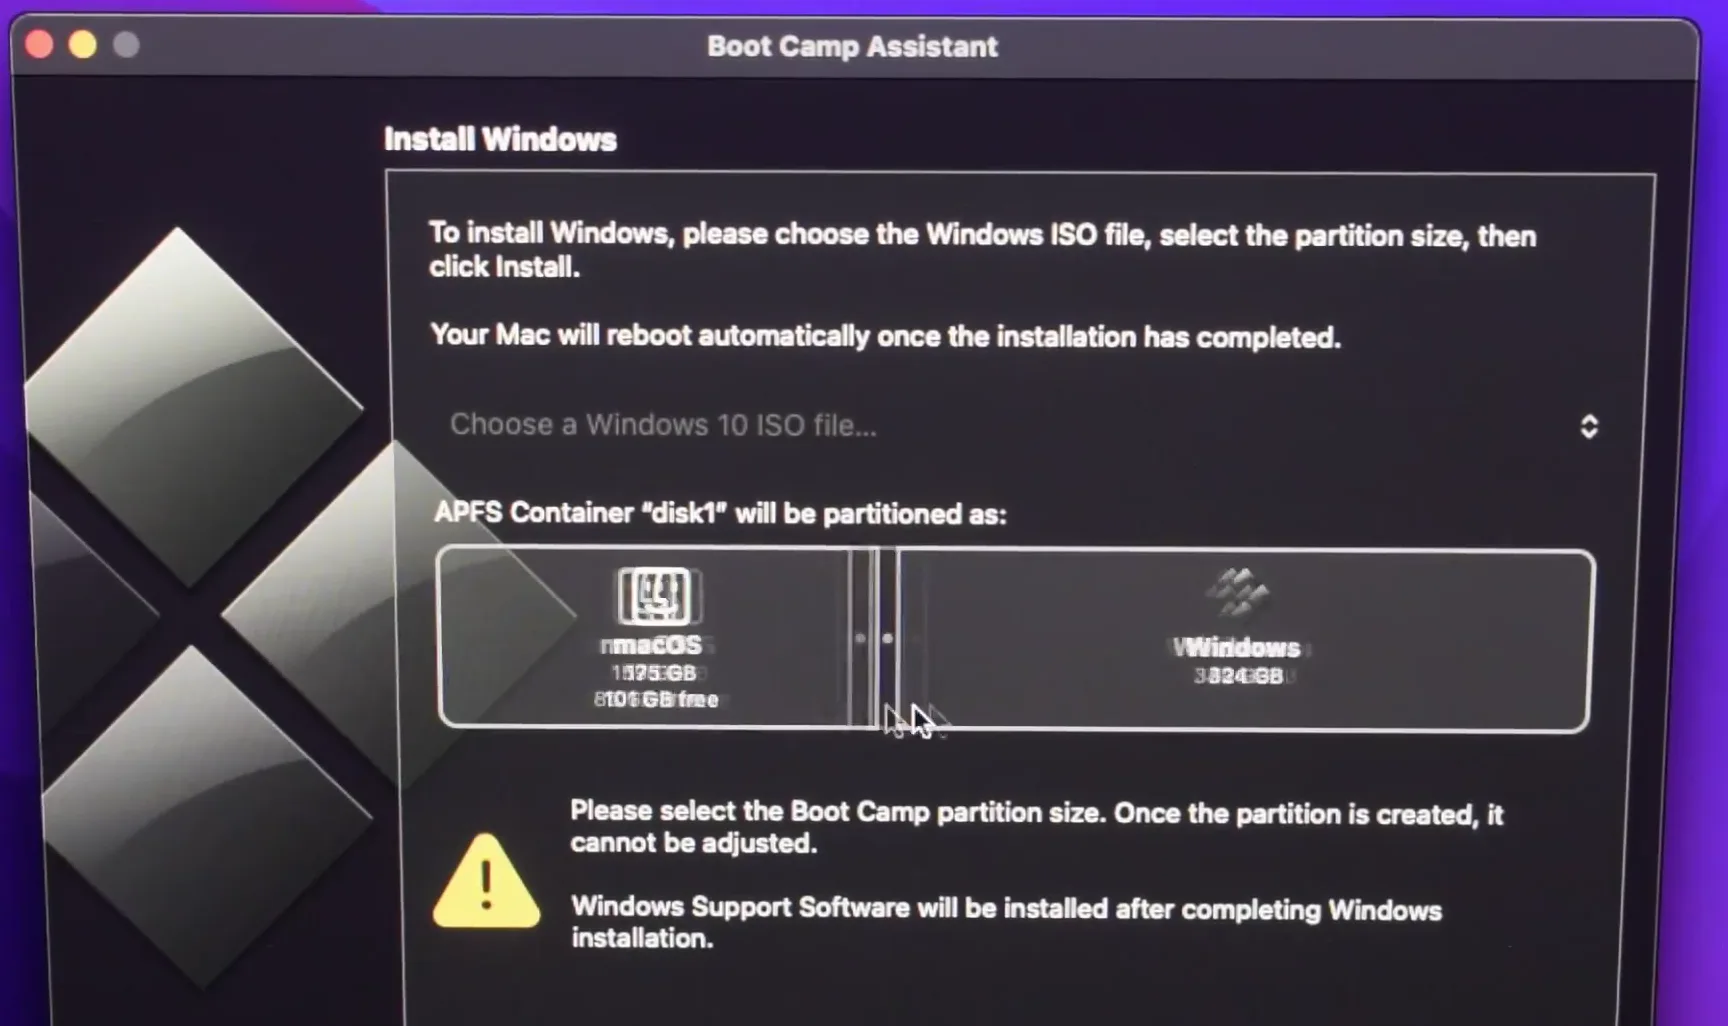
Back in Boot Camp Assistant, choose the ISO file in Choose a Windows 10 ISO file. Under it you see the disk split into a macOS part and a Windows part: drag the divider between them to set how much space Windows gets. It works like a dual boot: Windows and macOS each live on their own partition.
Good to know
The warning under the divider matters: once the partition is created, its size cannot be adjusted. Fortnite alone needs a lot of space, so give Windows more than the bare minimum.
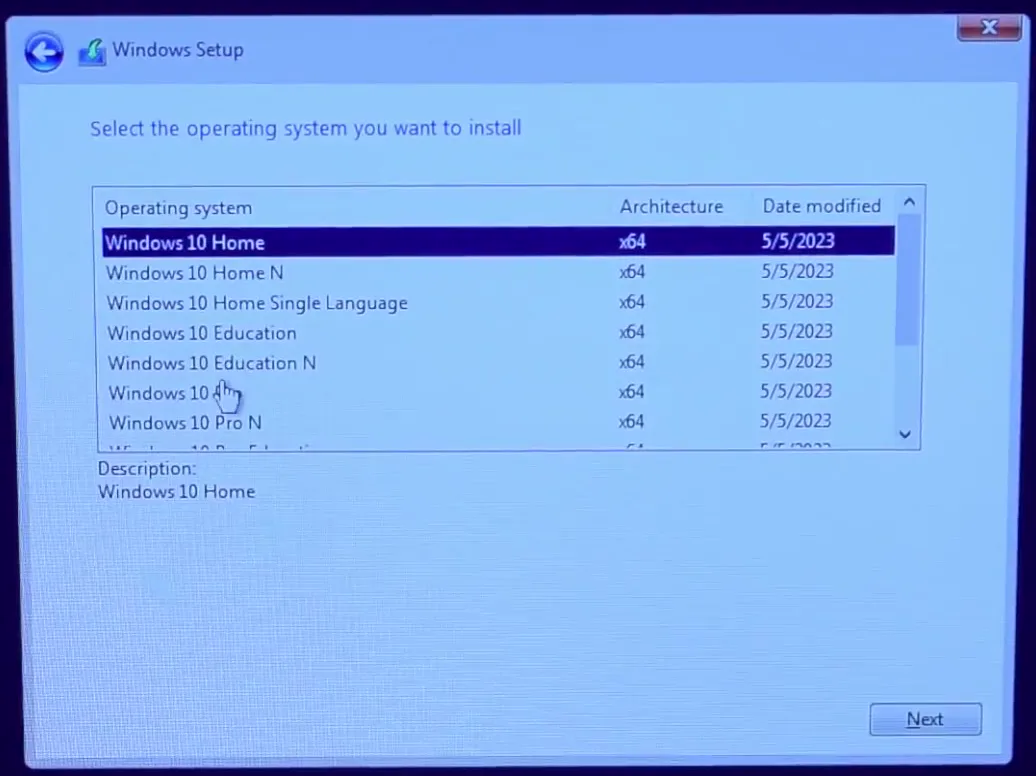
Click Install and wait. The Mac restarts into the Windows setup, which is exactly the same as on any PC: pick your edition, accept, choose the Boot Camp partition and let it copy the files.
Windows installed, and then the iMac crashed into a blue screen. Reinstalling Windows again and again did not help. It took two days to find the cause: the Intel Management Engine and chipset driver would not work on this old iMac. The blue screen shows the stop code DRIVER_IRQL_NOT_LESS_OR_EQUAL, and under What failed it names TeeDriverW10x64.sys, the Management Engine driver file.
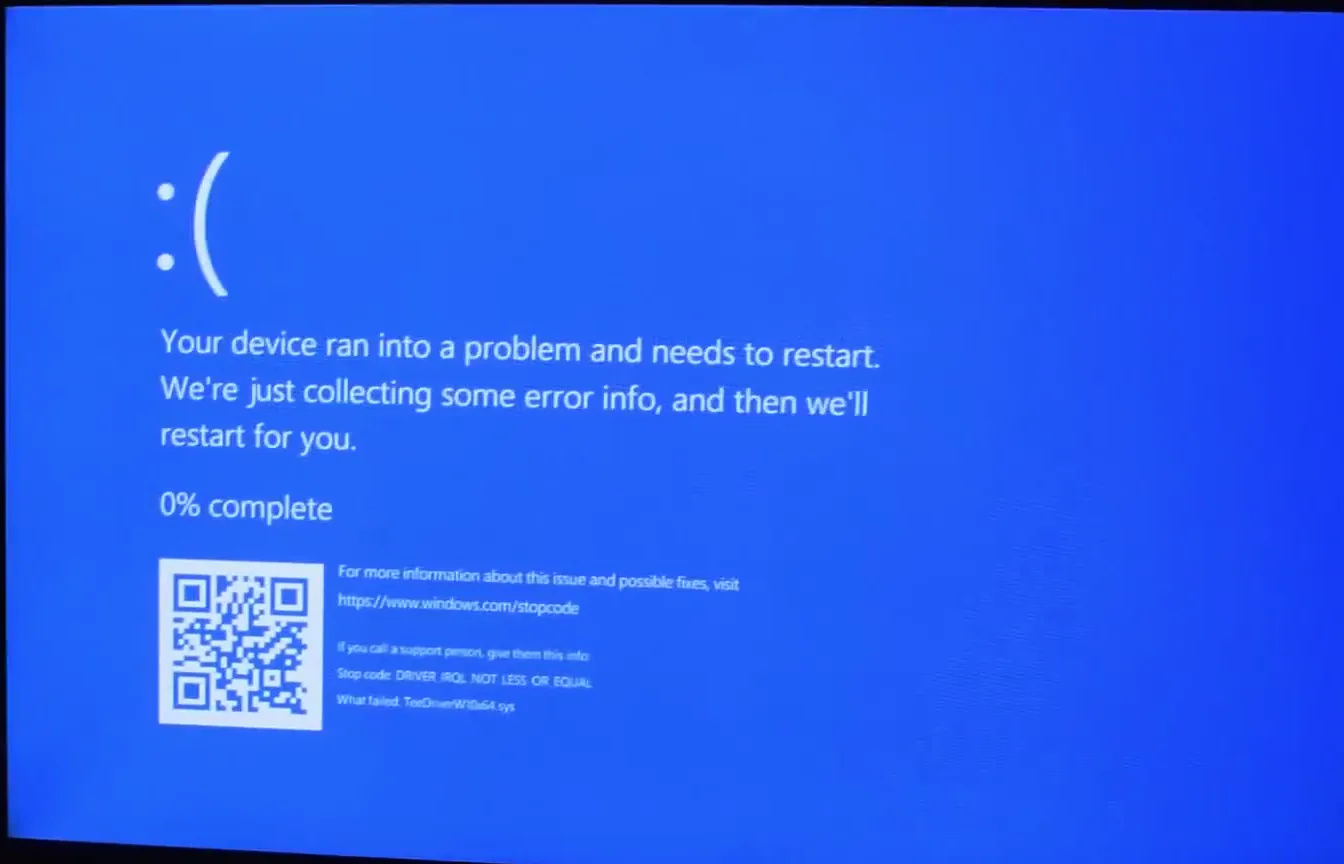
The fix in the video was to go back to an older version, because the new driver does not work with the iMac's old chip. After that, Windows ran correctly. If your Mac crashes the same way, read the file name under What failed first: it tells you which driver to roll back instead of reinstalling Windows blindly.
Tip
A blue screen right after a Boot Camp install is usually a driver, not a broken Windows. Booting into Safe Mode keeps most drivers from loading, which gives you a window to remove the bad one.
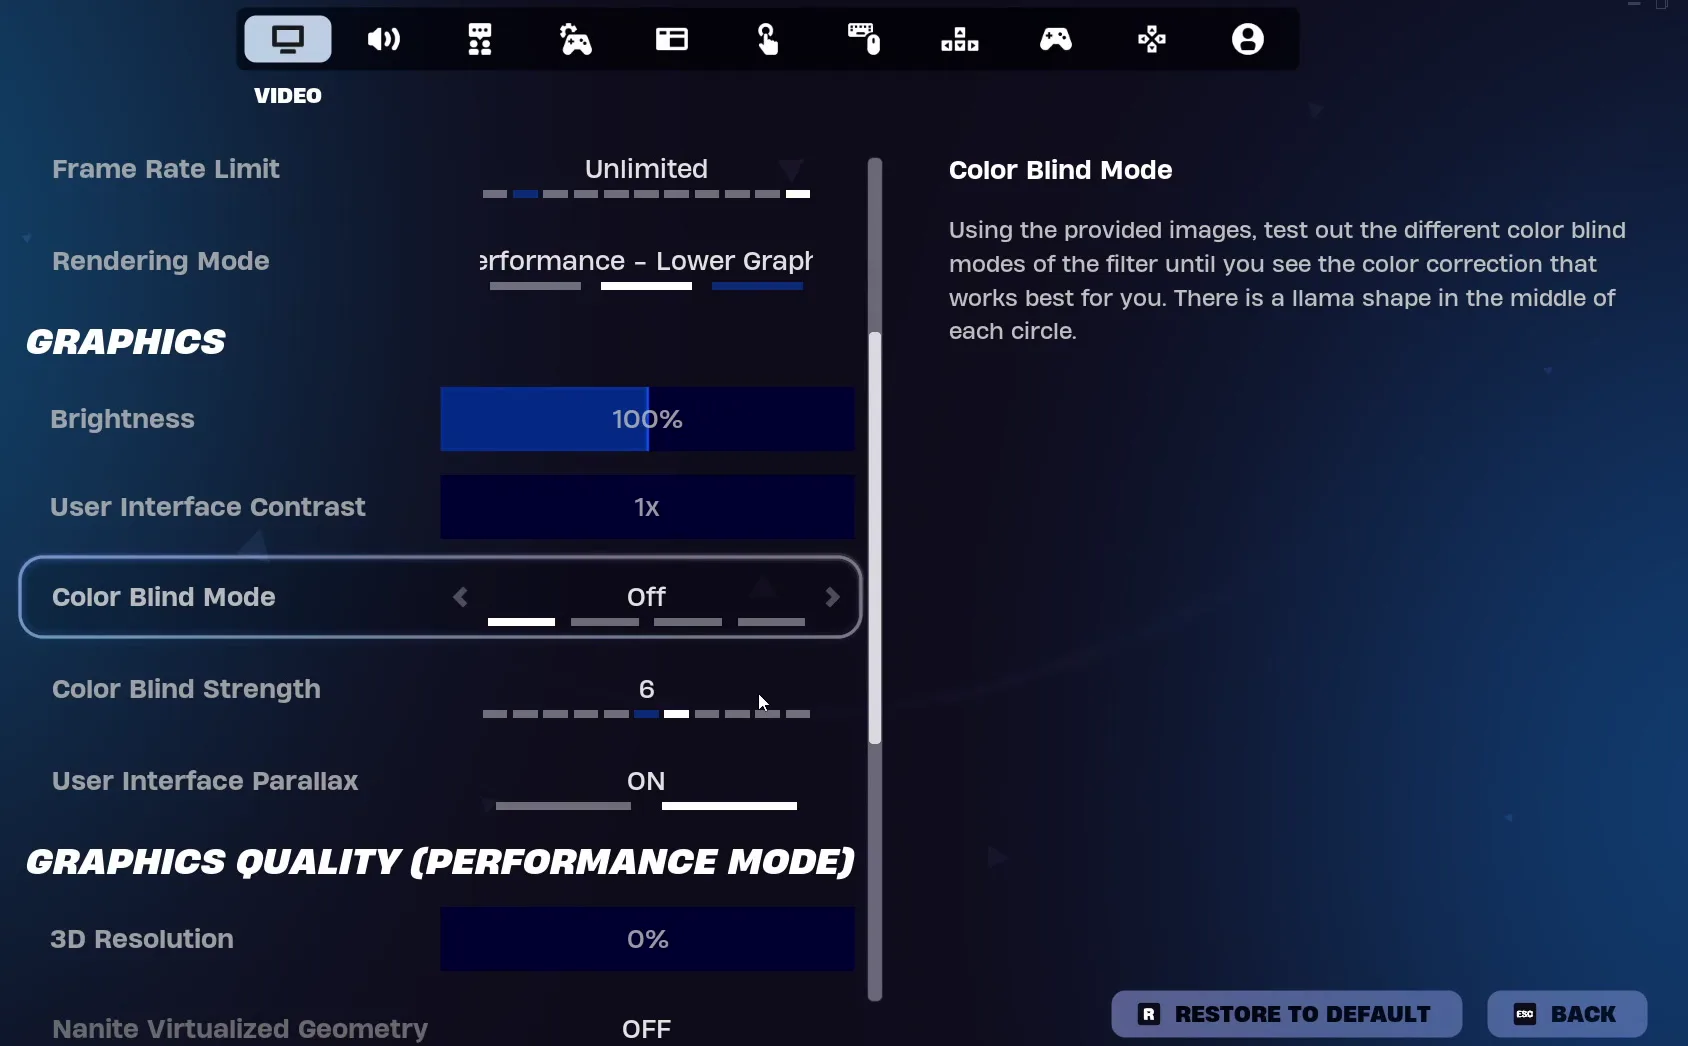
With Windows running, the video installs Fortnite and plays a match with the settings at the lowest: Rendering Mode on Performance - Lower Graphics and Frame Rate Limit on Unlimited, with the FPS counter on.
SettingsVideoRendering ModePerformance - Lower Graphics
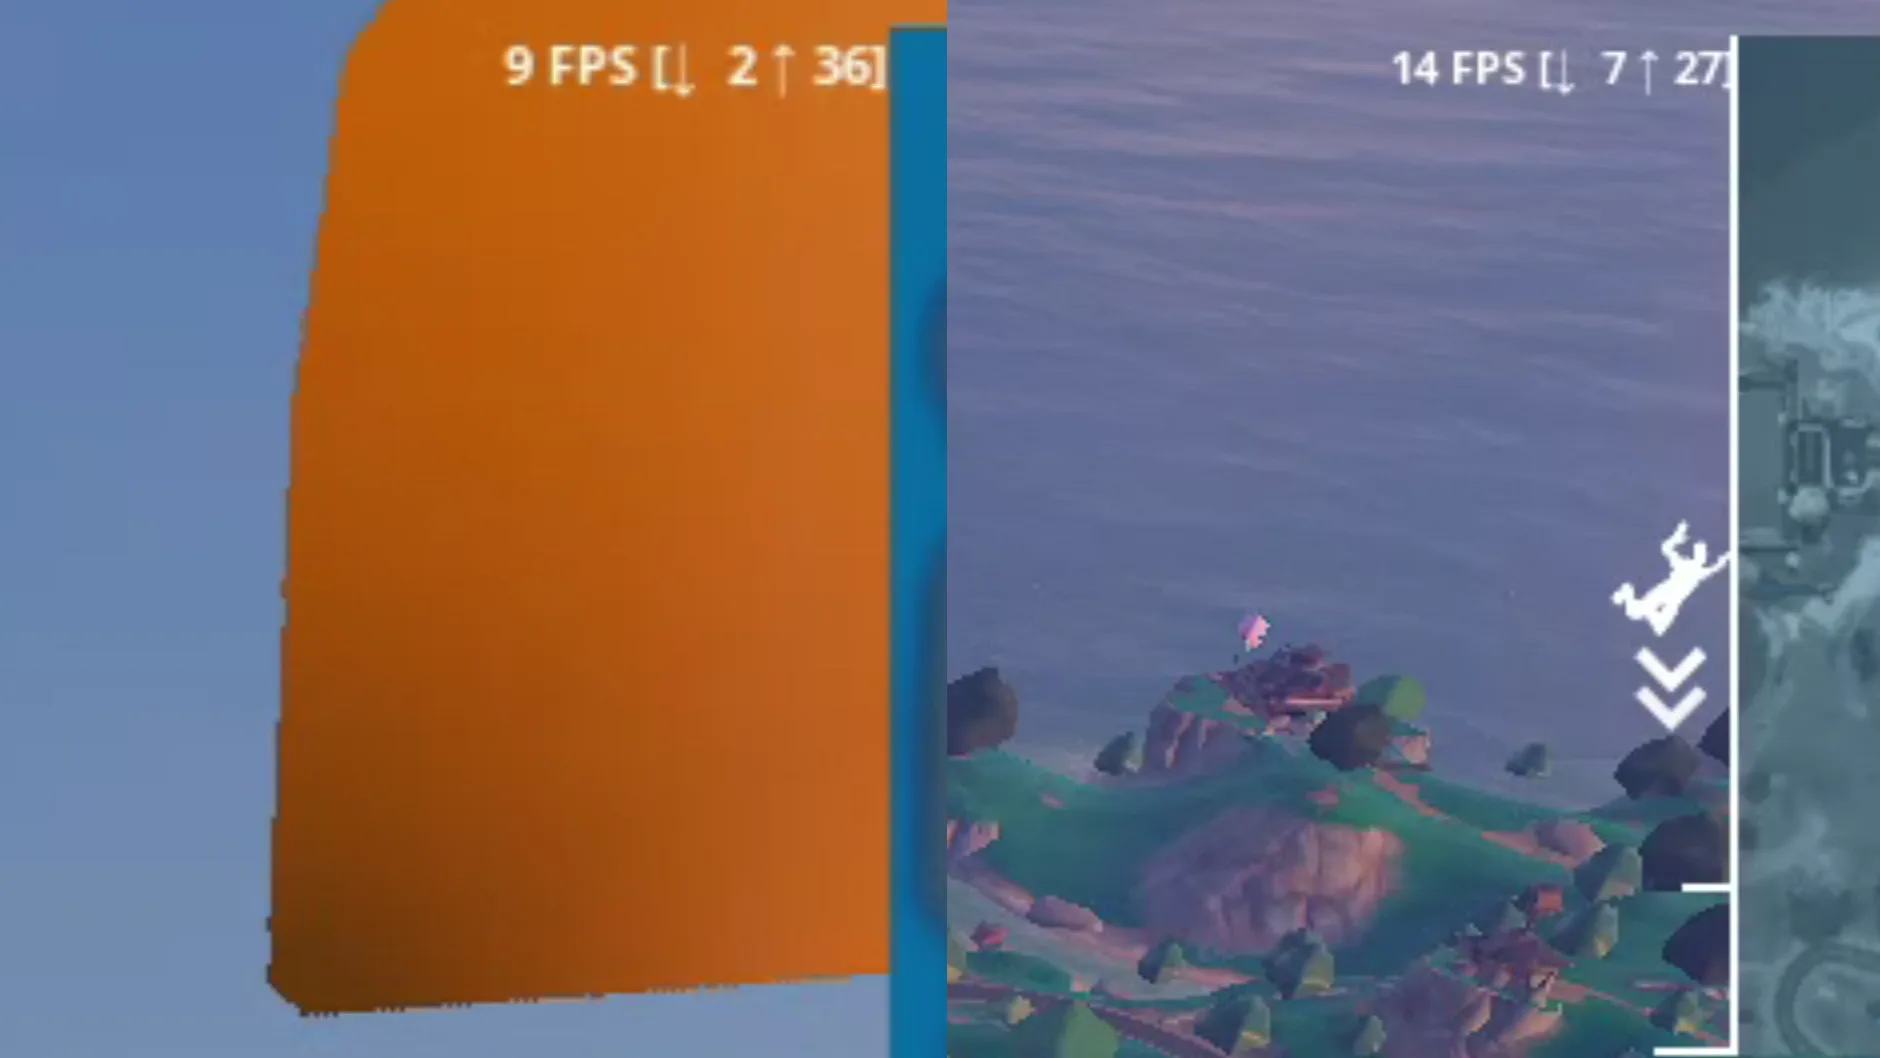
It was very laggy. On the PC in the video the average was around 20 FPS, with drops to 9 and 14 FPS. Even the recording software lagged so badly that the gameplay barely got recorded.
Next came the free tweaks. In January 2025 the free pack was a download in the free-tweaks channel of the RIP Tweaks Discord: download it, extract it, run it as admin, apply all of the tweaks and restart the PC. The pack covered power, GPU, network, Windows, cleanup and RAM tweaks, which lower the load Windows puts on a weak CPU like this i5.
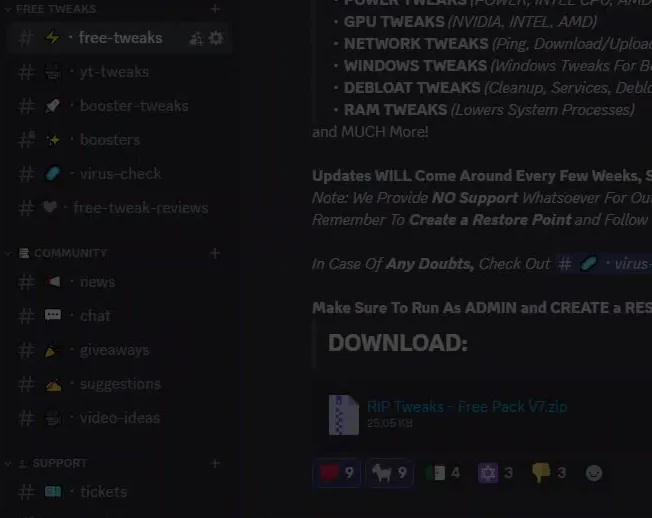
Today the free version is the RIP Tweaks app on our download page instead of a pack in Discord, and it looks different from what the video shows. The idea is the same: create a restore point, apply the tweaks, restart. Our free PC optimizer for Fortnite guide walks through the current app.
How to undo it
Make a restore point before you apply anything, as the pack itself asks. If something feels off afterwards, restore points and undoing changes shows how to go back.
After the tweaks and a restart, the same lowest settings gave a steady result: on the PC in the video the counter stayed over 40 FPS, moving between 40, 45 and 50. Then every setting went up to the highest, Epic, and it still held about 50 FPS.
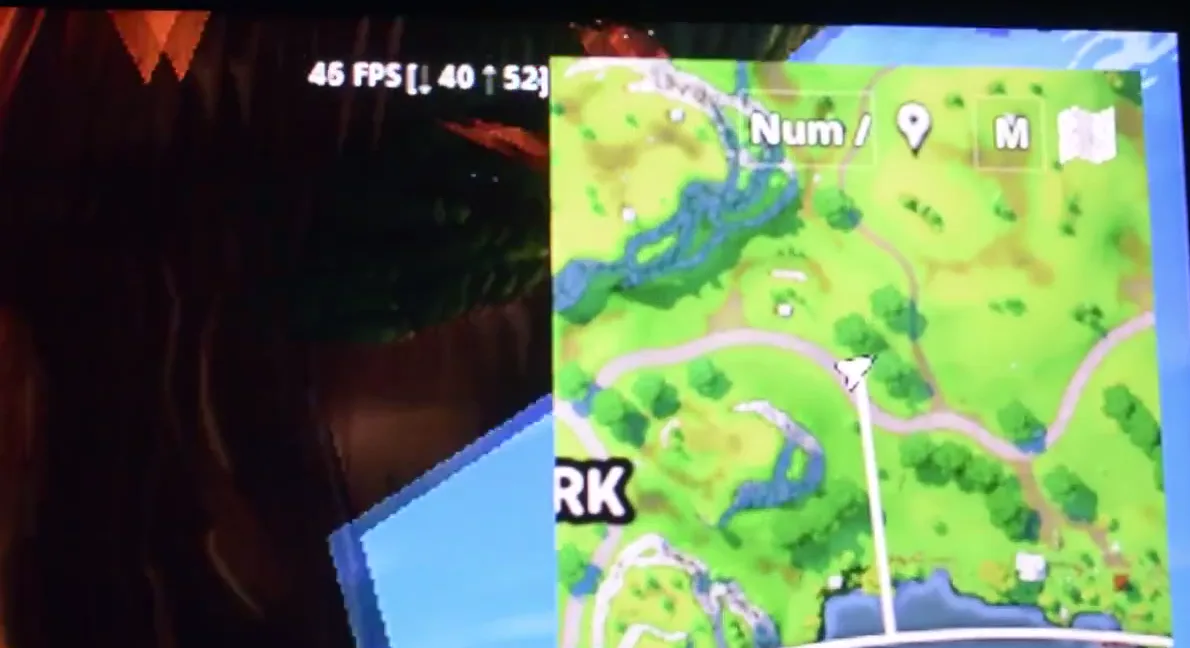
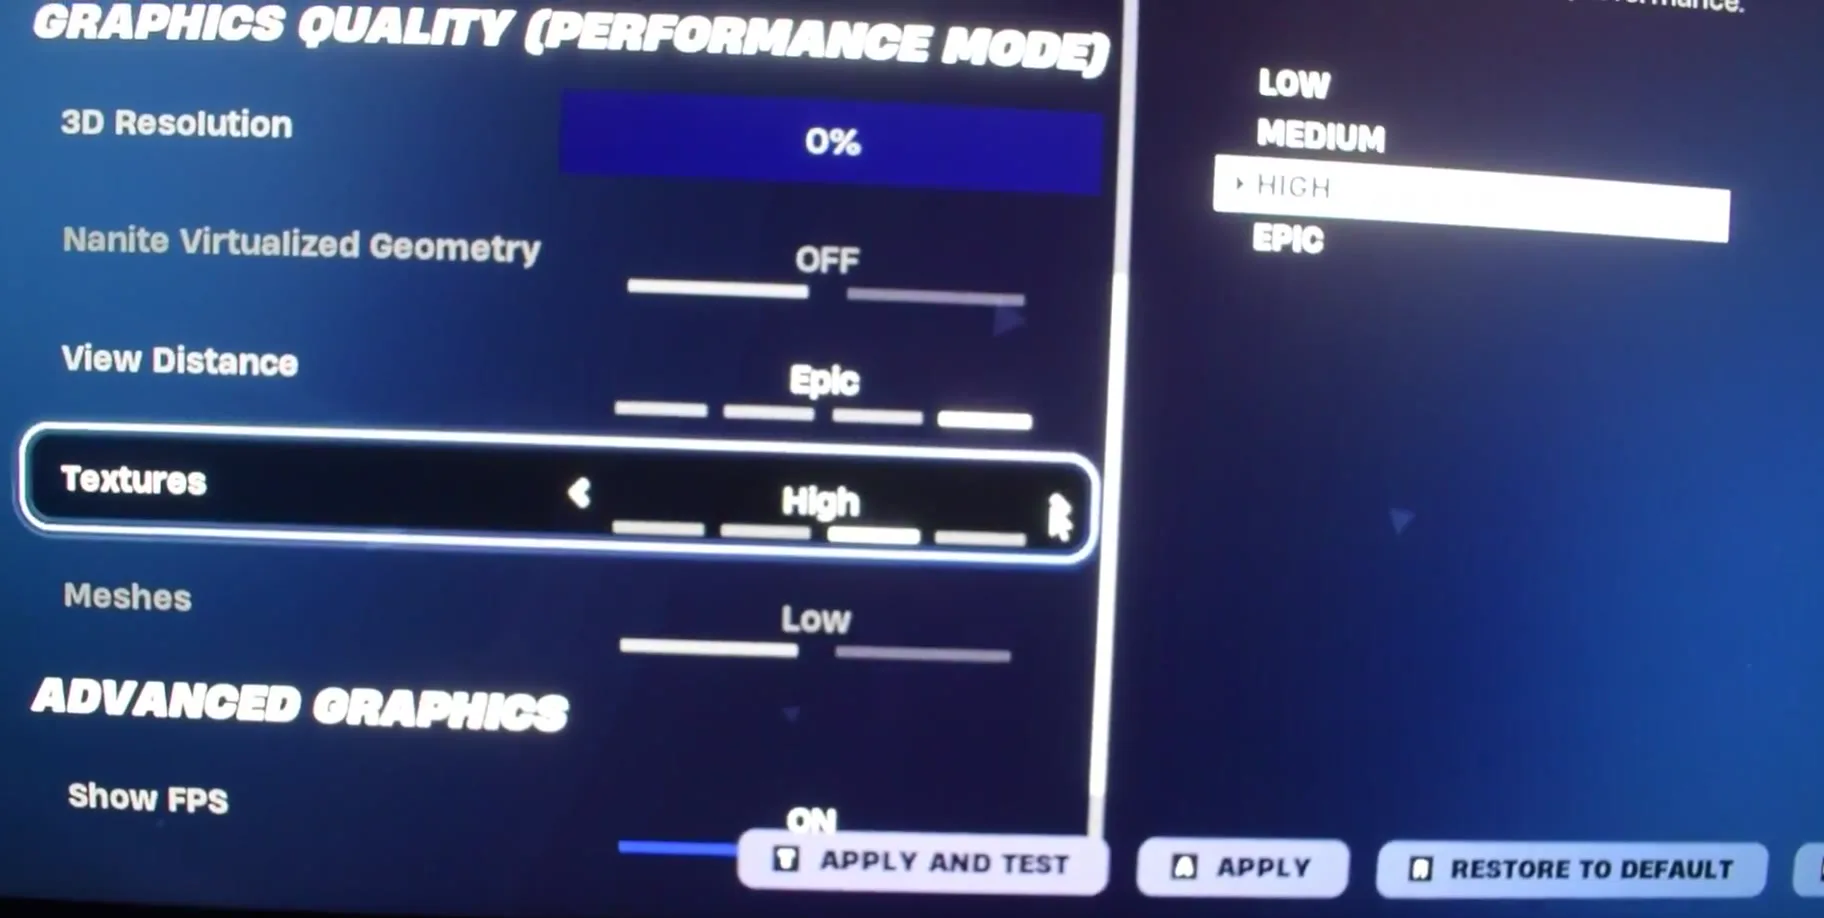
That is our own result on one old iMac, not a promise for every Mac: how much a tweak pass helps depends on how much Windows was holding the machine back. On weak integrated graphics, typically the biggest wins come from cutting background load and keeping Fortnite in Performance mode. Our Fortnite potato graphics guide squeezes out more on low-end hardware.
How to check it worked
- The Mac starts Windows from the Boot Camp partition without a blue screen. Hold Option while the Mac starts to choose between macOS and Windows.
- Task Manager, Performance tab, shows your Intel CPU and the memory you expect, like the i5-5250U and about 8 GB in the video.
- In Fortnite, turn on Show FPS and play the same spot before and after the tweaks. Compare the average and the lowest number, not one peak.
- After the tweaks and the restart, the FPS counter should move less and drop less, as it did in the video.
Key settings at a glance
FAQ
Can you play Fortnite on a Mac with Boot Camp?
Yes, on an Intel Mac. Boot Camp installs Windows next to macOS, and Fortnite then runs on the Windows side like on any PC. The video does exactly that on a late 2015 iMac.
Does Boot Camp work on M1, M2 or newer Macs?
No. Boot Camp Assistant installs Windows on Intel-based Macs only, as its own first screen says. Check About This Mac: if the processor line says Intel, you can follow this guide.
Why does Boot Camp not accept my Windows USB?
Boot Camp wants a Windows 10 ISO file. In the video a USB stick with the setup files already extracted did not work, and the official 64-bit ISO from Microsoft did.
Why does my Mac get a blue screen after installing Windows?
Usually a driver. On the iMac in the video the blue screen named TeeDriverW10x64.sys, the Intel Management Engine driver, and an older version fixed it. Read the file under What failed on your blue screen to see which driver it is.
How much FPS does Fortnite get on an old iMac?
On the PC in the video: around 20 FPS before tweaks with drops to 9, then a steady 40 to 50 FPS after the tweaks, and about 50 FPS with Epic settings. Other Macs will land differently depending on the CPU and graphics.
Can I switch back to macOS after installing Windows?
Yes. Boot Camp keeps macOS on its own partition. Hold Option while the Mac starts and pick the macOS or Windows disk.
Do I still need Discord to get the free tweaks?
No. The video used a free pack from Discord in January 2025. Today the free RIP Tweaks app is on the download page, and the Fortnite FPS, input delay and ping guide covers the in-game side.
 RIP Tweaks
Do it in a few minutes with RIP Tweaks
- Free plan for Windows 10 and 11
- A backup first, and every tweak can be switched off again
- Made for higher FPS, lower input lag and steadier ping
Free · Windows 10 and 11
